

When you’re first starting out riding, you will very quickly learn many new and vital skills. How to properly clean and lube your chain. Making sure you haven’t forgotten your wallet, and hence your license, in your other riding pants (you will make that mistake once). Finding time in your ride to your Five to Survive practice.
One of the most important things you will learn, however, is planning your route, if you have a specific destination in mind. This is vital because you will need to know if you’re going to be parking on a hill or on flat ground, and try to aim for the flat ground. Sometimes, however, you will have no other option than to park your bike on a hill, and knowing how to do it correctly the first time makes it much easier.
That is why we thought that our next Beginner’s Guide should be exactly that: How to park your motorcycle on a hill, pointing both uphill and downhill.
The 7 Steps to Parking On a Hill
There are 7 very important steps to do, one after the other, to ensure that your bike won’t roll away on you, tip over, or otherwise have any issues when parking on hills. These are:
- Find a good parking spot
- If possible, try to park uphill
- Clutch in, shift down (or up) to first gear
- Set your parking angle
- Make sure your rear tire/front tire is against the curb
- Kickstand down and settle the bike onto it, engine off (if it doesn’t have a kickstand kill sensor)
- Turn the handlebars to the left
Each step logically leads to the next, and once you’ve done it a few times, it makes sense and you’ll quickly remember the steps above.
As such, the first thing to do when you get to your destination is…
1) Find a Good Parking Spot
What defines a good parking spot?
First and foremost, you want it to be “clean.” What that means is that you don’t want it to be filled with leaves (as it is Autumn), or have big oil spots on the pavement. You always want to make sure you have enough space around where your bike will be to be able to navigate it out again without needing to creep forward to see possible traffic, as you want your hill start to be one smooth motion, not several tiny ones.
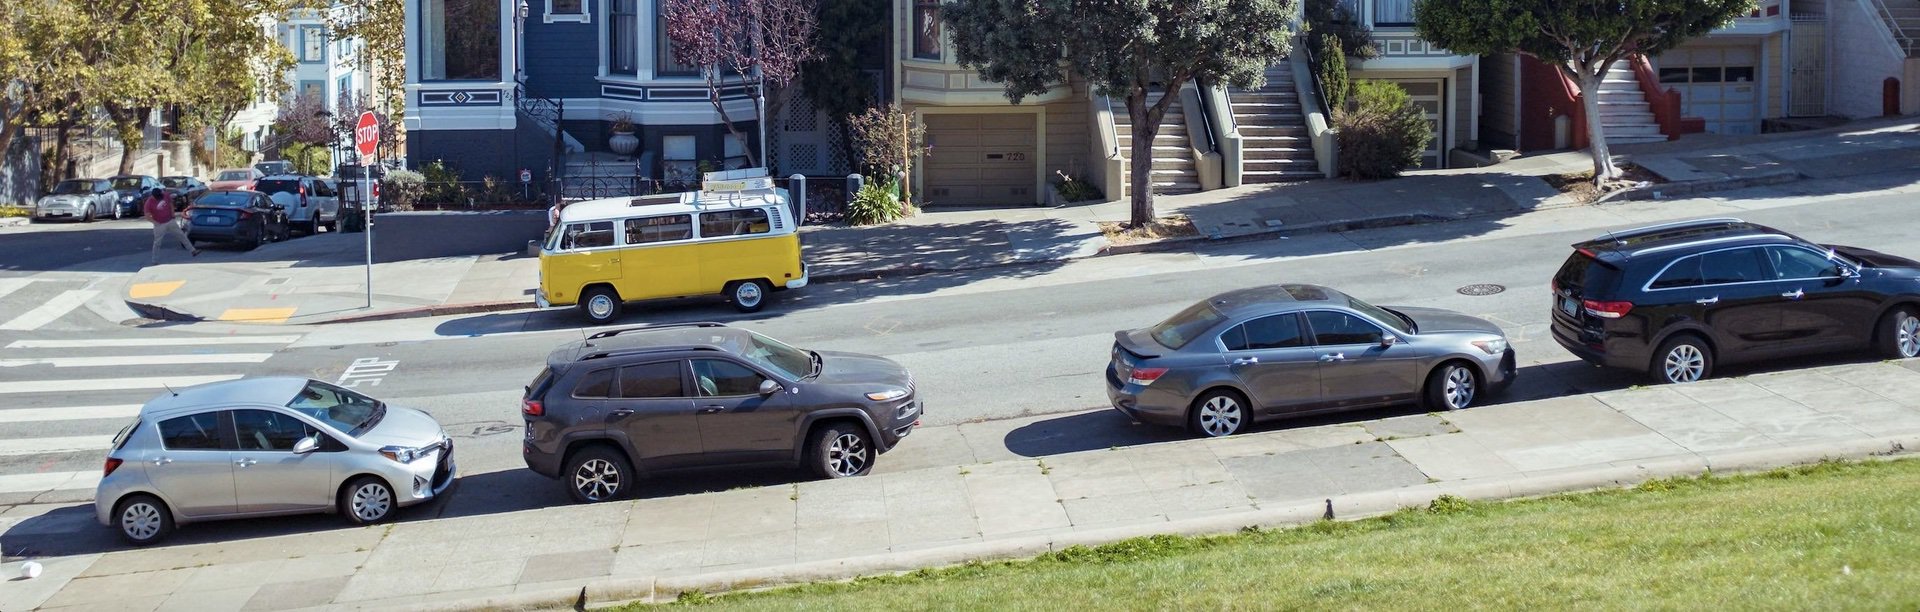
You also want to make sure your parking spot is not near an intersection or corner, as drivers that are looking for other cars might not see your bike if they cut the corner a little. The other part of that is that at crosswalks and intersections, the sidewalk usually dips down to allow wheelchair users, families pushing strollers, and the like to have easy access to cross the road, and you need some curb to make sure you’re parked safely.
Lastly, if you can, try not to park under any power lines or trees. Birds like to rest on them and, well, stains can be kind of hard to scrub out…
2) If Possible, Try to Park Uphill
It is infinitely easier to park with your bike on the uphill side of the road, but it can be done on the downhill side. If it means you need to take a short 100 foot walk to a crosswalk to cross the road to your destination, then it’s worth the extra exercise. The reason for this is twofold: Your bike will have its wider tire against the curb, and you’re already in a position to do a hill start so you can move off smoothly.
If it’s unavoidable that you must park on a downhill slope, it’s still something that is done hundreds of thousands of times around the world daily. It just requires a little bit of extra effort to ensure you can move off smoothly. When this happens, you park your bike the same way as you would with the rear wheel to the curb, just this time it’s your front wheel to the curb, with the bike still angled uphill and the kickstand facing downhill (see point 4 below).
3) Clutch In, Shift Down/Up to First Gear
“But we were taught to put our bikes in neutral in the MSF course?”
When you are parking on a flat surface, that is 100% correct. However, motorcycles are missing something that almost every car has: a parking brake. Hence, our transmission becomes our parking brake, so that if your bike does start to roll, it won’t get very far before the engine compression stops the bike. Try pushing your bike along in first gear with the engine off and the clutch out, and try as you might, you won’t be able to budge it.
What is very important, however, is that while you are going through the process of parking to keep the clutch in. Use all four fingers on the lever and keep it squeezed, because you don’t want to suddenly stall when on an incline at an angle. Worse case scenario, you might panic and crank on throttle before the bike stalls out and loop it. Best case scenario, you’ll be muttering curses to yourself under your helmet as you press the starter button.
4) Set Your Parking Angle
Depending on how steep the incline is, you need to set your parking angle appropriately for it. If it’s a gentle incline of 5 to 10 degrees, you can park pointing only mildly uphill, such as 10 to 15 degrees, and be fine. Just remember that you will want to leave enough room around your parking area that you can see traffic coming up the hill, as well as be able to move off smoothly in one continuous motion, as they teach you in the MSF course.
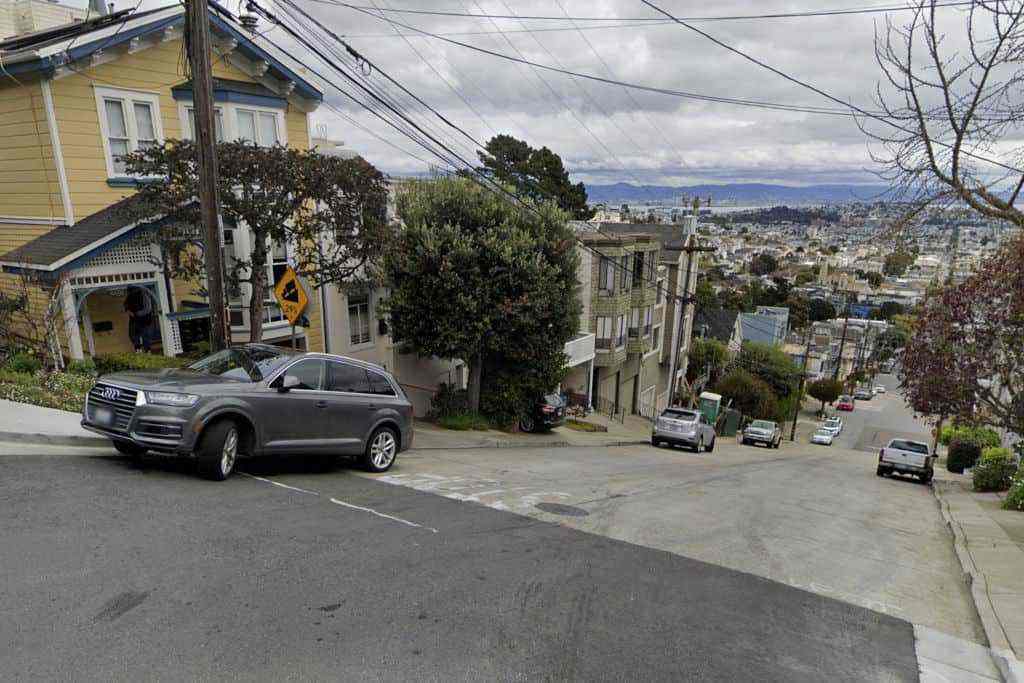
If the hill, on the other hand, is like the famous streets of San Francisco, you will need to point the bike quite sharply uphill. If you imagine a bike perpendicular to the curb as 0 degrees, and the curb is at 90 degrees, you will want your bike pointed at the very least 45 degrees, if not 50 to 55 degrees uphill. The reason here is that you need to maintain enough of an upright angle so that when you put the kickstand down, the bike will not want to tip over it, yet will put enough of the bike’s weight onto it so that it stays locked out.
When parking downhill, the same rule applies, so you’ll likely need to take a bit of a wide curve into the parking space, pointing the nose 45 to 55 degrees to the curb, and once you’re in, hold the rear brake hard while also clutching in and holding that as well.
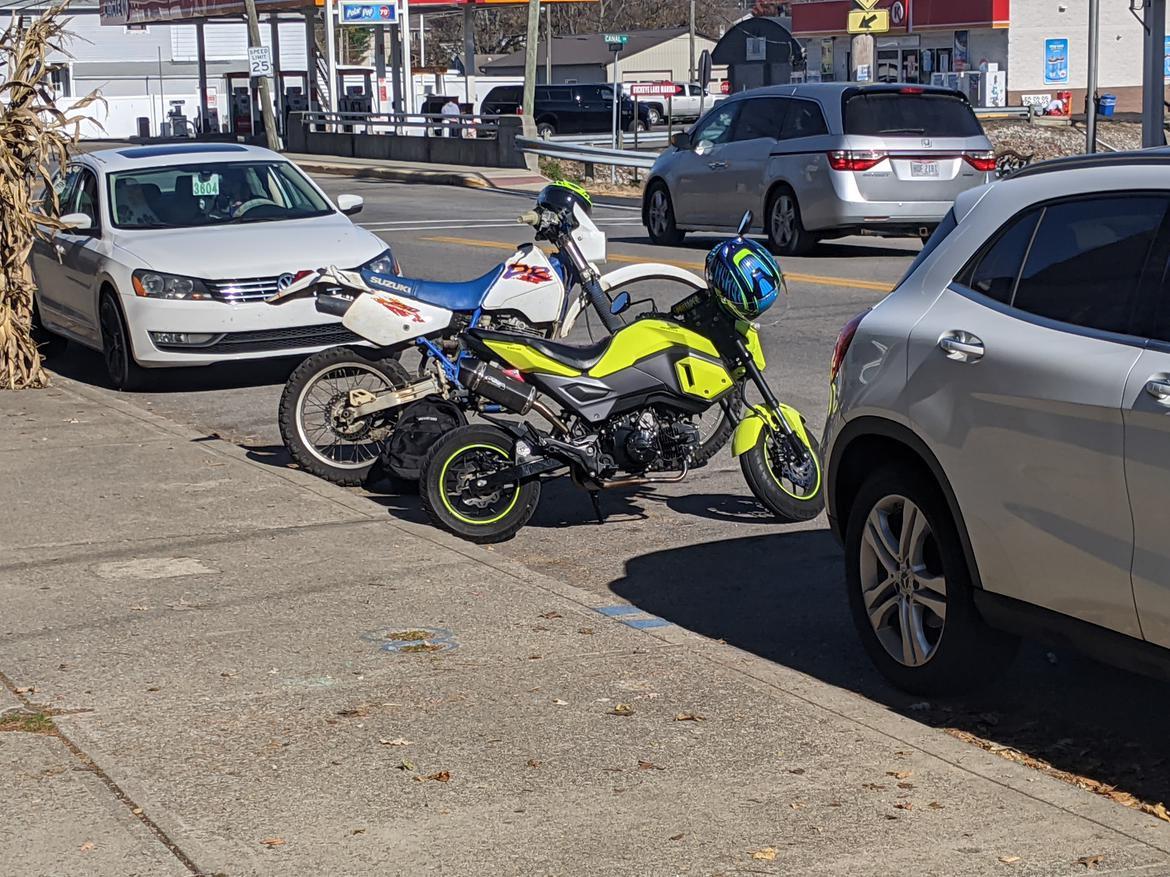
5) Make Sure Your Rear/Front Tire Is Against the Curb
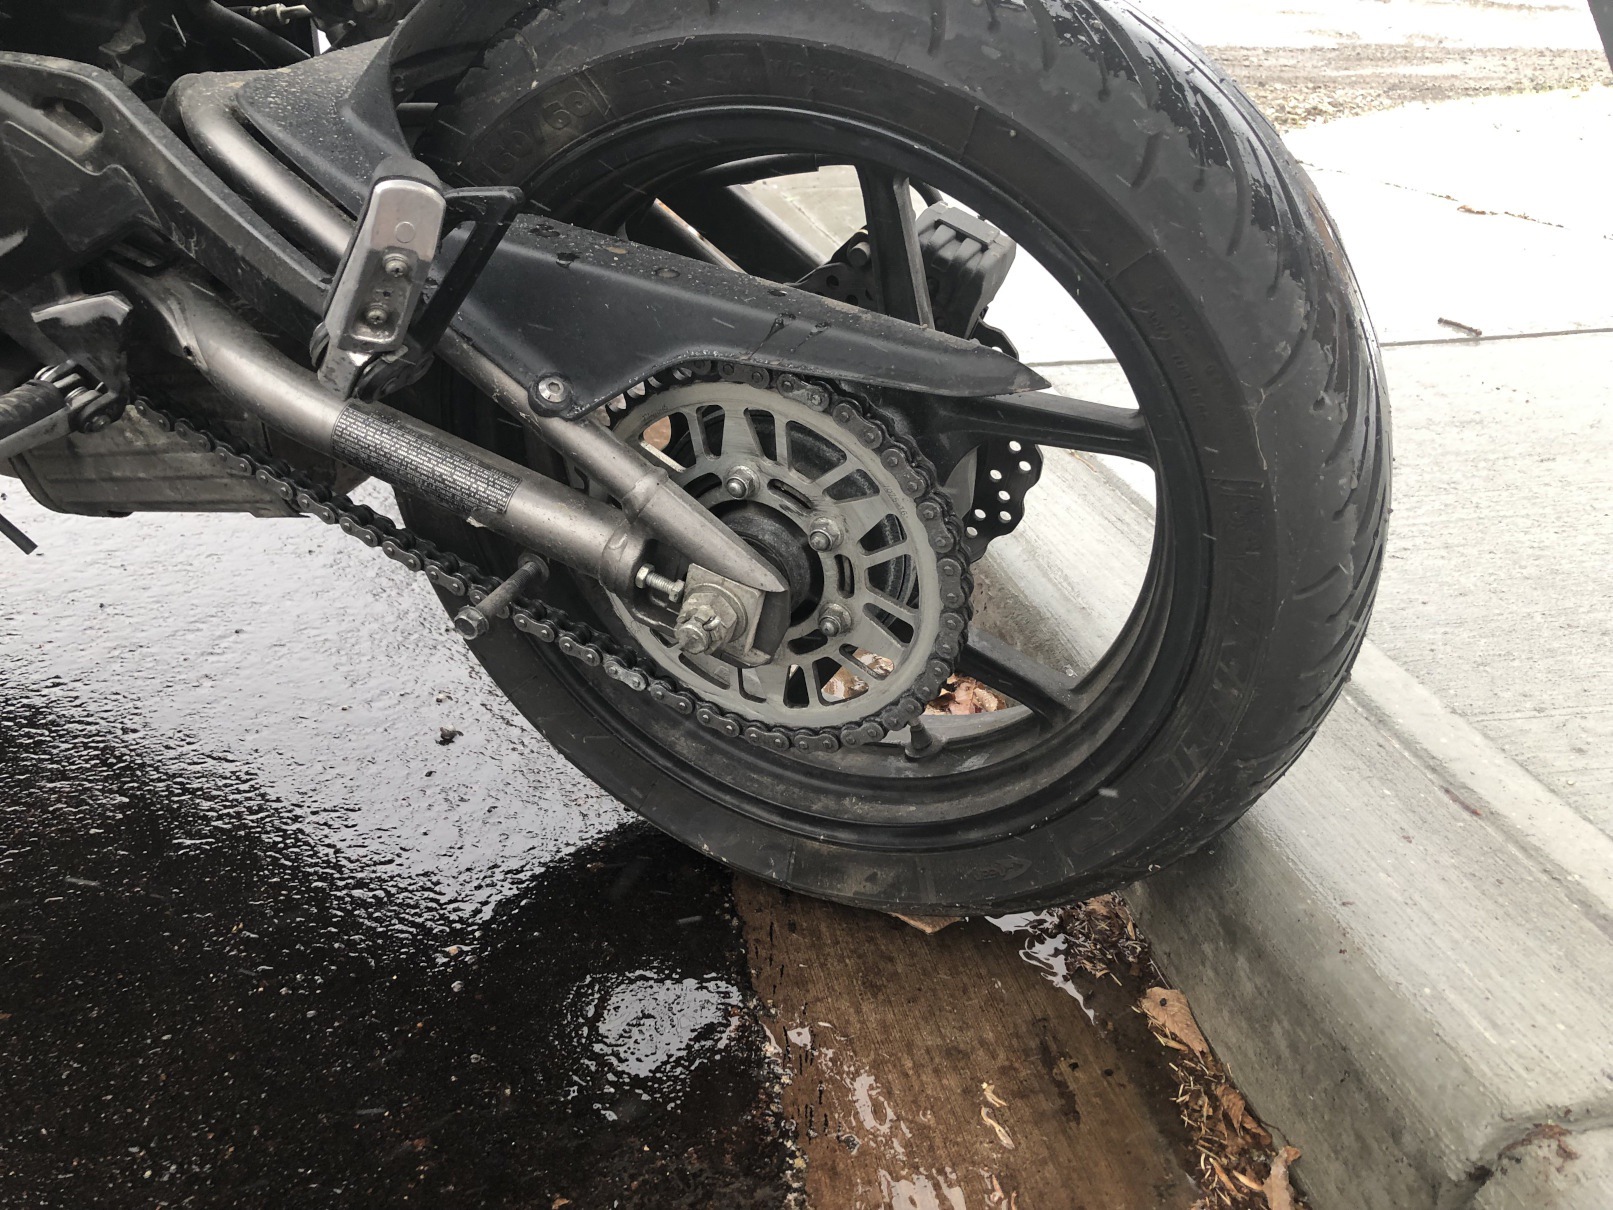
If there is a curb, you want a tire touching it. The reasoning here is that if your bike is parked at an angle with the rear tire touching the curb, then it is an extra point of friction to prevent the bike rolling. While all precautions are taken to prevent your bike rolling or tipping, it can be seen as a secondary parking brake, in case your bike somehow slips out of gear while parked.
When you need to park on a downhill slope, when you pull into the parking spot with the nose to the curb, you want it to be touching when the handlebars are turned to full lock. This takes a bit of practice to get right, but after a few times, you should get the feel for it and be able to nail the parking distance every time. An extra note about parking on a downhill slope is that you really want to make sure your bike is in first gear, as that is the only thing that is holding your bike like a parking brake in that instance.
6) Kickstand Down, Settle the Bike’s Weight Onto It, Then Engine Off

Once you’re satisfied with your parking position, angle, and the rear/front tire is touching the curb, apply and hold the front brake, come off the rear brake so you can put your right foot down, then put your kickstand down. It’s always a good idea to give the stand a light kick as well, to make sure it’s all the way extended to the lockout. Once it’s for sure down, settle the weight of the bike into it as if you were parking on flat ground.
Once the bike is on the stand, slowly come off the front brake. The bike might shift a little as the weight transfers from the front brakes to the kickstand, but if you can fully release the brake and the bike stays where it is, congratulations, you’ve parked your bike. If it does start to roll or “shimmy” its rear tire down the curb, back on the front brake, pull out a little, and decrease the angle. For example, if the rear tire shimmies at 55 degrees, pull out slightly, then park at 45 degrees.
Once you’ve released all the brakes and the bike doesn’t move, then it’s time to kill the engine. Once it’s stopped, release the clutch while still in first gear, and you have just set your “parking brake.”
Of note, some bikes will have a kickstand sensor that will kill the engine as soon as the stand is fully extended. If this is the case with your bike, all you need to do is stay on the front brake and clutch, settle the bike onto the stand, release the front brake slowly, and if the bike moves, you’ll need to bring the kickstand up, shift to neutral, start your bike again, reset your angle, and then do all the movements of this step again until the bike stays put.
7) Turn the Handlebars to the Left

You may have seen bikes parked on hills with their handlebars locked out to the right, and it is understandable why because that is how we park cars on hills, so that if the car rolls, it will roll backwards while turning hard into the curb. The difference with a motorcycle is that you are not parking the bike parallel to the curb, so if you are parking uphill and turn your bars fully to the right, you are setting the bike up to tip over if it starts to move.
Instead, you want to turn the bars fully to the left, to prevent tipping the bike if it starts to move. An easy way to visualize this is before going on your ride, or while doing your Five to Survive practice, quite literally park your bike on flat ground.
When off your bike, look down at your seat, and then turn the bars to the left. The seat will move slightly right, and the bike will “stand up” more. Turn the bars to the right, and the seat will move slightly left, and the bike will “tilt over” more. It’s the same concept behind countersteering, in that if you are taking a left hand corner, and you want to tighten your line, you countersteer right to tilt the bike over more.
Applying that to a slope, with gravity wanting to pull your bike down to flat ground, and turning your front wheel to the right might just be enough to move the center of gravity upwards and your bike will topple over the kickstand. Turning your handlebars left, however, will make the bike stand up more, moving the center of gravity lower to the kickstand and preventing your bike from tipping.
It shouldn’t need to be stated, but at this point all you need to do is lock the handlebars by turning your key, pull said key out, and go about your business. If you want to be extra cautious while dismounting, it is always good practice to hold the front brake again while getting off.
Practice Hill Parking Consistently
We highly recommend including hill parking, if possible, as part of every ride that is not time sensitive. For example, on the weekend when you don’t need to commute, go out for a ride, find a hill, and practice parking. This will also naturally lead to practicing your moving off from a roadside parking spot, as well as your hill starts. You could even make a Five to Survive rule out of it, in the sense of approaching, signaling, parking, hill start, then a couple of in-road u-turns at the top and bottom of the hill to practice parking in the same spot again.
Like all skills, even if it becomes muscle memory, practice, practice, practice. Remember that all skills are perishable, and if you suddenly need to park at the side of a downhill slope, for example to move some branches that have been knocked into the road and are blocking your route, you can simply park the bike, clear away the branches, get back on the bike, and continue on. Also, remember that a 5 degree slope can feel like flat ground while the bike is moving under power, it is still a 5 degree slope and needs to be treated as a hill parking.
While we have gone into some depth during this article, after some practice this will become something you can do in 15 or less seconds. It’s also the one time, at least when backing the back against the curb while varying pressure on the front brake, that it is acceptable to “waddle” the bike with both feet down, so that you can back it up fully under control.
That’s also another reason to keep the bike in first, so that if you feel it’s starting to go a little too fast backwards, such as if your front brake needs some serious servicing, you can slip the clutch a little to add engine power to reduce your backward travel. We don’t recommend slipping your clutch too much, as it does wear it down rather quickly, but if you’re parking your bike at a service shop that’s on a hill to get those front brakes fixed, it’s an option.
As with all things, however, each bike and situation is different. The only way to gain proficiency with hill parking is to simply get out there and do it. Once you have it down, it’s another arrow in your quiver of valuable skills that need sharpening once in a while, so make sure that even after you’ve practiced it and learned it, keep practicing it, just like you do your u-turns, slow-speed crawls, and other riding skills!
See Also:
