
Mounting and dismounting your motorcycle is an essential skill that becomes almost second nature over time. There are many ways to hop on and off the bike, but some are better than others (depending on your situation).
In this article, I’m going over some of the more common and safe ways to mount/dismount your bike. By the end of this article, you will know how to get on and off your bike safely. Let’s get to it!

Moving A Motorcycle To Spot That It Can Be Mounted
Everyone, at some point in their riding career, will need to move their motorcycle by hand – whether it’s to pull out of a nook in the garage, bringing the bike to the driveway for washing, or because the motorcycle isn’t rideable for one reason or another.
I have heard many stories and have seen people drop their motorcycles, however; not to rub it in, I have never come close. This is largely due to always following these steps when handling a motorcycle.
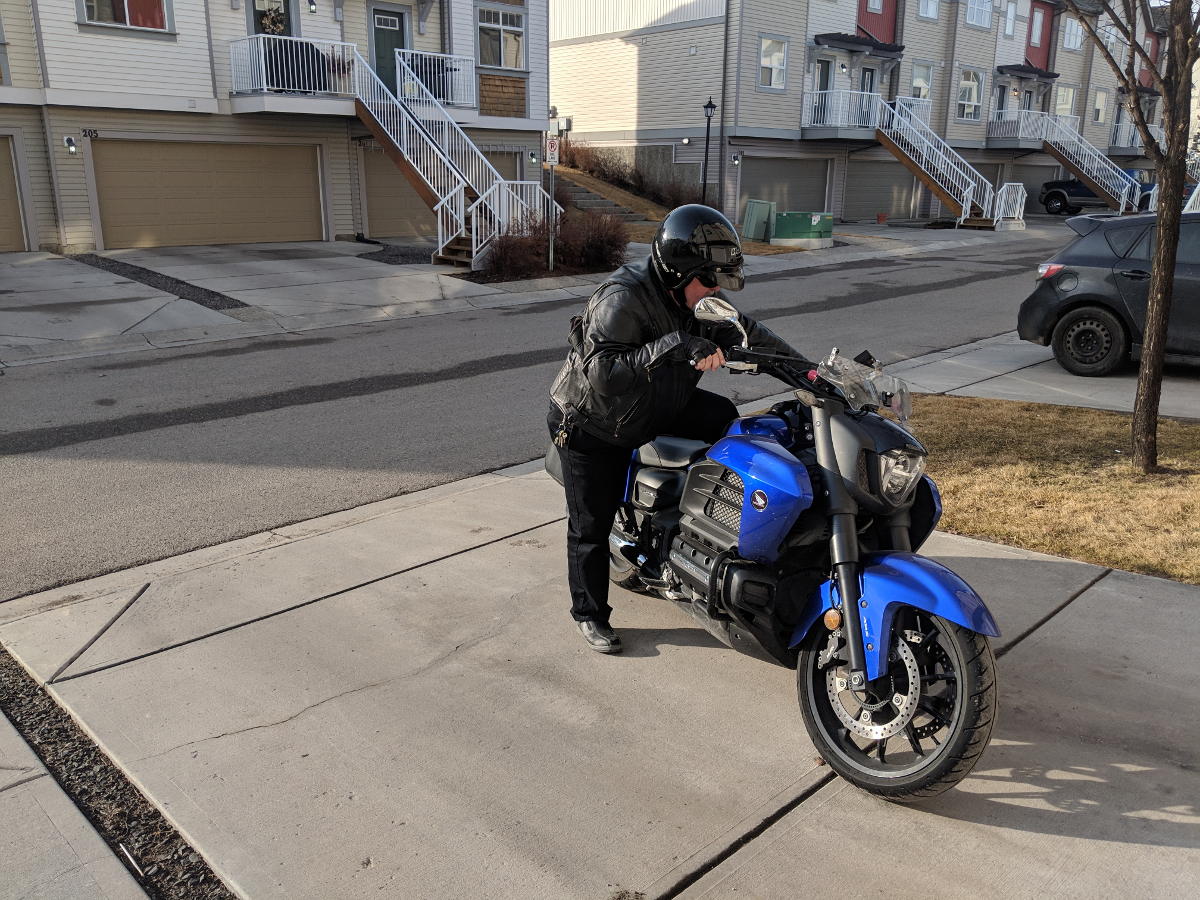
- Approach from the kickstand side, ideally.
- Hands on both handlebar grips.
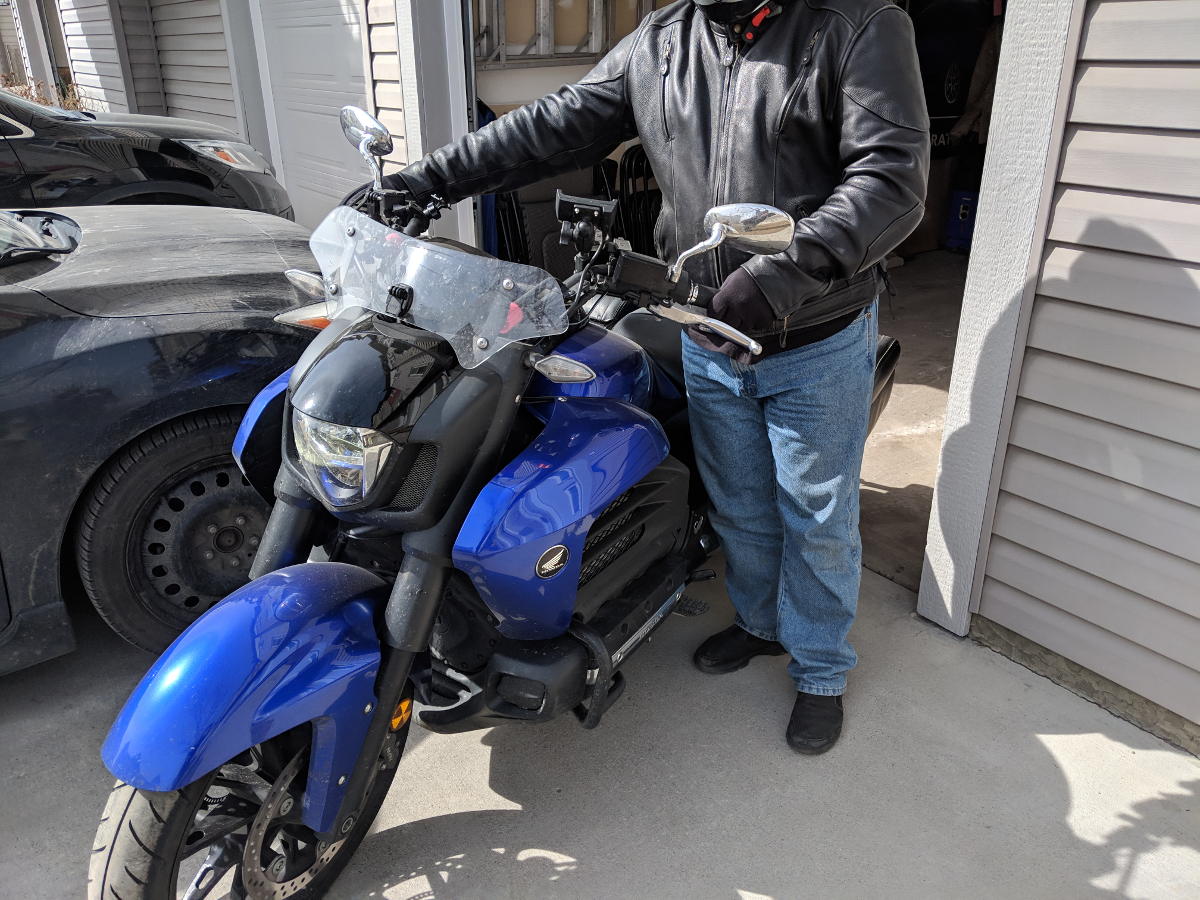
- Make sure you have access to the front brake – Make sure to have your hands on the grips at all times unless actually using the brake.
- Raise the kickstand.
- Have the bike leaned towards you at all times. Bikes are extremely heavy and once they start tipping in the opposite direction, most people don’t have the strength to stop it.
An Exception to the Above Steps
Depending on how where the motorcycle is located you may need to approach the motorcycle from the non-kickstand side.
This is generally not a problem. You still follow the rules listed above but just need to be aware that the kickstand will be protruding still and can get in the way, especially if going over uneven ground. Ideally, move the motorcycle to a spot that you can switch sides and raise the kickstand and then proceed.
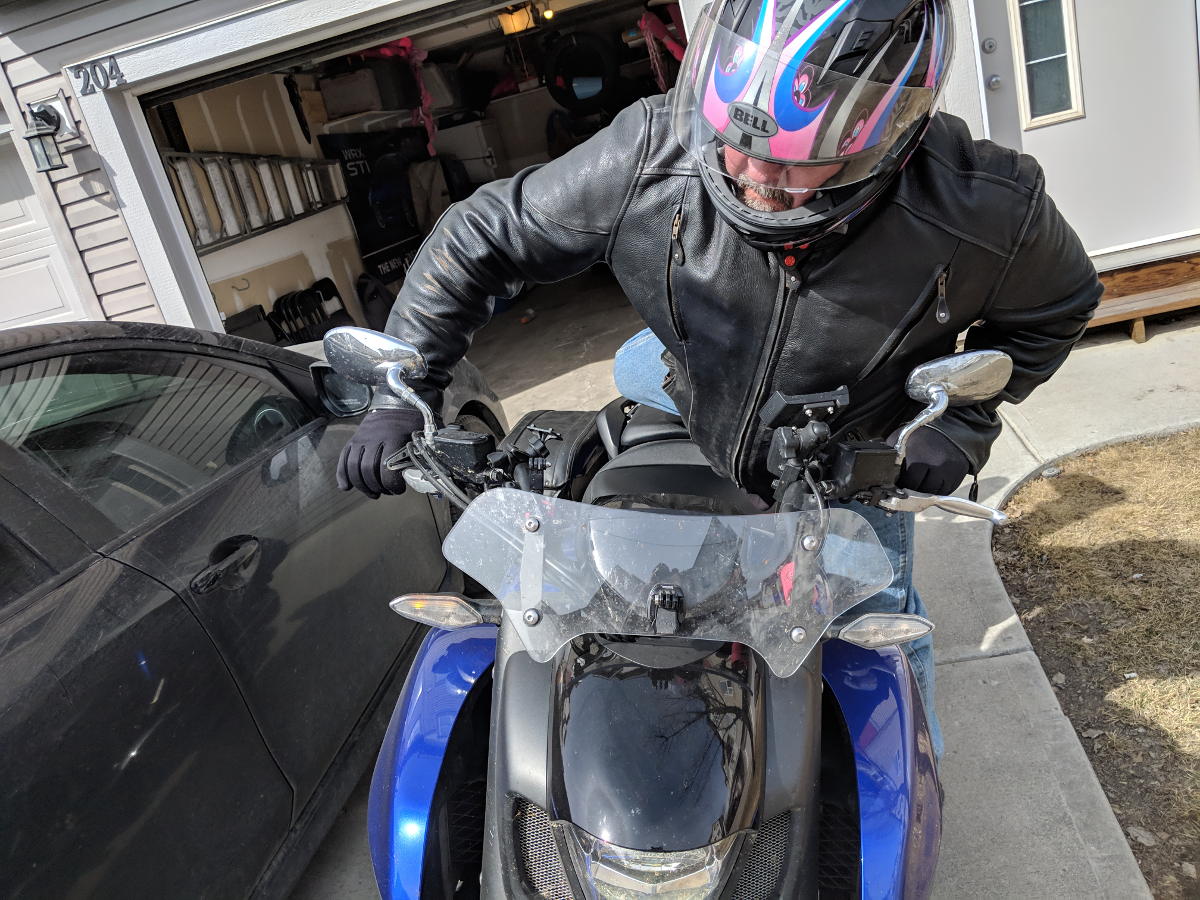
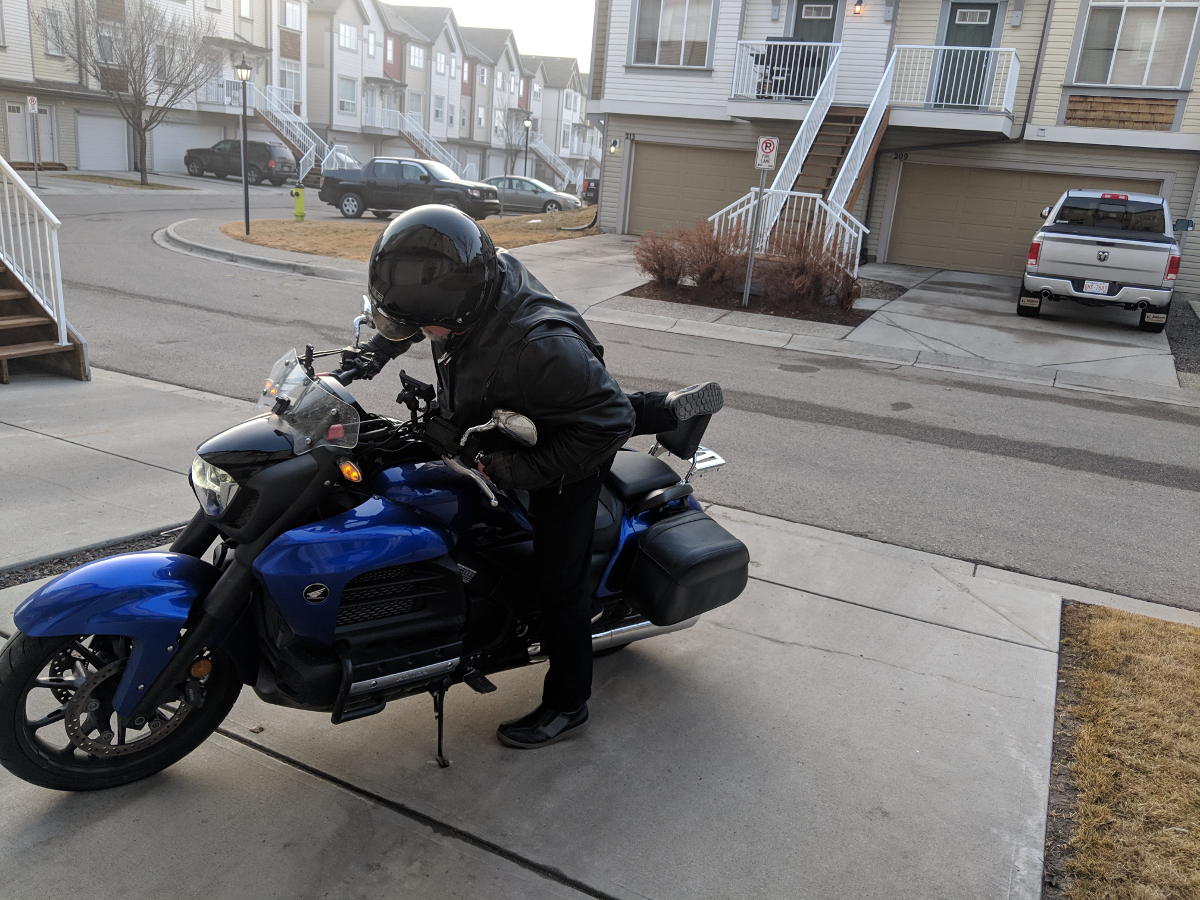
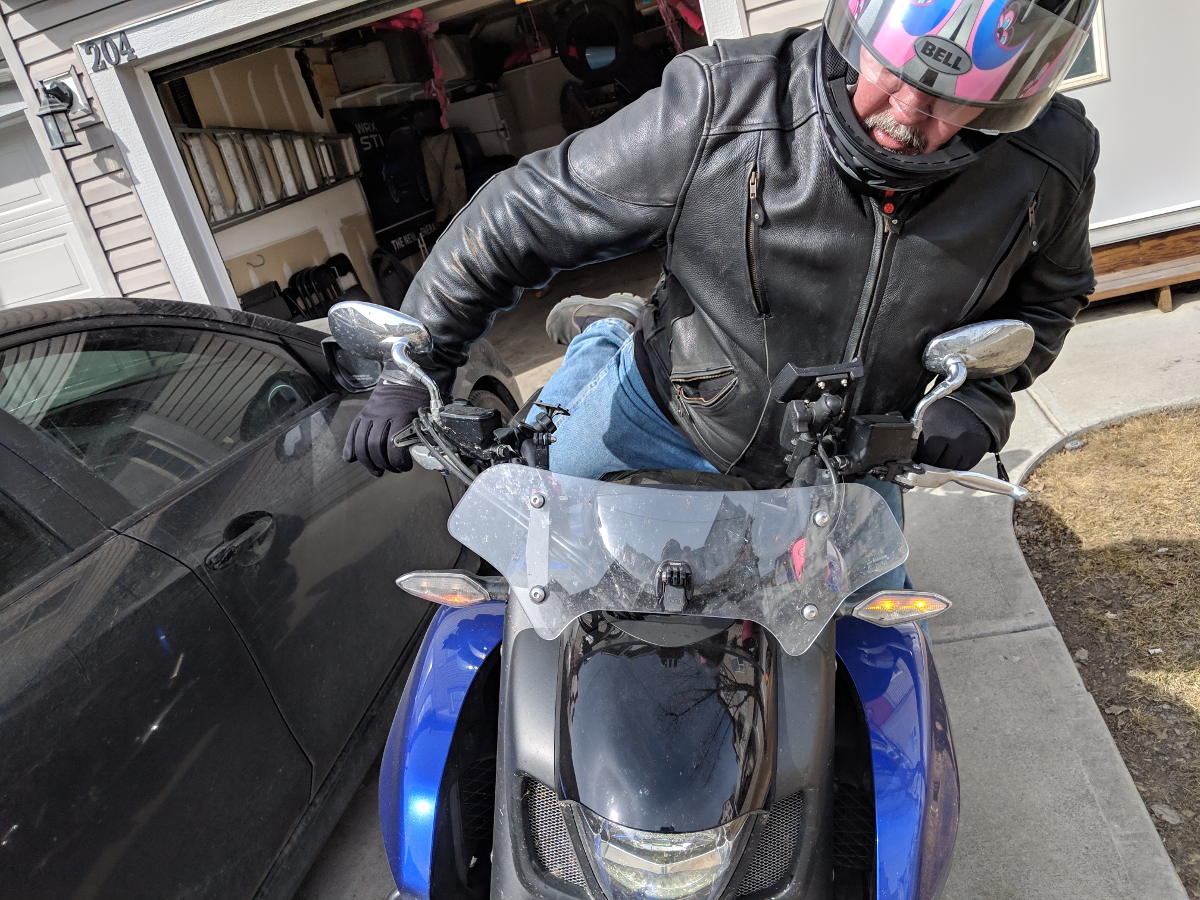
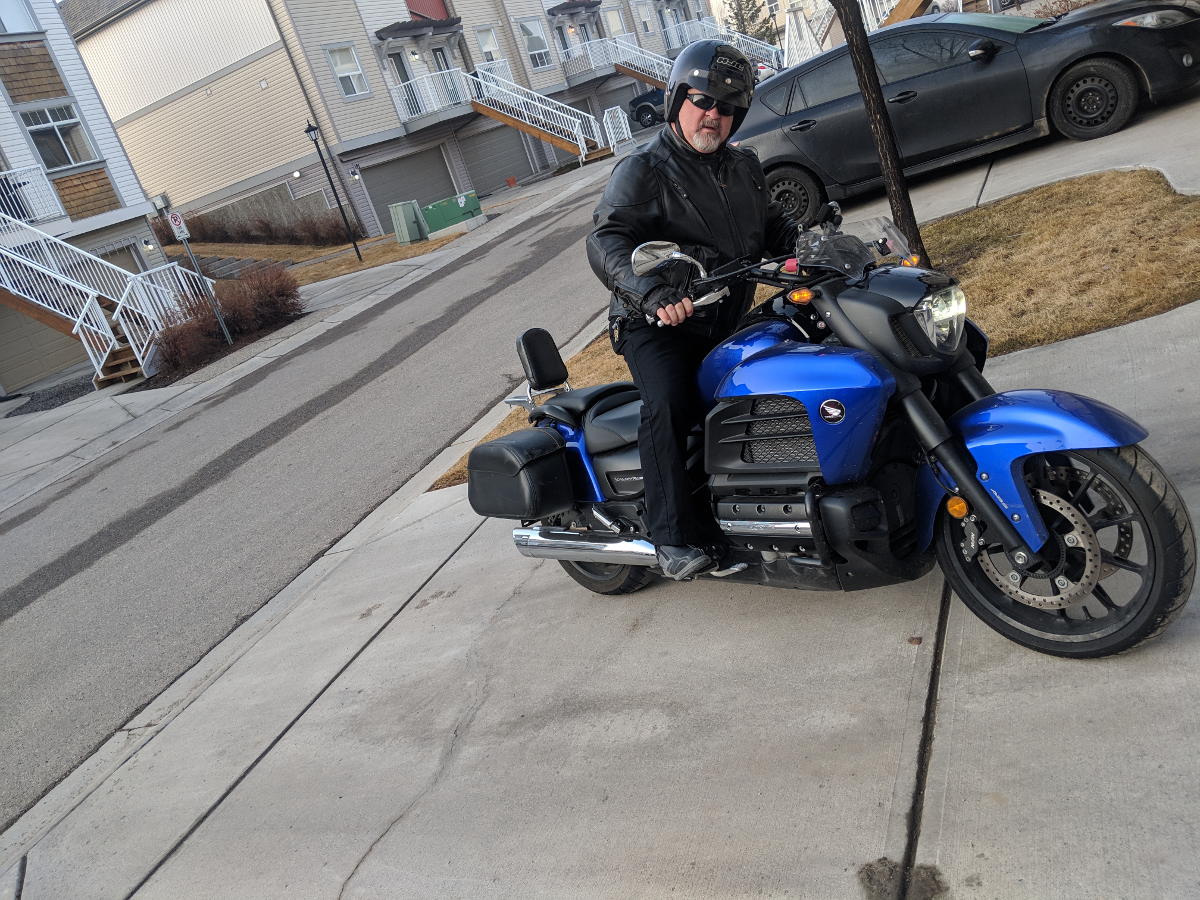
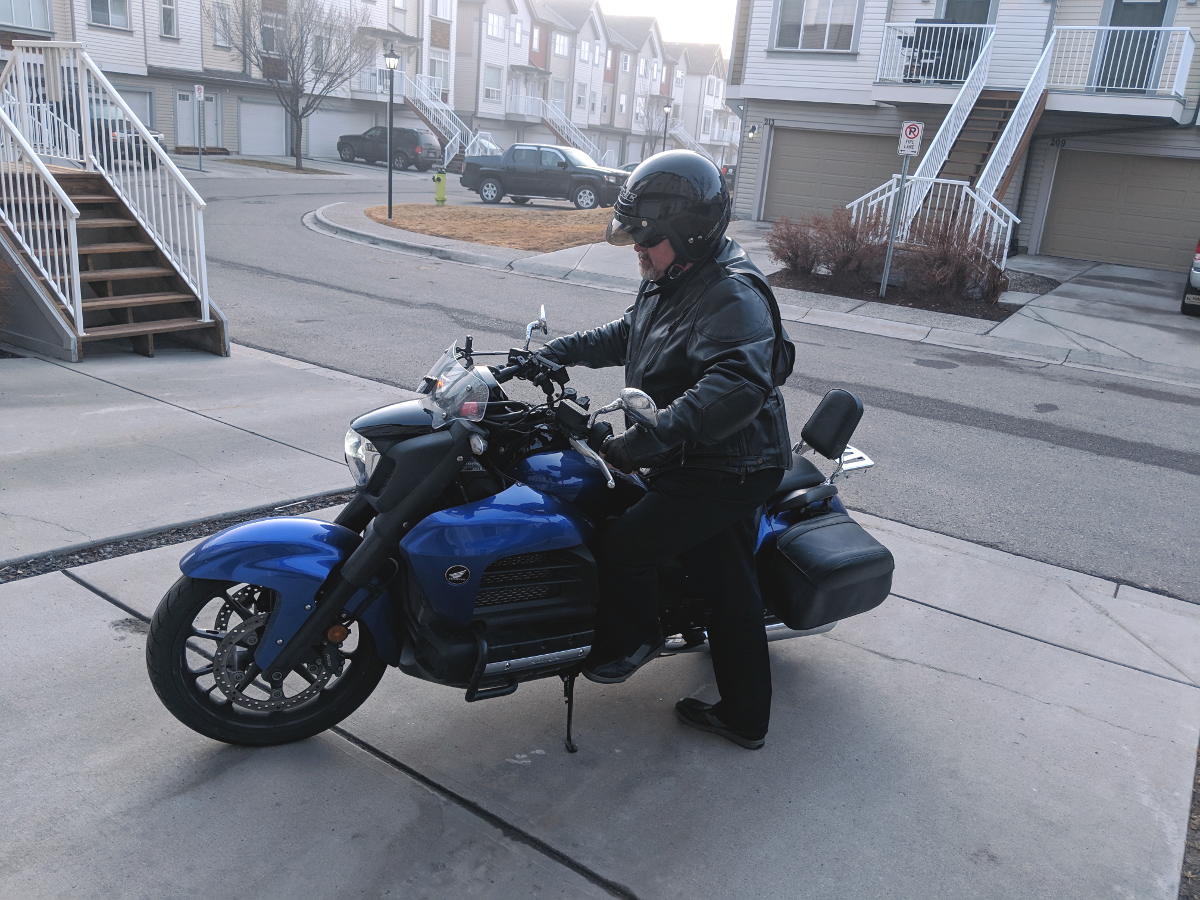
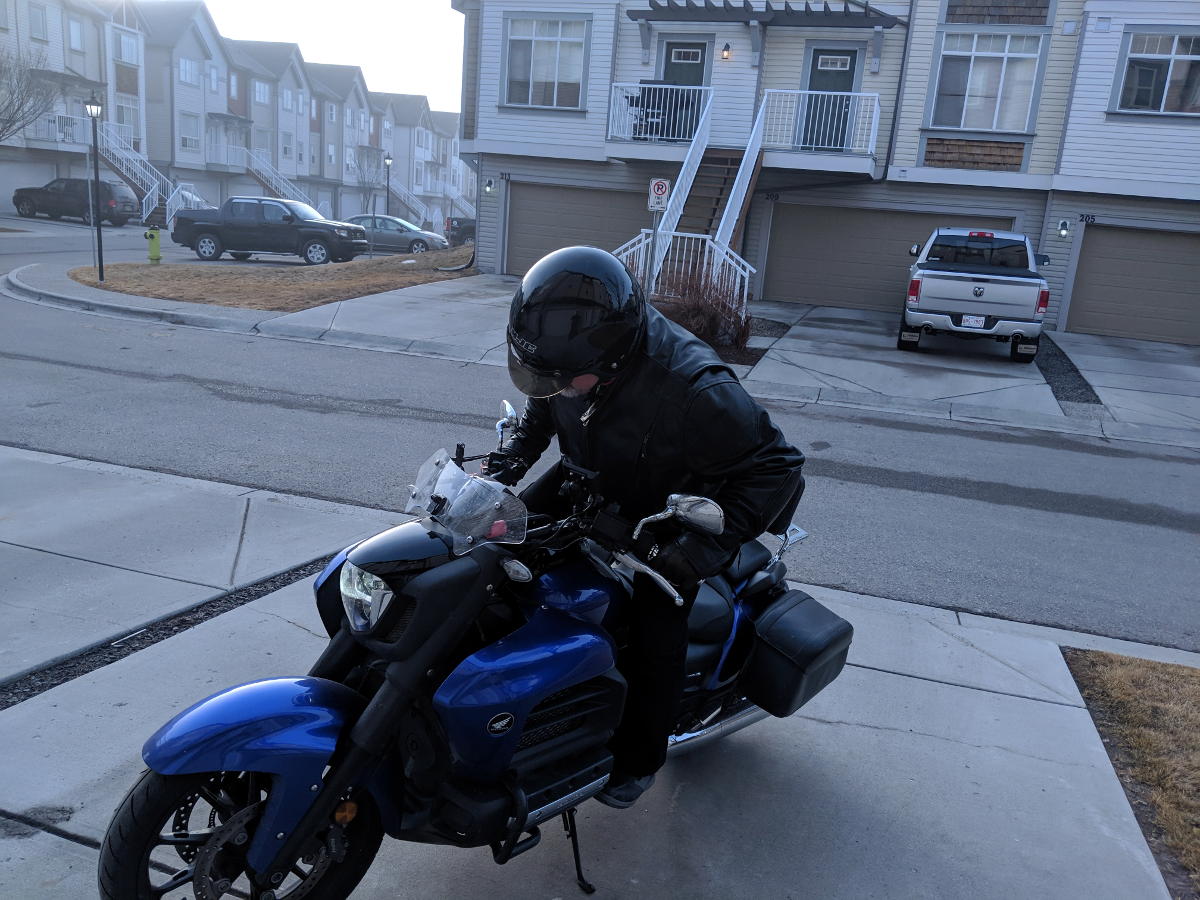
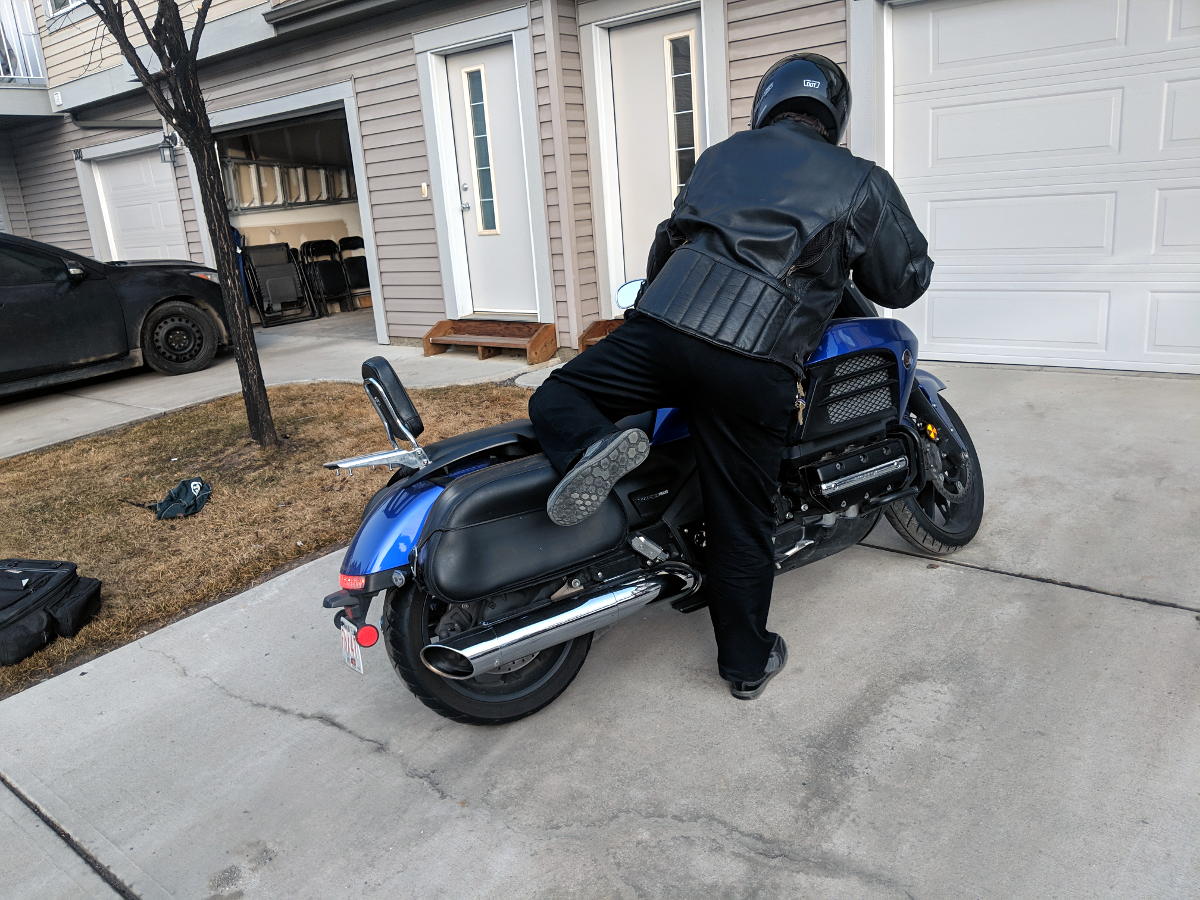
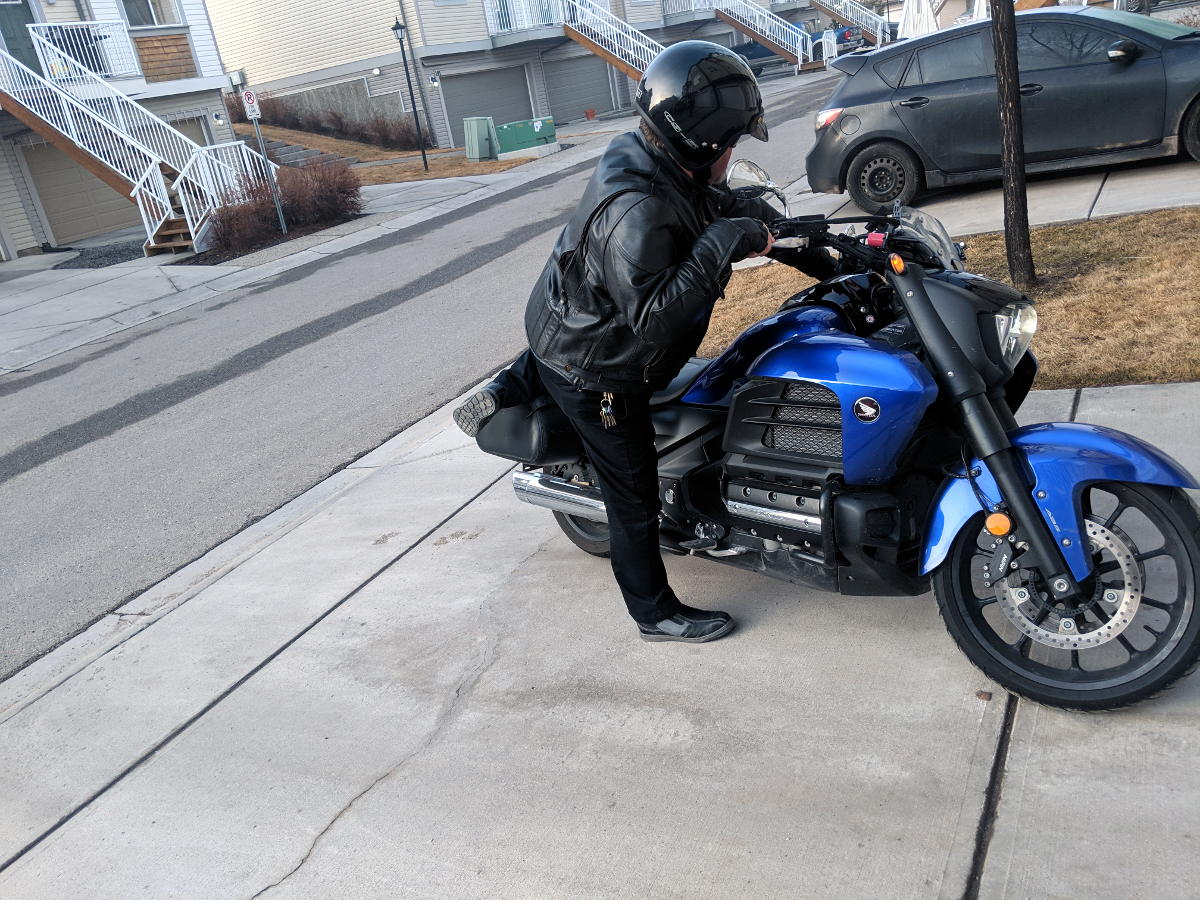
Mounting Motorcycles Normally
Believe it or not, there is more than one way to mount a motorcycle. Following the listed steps below, you will learn how MOST riders mount their motorcycles.
See the step-by-step instructions below, or skip to the video.
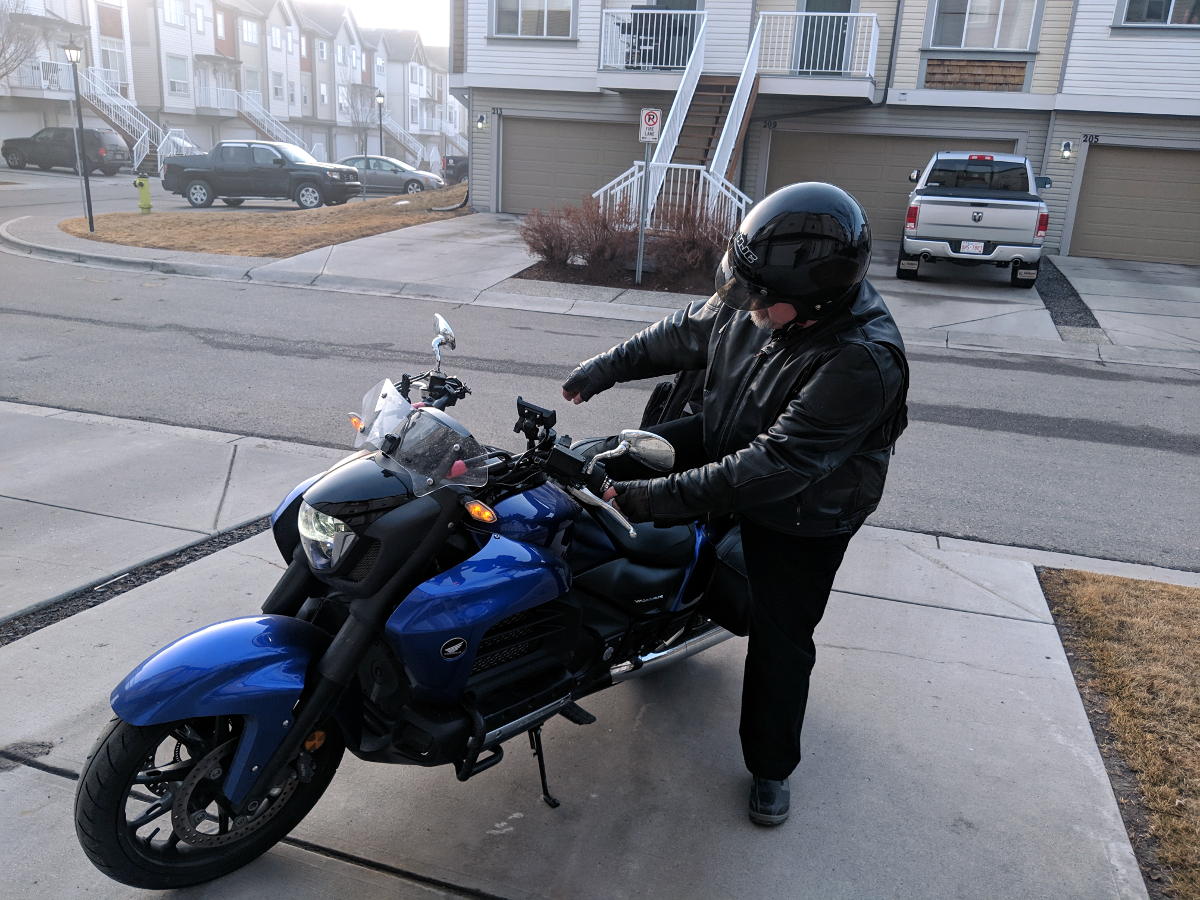
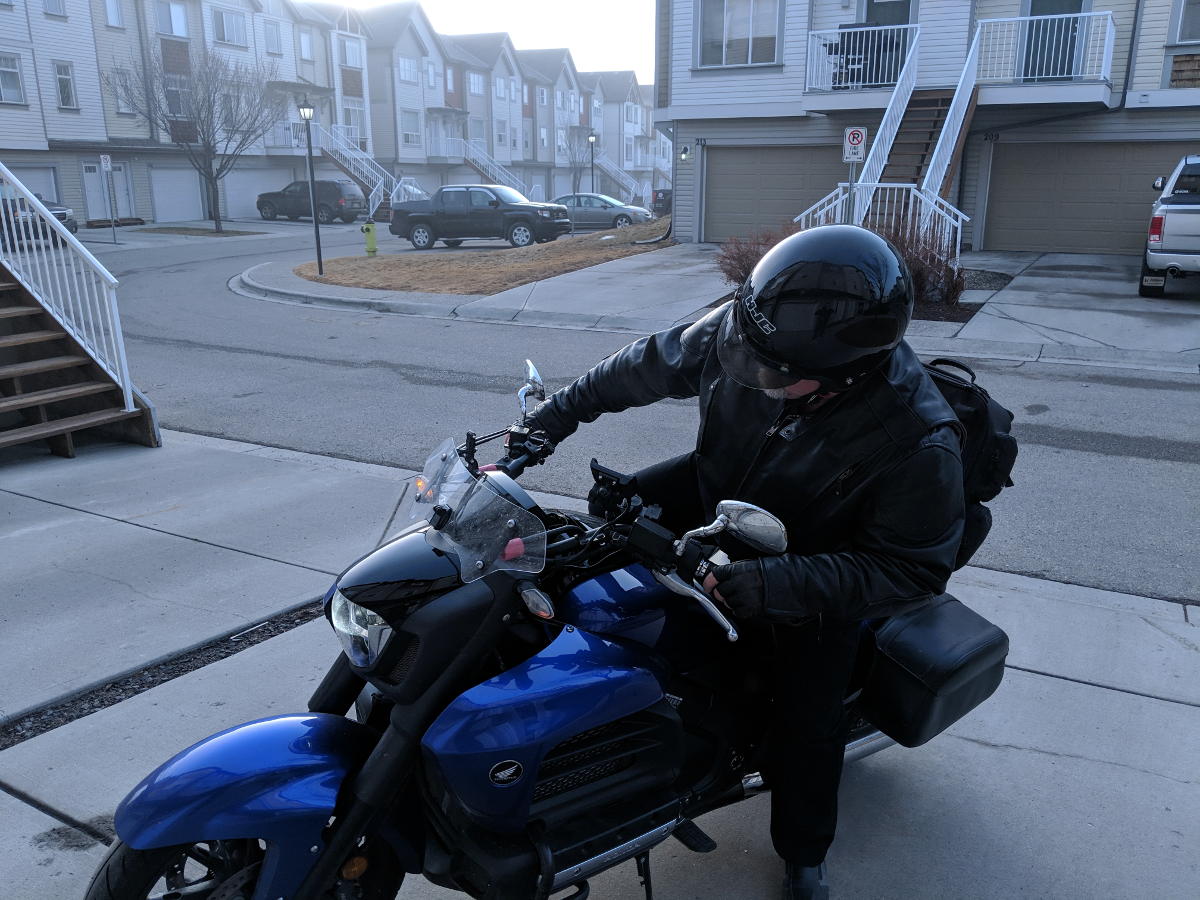
Step 1
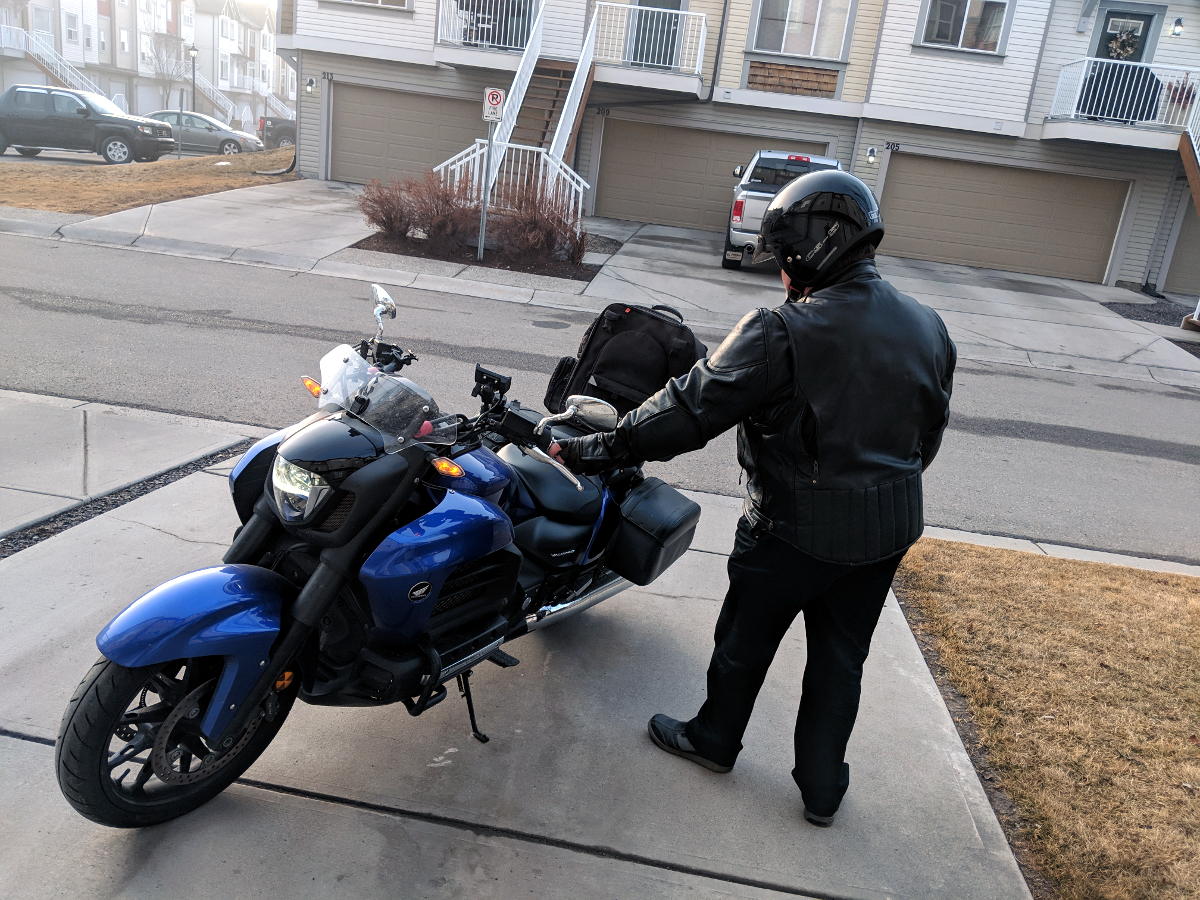
Approach motorcycle from the kickstand side. Grab a hold of the left-hand grip and apply the front brake continuously.
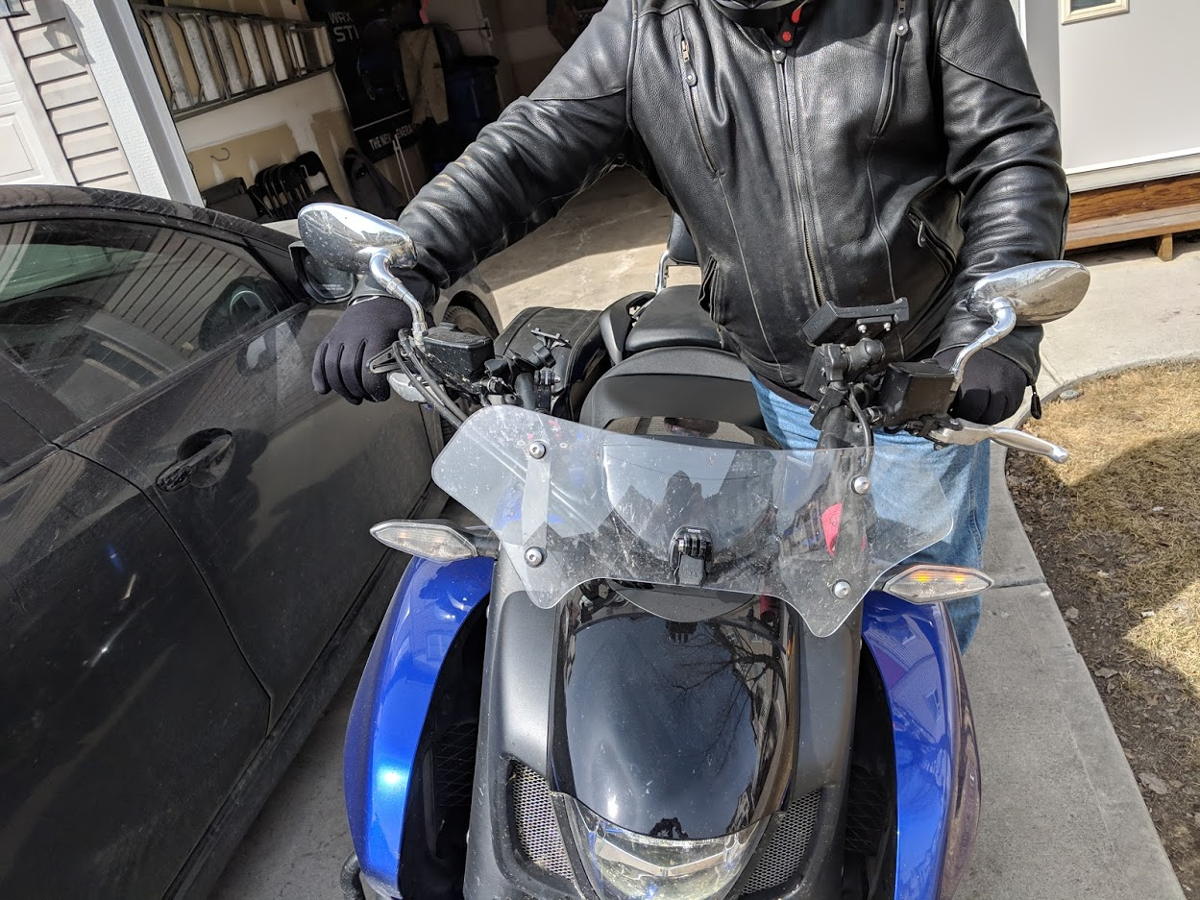
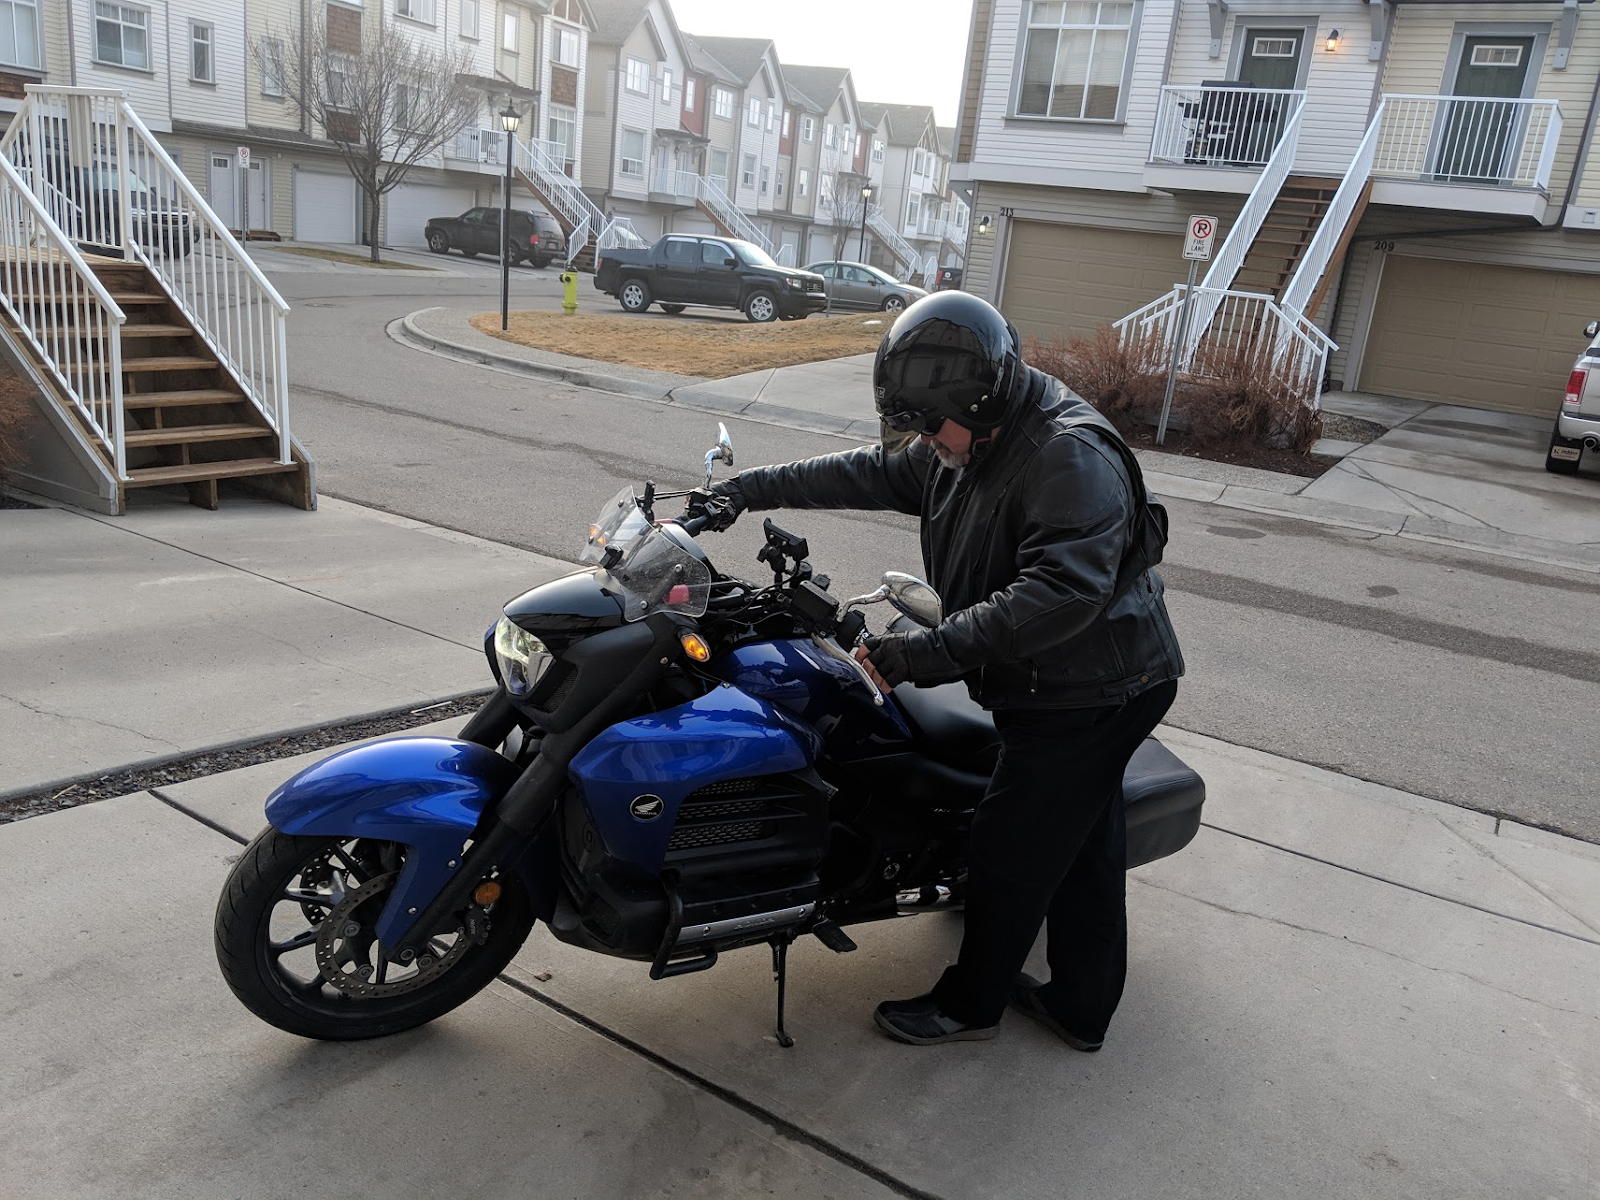
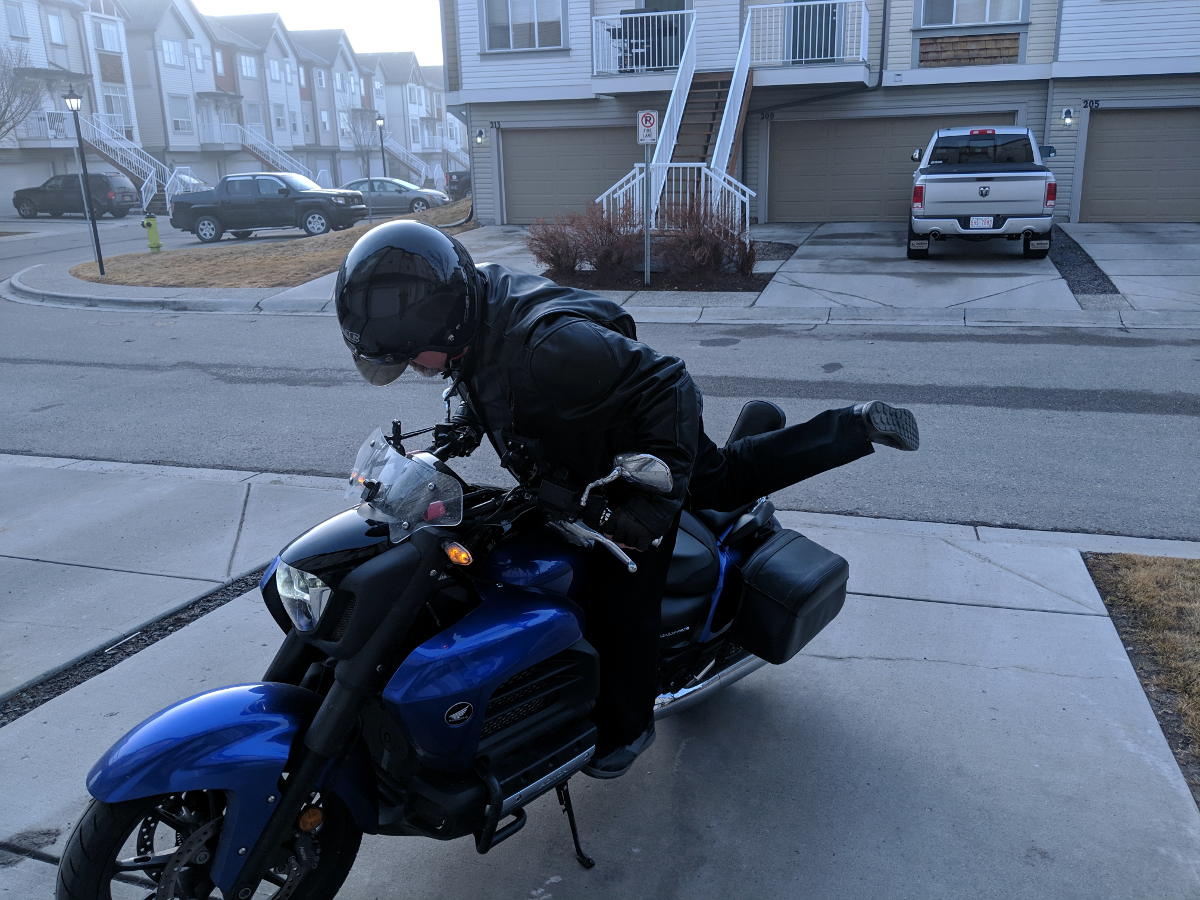
Step 2
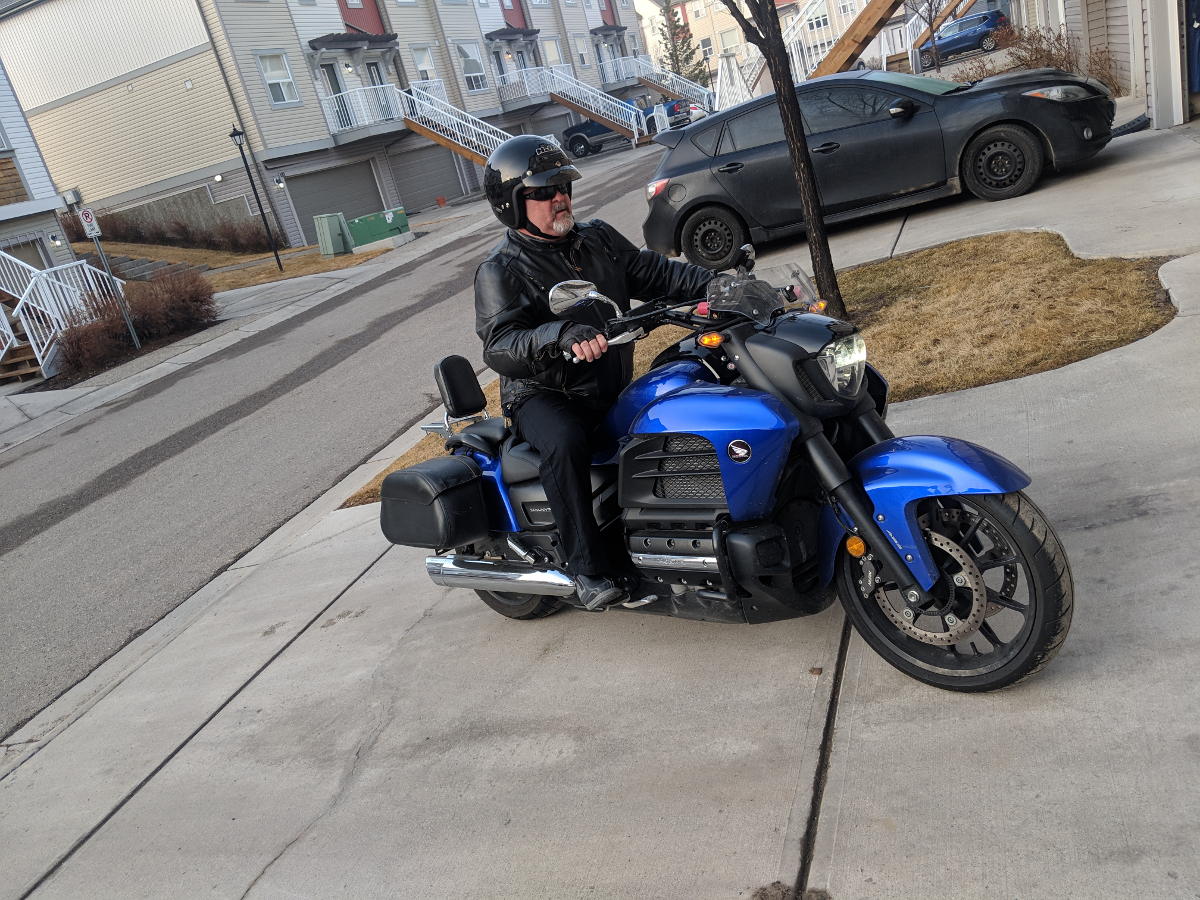
Lean your body forward and raise your right leg. Use the handlebars as support. Turn handlebars as needed for better stability and leverage
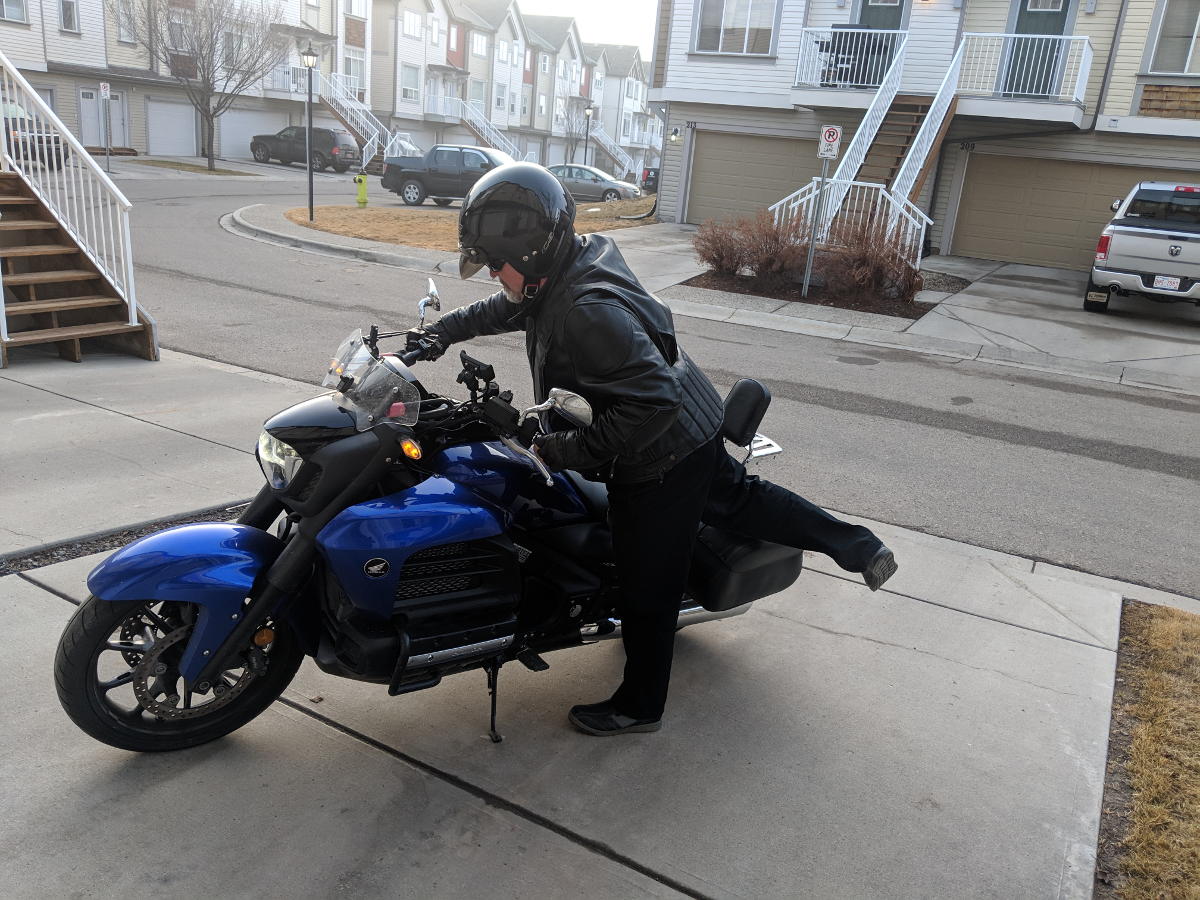
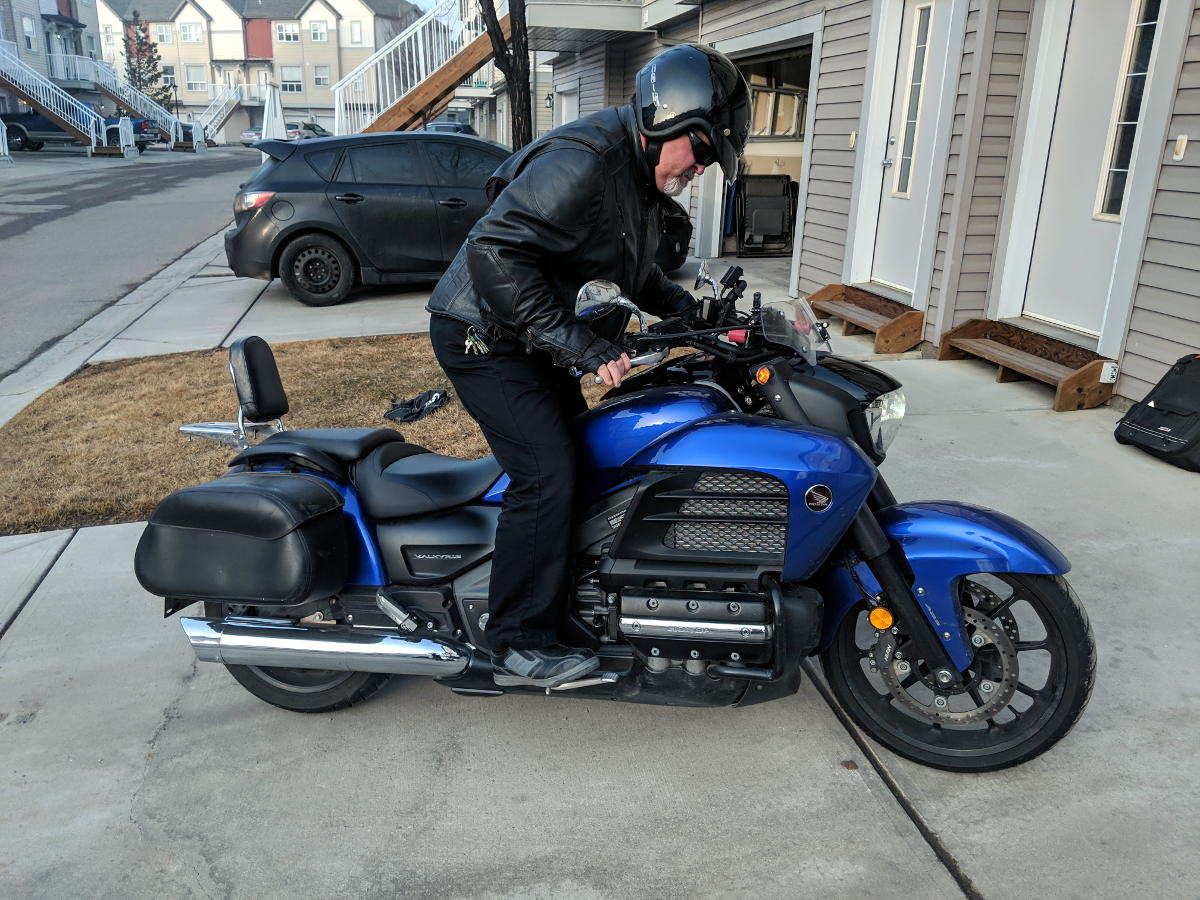
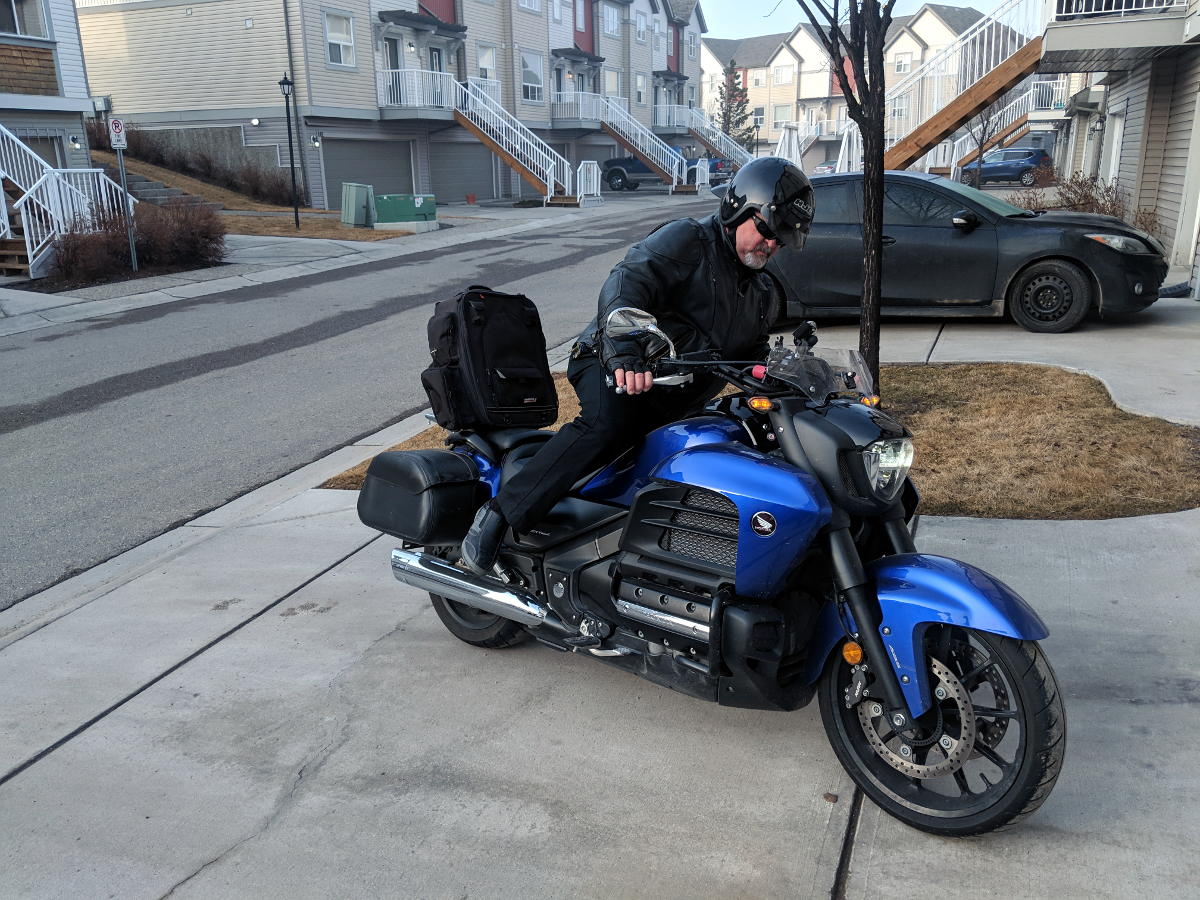
Step 3
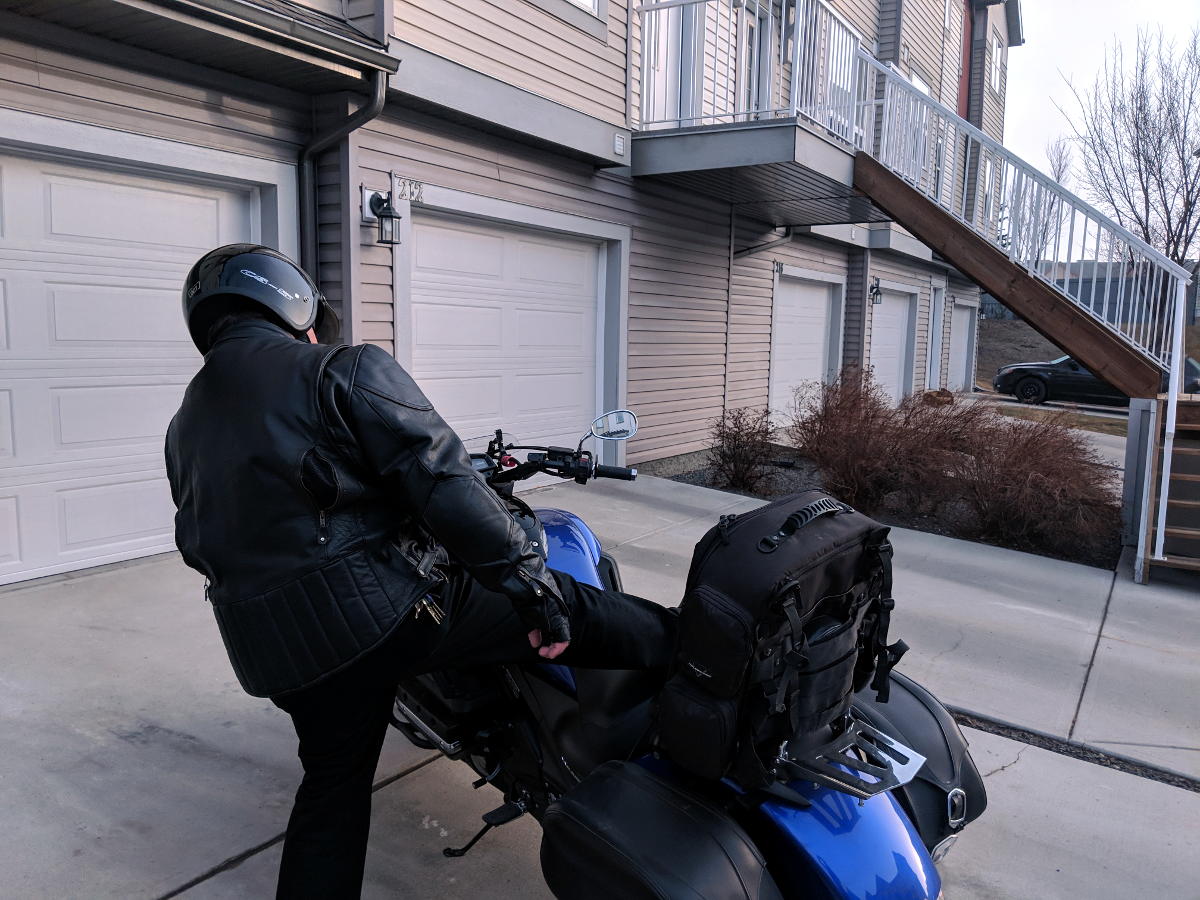
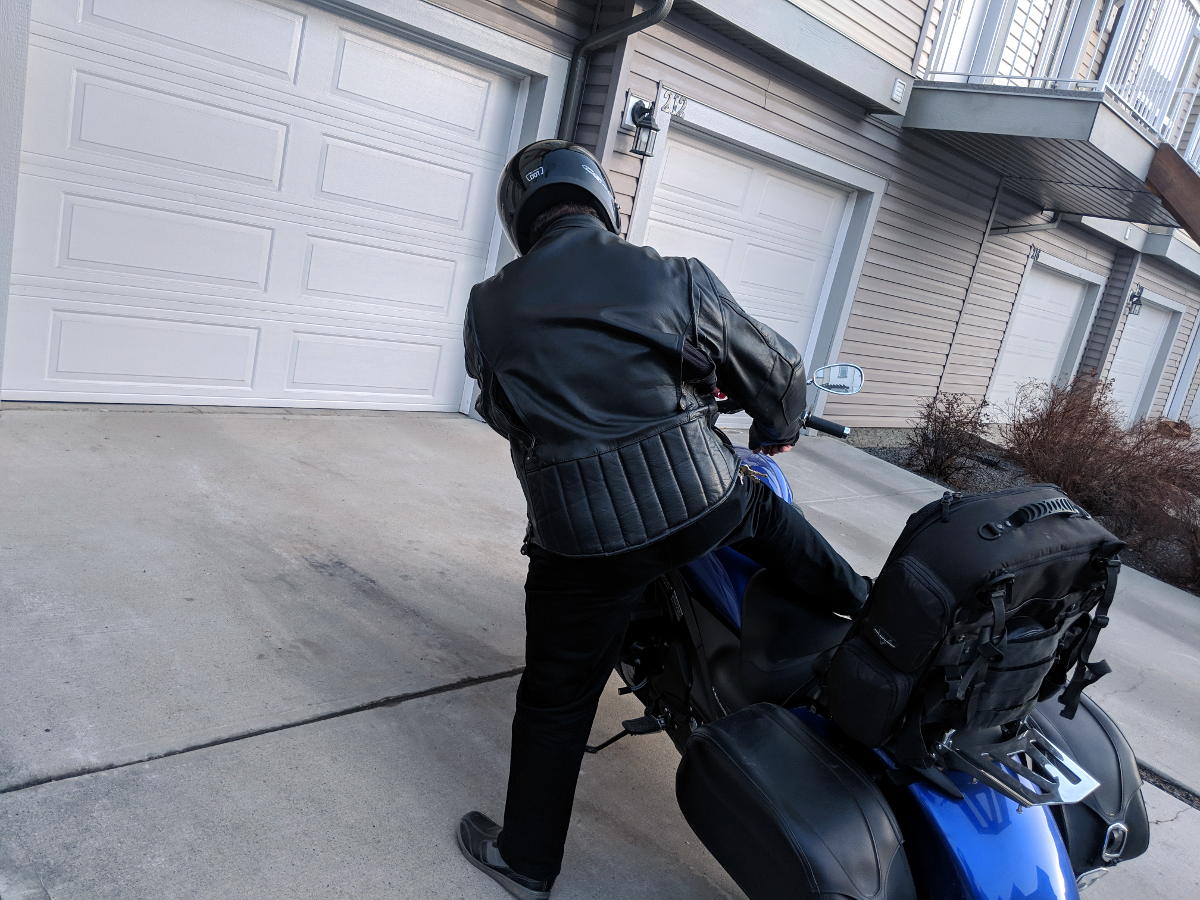
With your weight on your left leg. Swing your raised right leg over and past the seat.

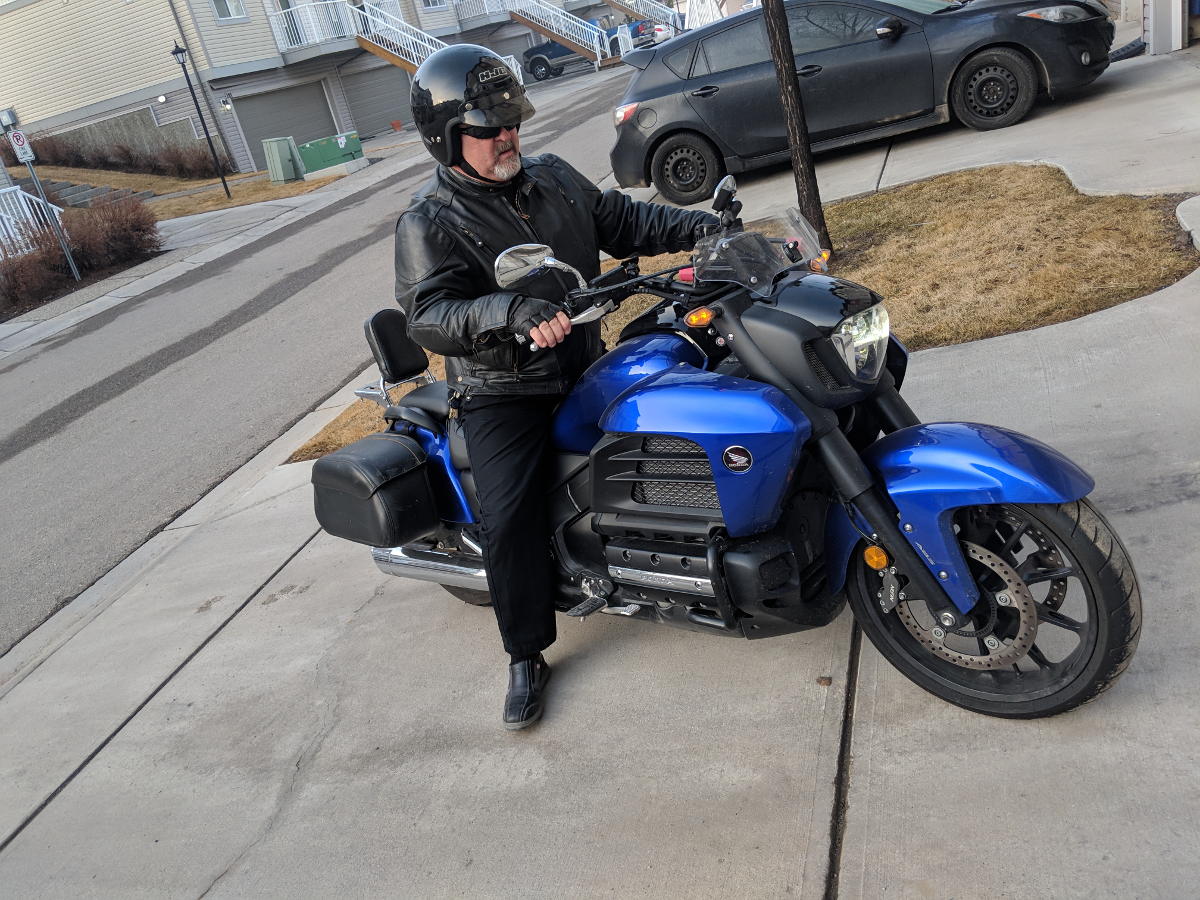
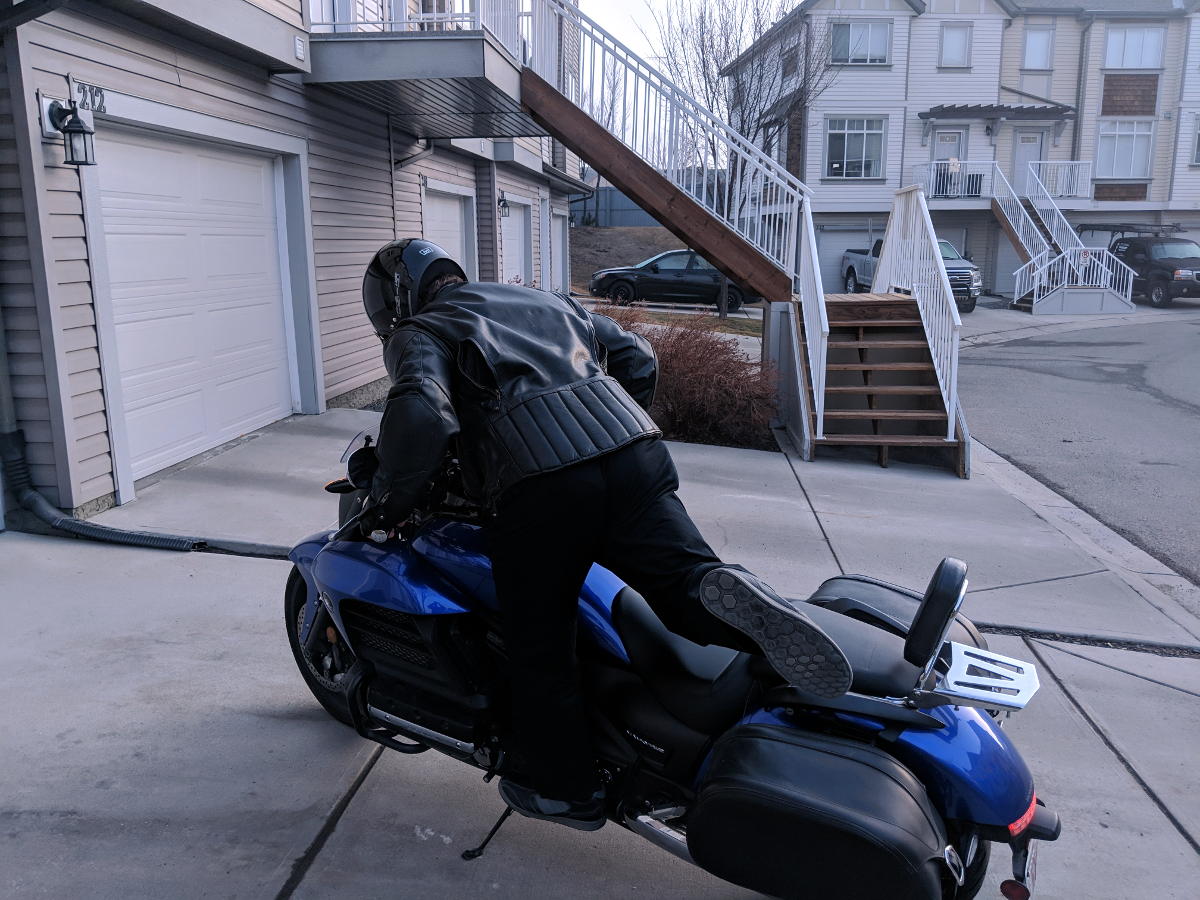
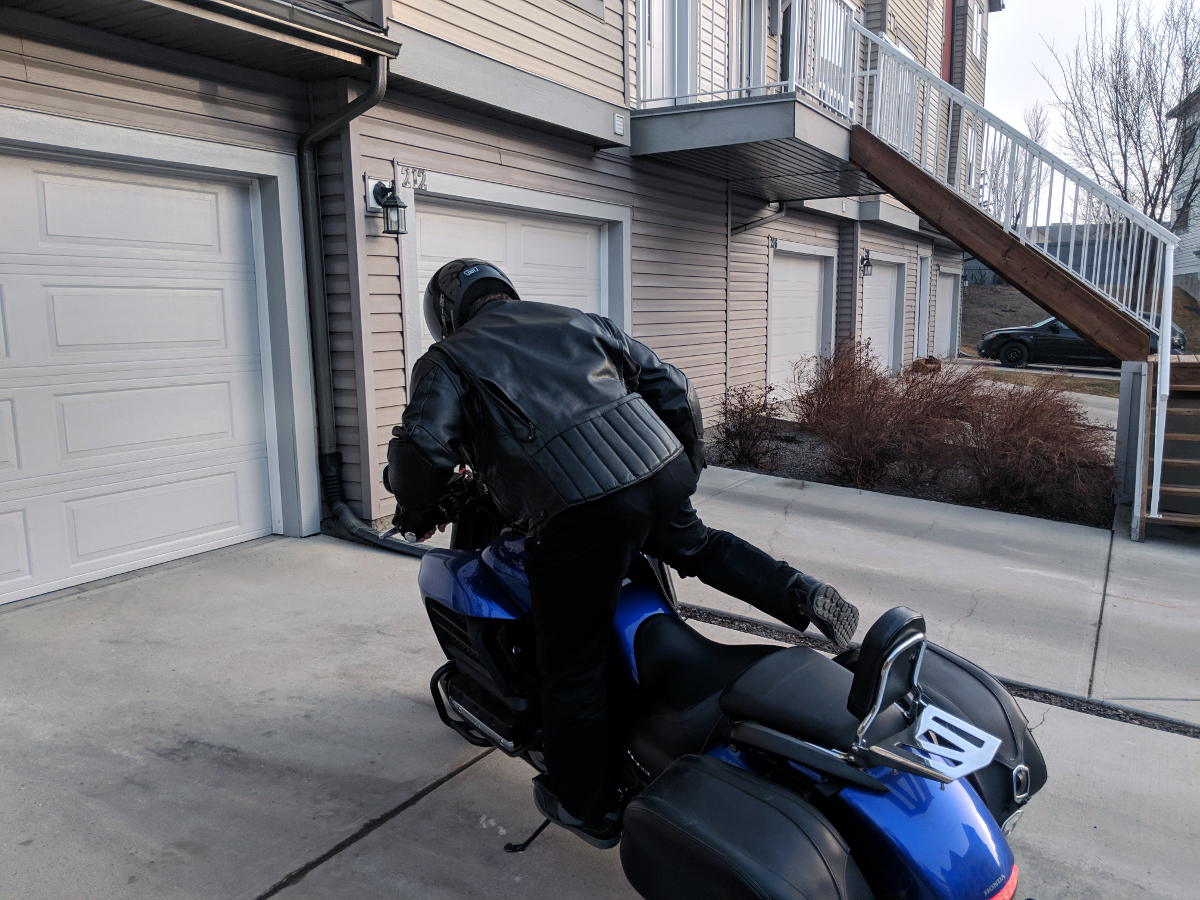
Step 4
With your right leg past the seat, let yourself lean back into the seat.

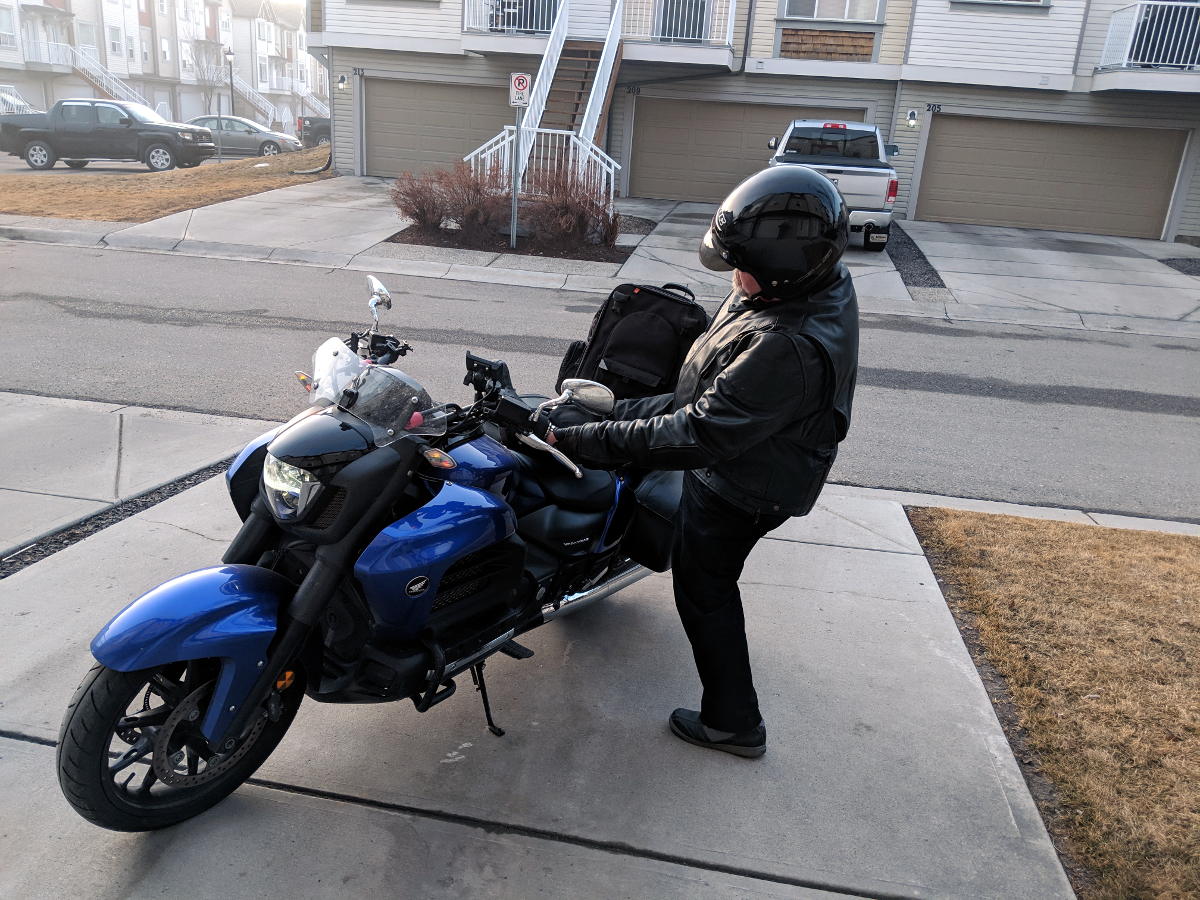
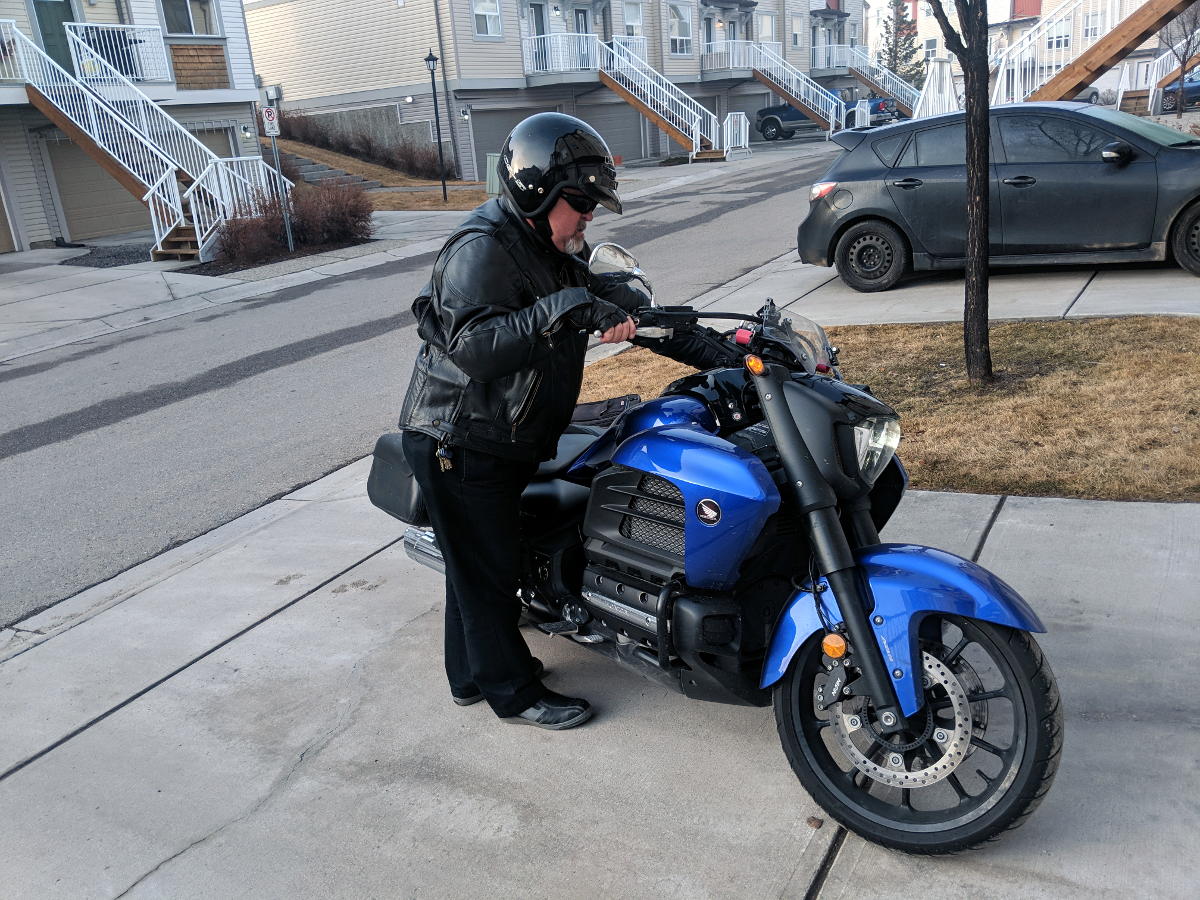
Depending on what you are comfortable with place your foot either on the foot peg or directly to the ground.

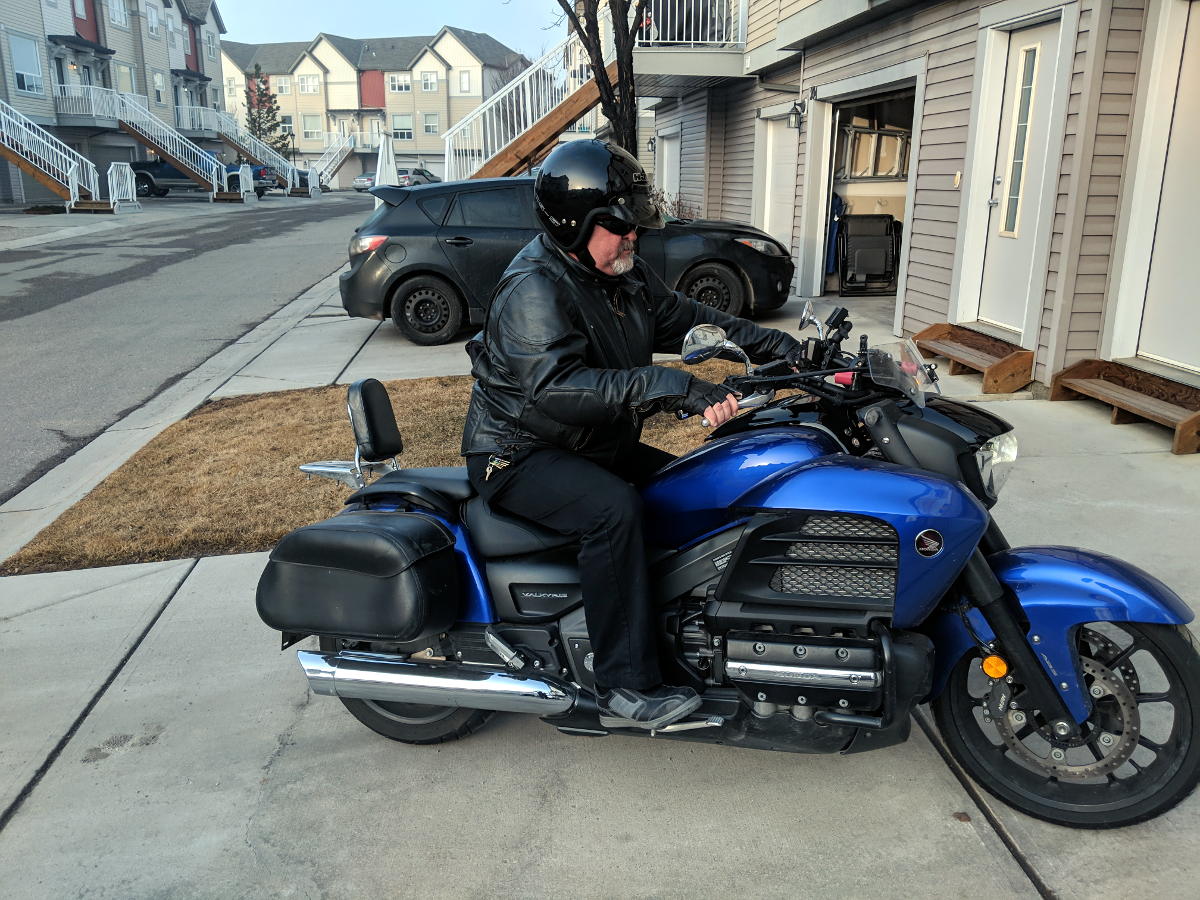
Step 6
Raise bike into the upright position and raise kickstand.
Video (Normal Mounting)
Modified Mounting (Peg Mounting)
As mentioned, there are multiple ways to mount the motorcycle. The PEG Mounting method is a technique made for the vertically challenged, and for people with less mobility due to age or injury.
This mounting method can be a little challenging the first few times you attempt it as you will have to find balance while standing on the left peg. It is recommended to have someone else present the first few times you practice the listed steps below.
See the step by step instructions below, or skip to the video.
Step 1
Approach the motorcycle from the kickstands side, MUST BE THE KICKSTAND SIDE, and put hands on handlebar grips. Place your left foot on the left peg in a secure position.
Step 2
Apply front brake firmly and raise your right leg above the seat. Keep weight on your left foot/peg.
Swing right leg over and past seat.
Step 4
While still keeping most of your weight on the left peg. Place right foot on right peg, securely.
Step 5
With both feet on the pegs, lower yourself into the seat.
Lower your feet to the ground.
Video (Peg Mounting)
DO NOT USE THIS METHOD if the ground you are on is soft enough that the kickstand might sink into the ground.
A good idea is to always keep some sort of kickstand plate to help prevent a situation that stops you from not only using this method but from even parking your bike. Or if you are on a significant incline or decline.
Modified Mounting (Kick Mounting)
This last method is generally used when the rider has something like luggage or backrest preventing them from swinging their leg over the seat. It’s also a pretty quick way to mount a motorcycle, but also comes with a few risks.
Like the peg method, it is recommended to have someone there with you to make sure you don’t misjudge and accidentally kick your bike over, or roll away on you as when using this method from the kickstand side, as you don’t have a chance to use the brakes.
Follow the instructions below.
Step 1
Approach the motorcycle from the kickstand side and grasp the handgrip.
Step 2
Kick your leg up and over the seat. Rest it on the seat if you need to.
Step 3
Slide leg across the seat and start reaching for the front brake.
Step 4
Apply front brake when possible and continue to slide right leg down to peg.
Place left your foot on the peg and sit down in the seat.
Video of Kick Mounting
DON’T USE THIS METHOD if you aren’t on secure footing or are parked on an incline.
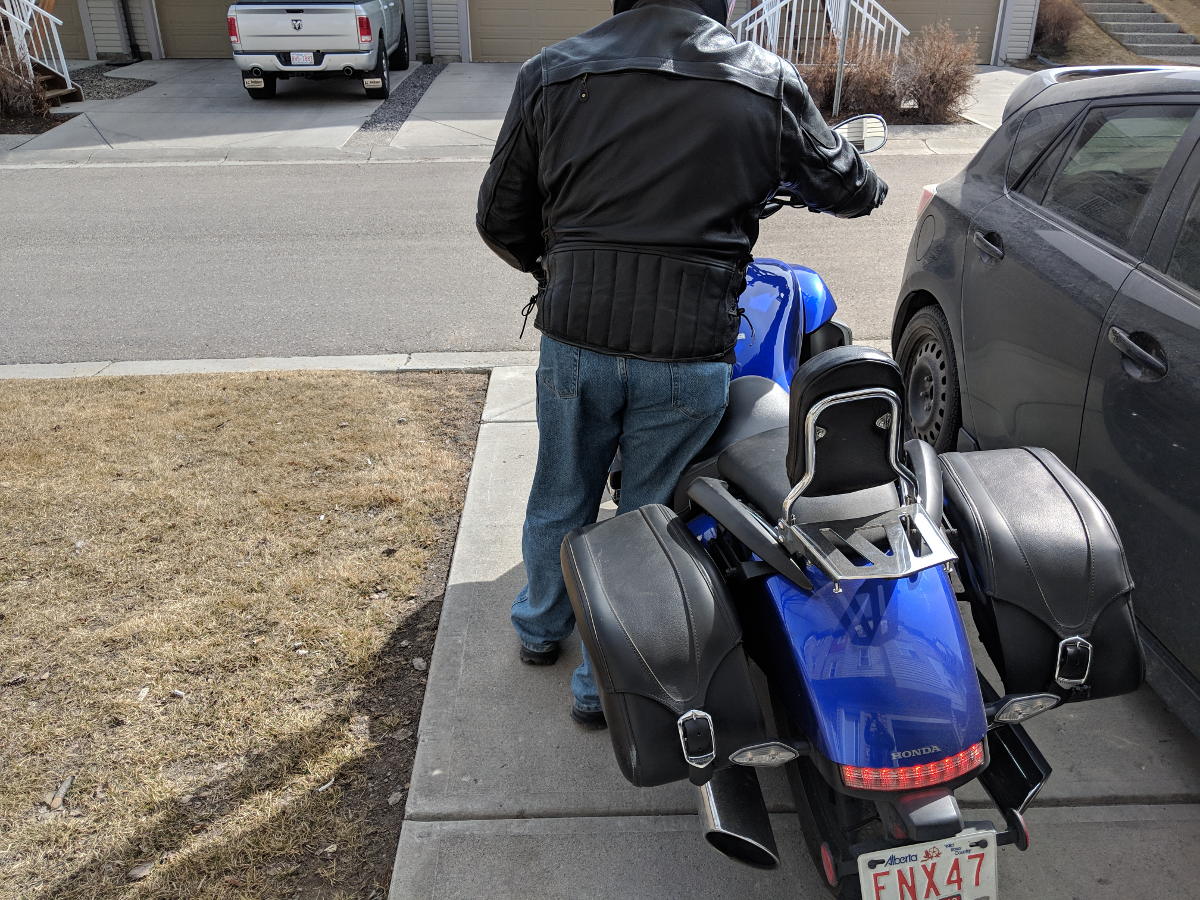
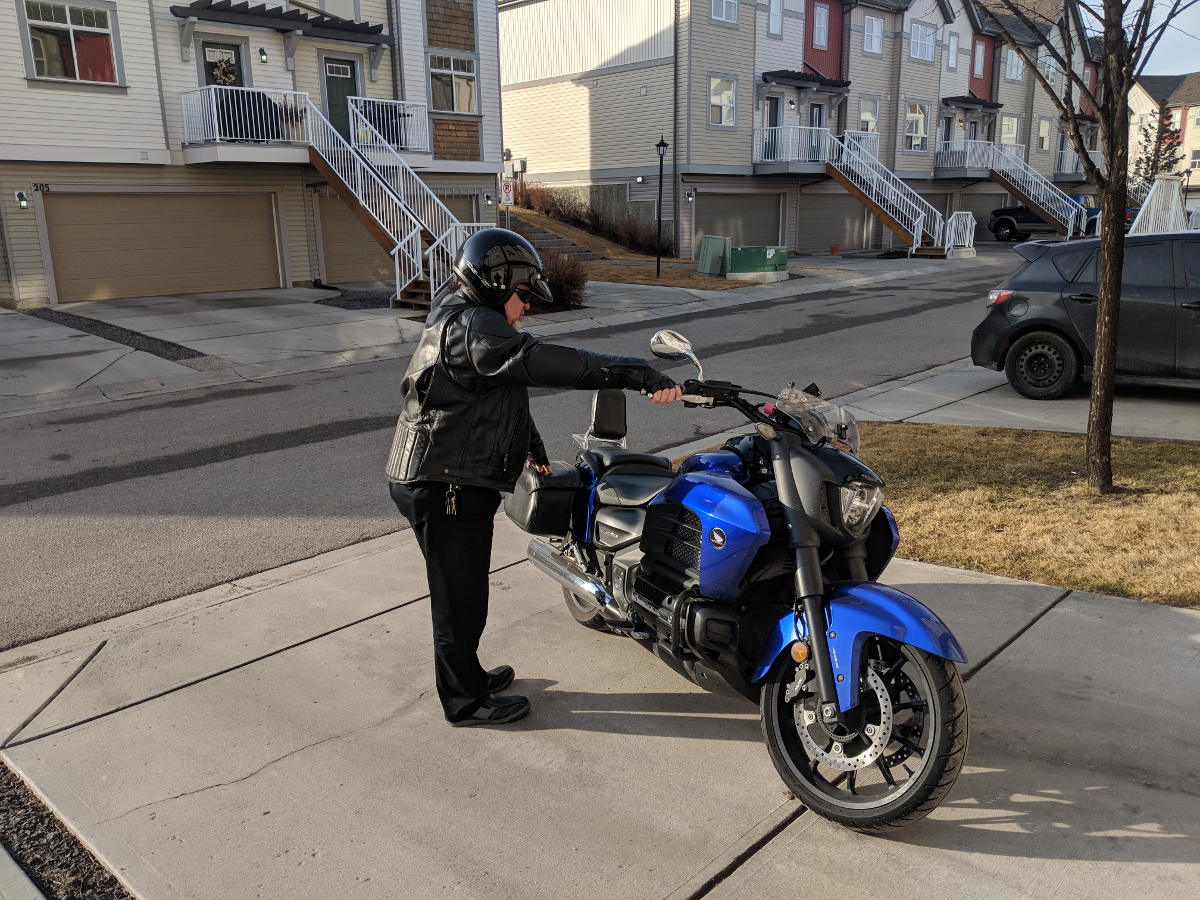
Opposite Side Mounting
Both normal mounting and kick mounting have techniques that can be used on the non-kickstand side of the bike. However, the peg method is not recommended for use on the NON-kickstand side as the technique requires the use of the kickstand.
Opposite side mounting techniques are typically used in situations where it is either unsafe to mount a motorcycle from the kickstand side (like pulling over onto a thin shoulder on the road) or the option simply isn’t available due to space (like someone parking too close to you in a parking lot).
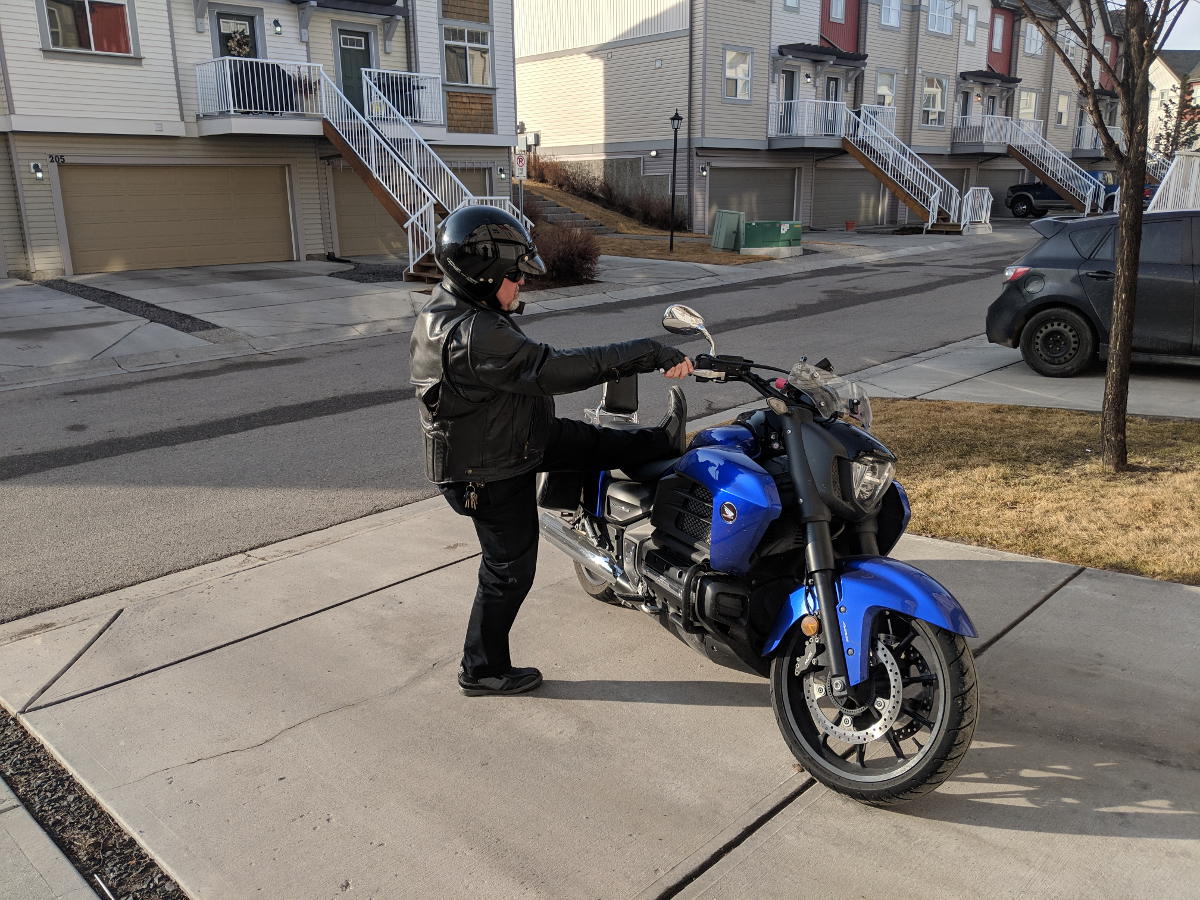
Opposite Normal Mounting
Step 1
Place hands on handlebar grips and apply the front brake.
Step 2
Lean into the motorcycle while lifting your left leg above the seat.
Step 3
Slide/swing leg over the seat and place left foot firmly onto the ground.
Bike safely mounted.
Opposite Kick Method
The only real difference found with the Opposite Kick Method is that it can be used on an incline as you have access to your front brake.
Step 1
Grab front handlebar grips and apply the front brake. Keep a step back to allow room for the leg to swing above the seat.
Kick leg up and over the seat.
Step 2
Slide leg over and past the seat
Place your left foot on the ground.
Ready to ride!
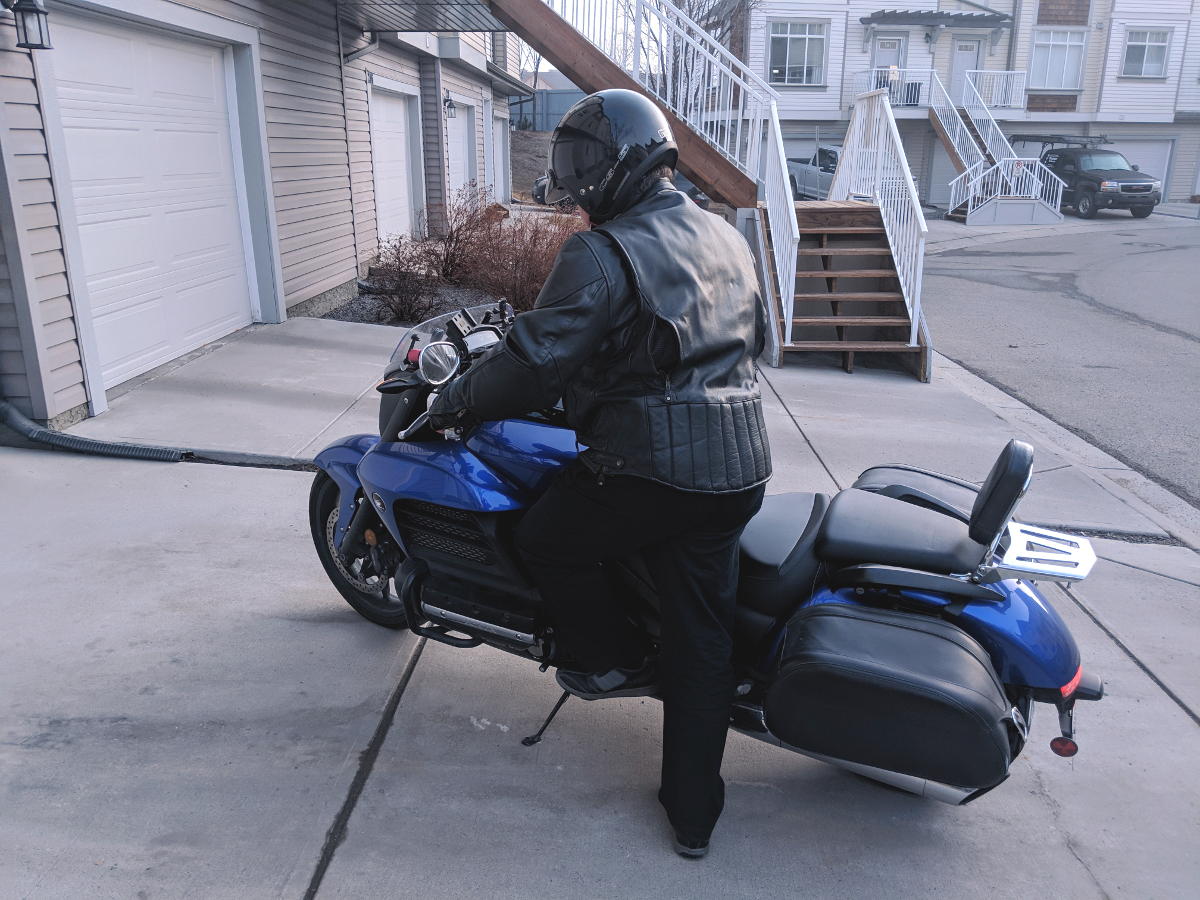
Dismounting the Motorcycle
Dismounting your motorcycle is the exact same as following the mounting instructions backward. When dismounting a motorcycle do your best to make sure that the kickstand is down at all times as it is your safety net if you or the motorcycle loses balance.
The below video shows two ways to safely dismount your motorcycle.
