
Back to the Basics
My number one rule for hill starts or any riding really is making sure you have the front or rear brake applied while stopped at all times. Getting into the habit of this will ensure that it becomes a natural body reaction and will help you keep from losing control of the motorcycle in various situations. Without these skills, I’m sure I would have not been able to go anywhere in the places I’ve traveled to on a motorcycle.
I’m going to go over a few habits to get into that will not only help you pass your test – but also make riding life easier going forward. I’m going to outline a step by step guide on things to focus on to create a successful hill start.
1. Stop With Your Left Foot Slightly Ahead of Where You’d Usually Place it
The front brake is the strongest and usually used for the stopping portion. So if you’re stopping on a light that’s halfway up a hill, I would apply more of the front brake and some rear as well – stopping in what we call the ready position. Why I suggest having your left foot slightly forward is for a few reasons.
If you set yourself up properly like in these next steps, you should be able to have that extra split second of footing so you’re not off balance with what we call “dabbing” your foot, or walking the bike – both of which can be considered marks off your test as you are not in full control of the bike.
Duck walking/dragging feet – don’t do it. Photo courtesy of Riding in the Zone
2. With the Front Brake Applied, Click the Shift Lever 10 Million Times to Make Sure You’re in First Gear.
Maybe that’s a bit of an exaggeration, I don’t personally keep track of what gear I’m in. I know by how the bike throttle reacts, and engine sound.
Build up your attention to both the throttle and the engine sound, as it’s more important and brings the thinking out of that one little thing – to concentrate on more important things such as traffic. From there, you should be able to put your left foot on the ground, right foot on the rear brake and be in the ready position
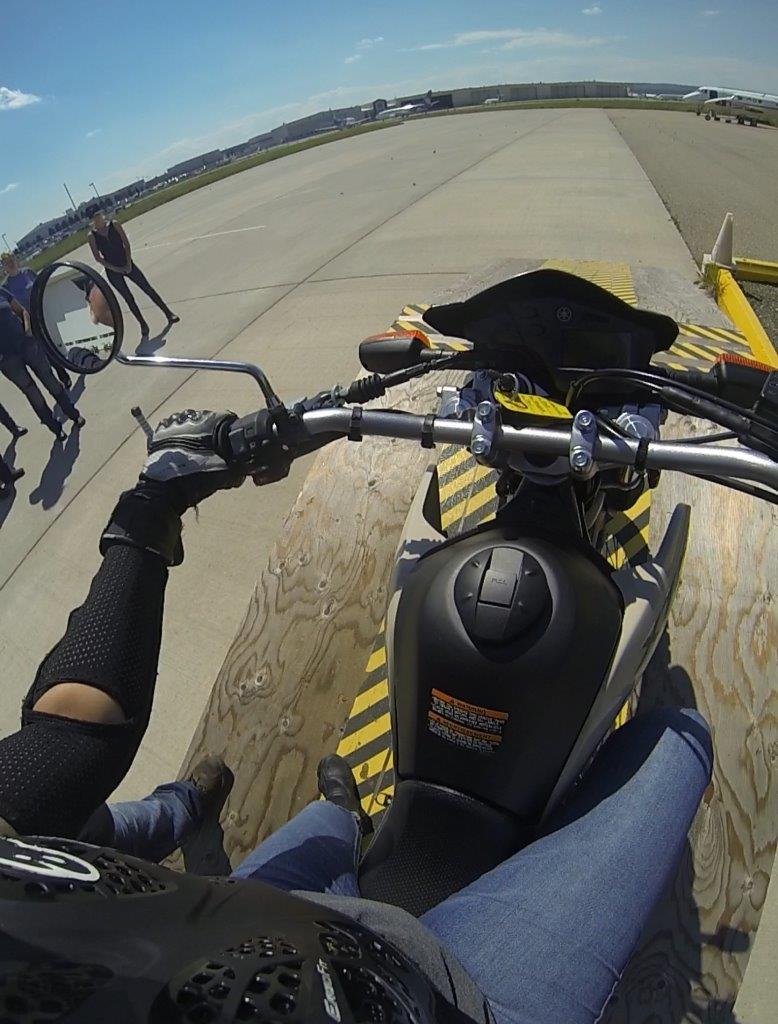
3. What is the Ready Position?
Ready position while the bike is running is:
- Having the clutch pulled into the bar and disengaging power from the engine to the wheel.
- Pressing on the rear brake to ensure you don’t roll forward or backward.
- Taking your right hand off the front brake lever and having full access to the throttle without impediment.
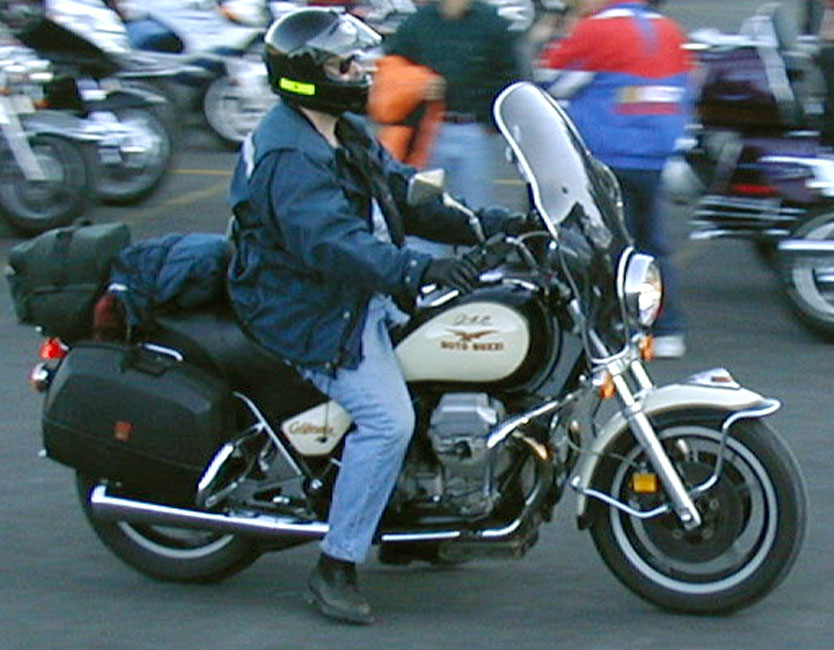
- Hovering your hand over the front brake lever while stopped only does two things:
- Give you less control over the throttle and steering bar,
- Make you grab something if panicked and prevent forward movement if you needed to get around.
- Eyes alert and scanning your horizon for anything that you need to react to.
Do This

Photo courtesy of Motorcycle Cruiser
Don’t Do This
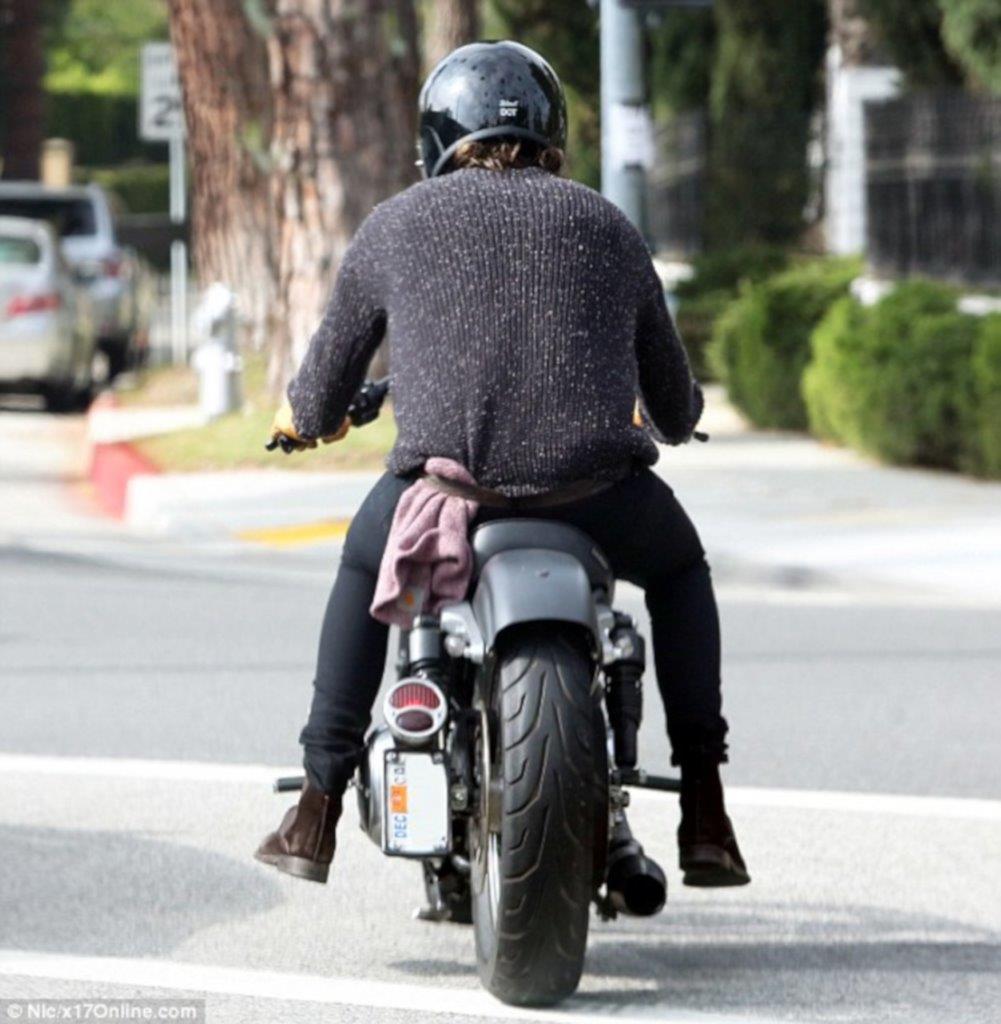
Photo courtesy of Dailymail UK
4. No Neutral Unless You Need to Give Your Hand a Rest
Most riders are guilty of it, myself included. You’re waiting at a set of lights, just waiting for it to turn green so that you can get back to the wind in your hair. You pop the bike into neutral and start dancing with your hands, doing something reminiscent of interpretive dance and weirding out all the motorists beside you. Wait, haha, maybe that last bit was just me.
The reason that keeping in first gear is so important is that those split-second differences can mean the difference between life and death. If you’re in neutral, now you have to pull in the clutch, grab the front brake so you can press down on the shift lever, release the clutch and apply the throttle. By staying in first gear, I’ve just eliminated your fumbling and the first two steps. You’re welcome.
5. Take Your Hand Off the Front Brake & Get Ready to Use the Throttle
This may be self-explanatory, but it is good to keep in mind the rule I go back to: front or rear brake is to be applied when stopped at all times until you’ve dismounted and the bike is on its stand. Applying the rear brake allows your right-hand full access to the throttle which is the ideal position.
6. Apply Some Throttle
This is the fear most students have on the ramp: “will I launch through the air if I give it too much throttle?”. The answer is no. The motorcycle needs the engine to be prepared to carry weight, and by opening the throttle, you’re preparing your bike to be able to move you instead of stalling.
Without enough throttle, you will stall the bike, back up traffic and potentially have to protect yourself from road ragers. Always keep in mind that you want to go home at the end of the day – so keep a calm head and assess the situation. So make sure to find the friction zone before the brake is released and after there is a decent amount of throttle locked in.
By locked in, I mean that the throttle is set and held at a certain level. People have a tendency to back off the throttle once they release the brake and that will stall the bike, throw you off balance, roll back and potentially cause you to crash. If you do start to roll back because this step and the next aren’t done properly, quickly re-apply the rear brake.
The only way the bike will launch is if you suddenly fully release the clutch at higher throttle and to do that means you do not have control of your bike which will potentially cause a crash as well.
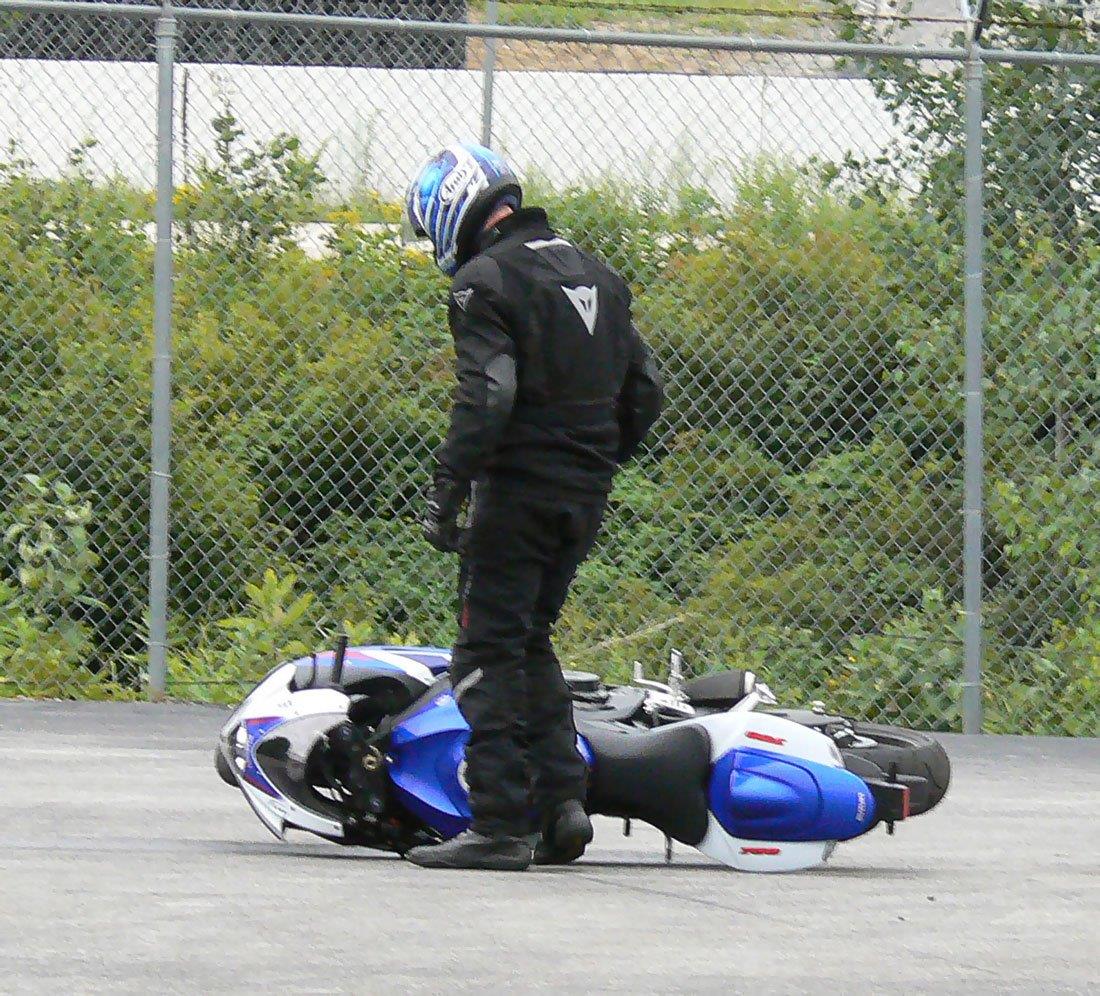
Whoops, crashed the bike. Photo courtesy of Riding in the Zone
7. Find the Friction Zone
With your foot still on the rear brake, slowly let the clutch out until it starts to engage the engine to the rear wheel. Make sure like in the last point, your throttle hasn’t closed.
You’ll know the engine is engaging in two ways: one is the engine pitch will lower, second is the bike will start to actually want to seem to pull forward, but won’t because of the rear brake.
This is right before the friction zone would lose hold and you stall the engine, so practicing this slowly at first is very important as with practice and muscle memory, that action will automatically become faster.
8. Release the Rear Brake Slowly.
This is so that you know the engine and rear tire has engaged and you’ve set the throttle and clutch levers correctly. You can add a slight bit of throttle too if you feel it won’t be enough or if the bike sounds like it’s going to stall.
Back to point 6, releasing the rear brake slowly will give you more time to react to re-apply the brake in case you start to roll backward. If you do, pull in the clutch and apply the rear brake at the same time, and start from step 6.
Do not let go of the throttle and grab the front brake unless your right foot has come off the rear brake. Usually, this might fluster some people and cause them to forget to calm down and think about what they’re doing.
Courtesy of El Cerrito Trail Trekkers
Side Note: Add Throttle Bit by Bit
Be in control and don’t crack it wide open all of a sudden. Nothing about riding is huge/quick adjustments, anything with the controls should be smooth, meticulous and precise. You should be observing how the bike reacts with what you do and how it sounds when you do it.
Once you get on – you take your own life in your hands and no one else is responsible for it. If you make a mistake (hopefully while not going fast or in a dangerous situation as with motorcycling) take the opportunity to learn from it. This is the best way to learn your bike – my opinion as an instructor, of course.
