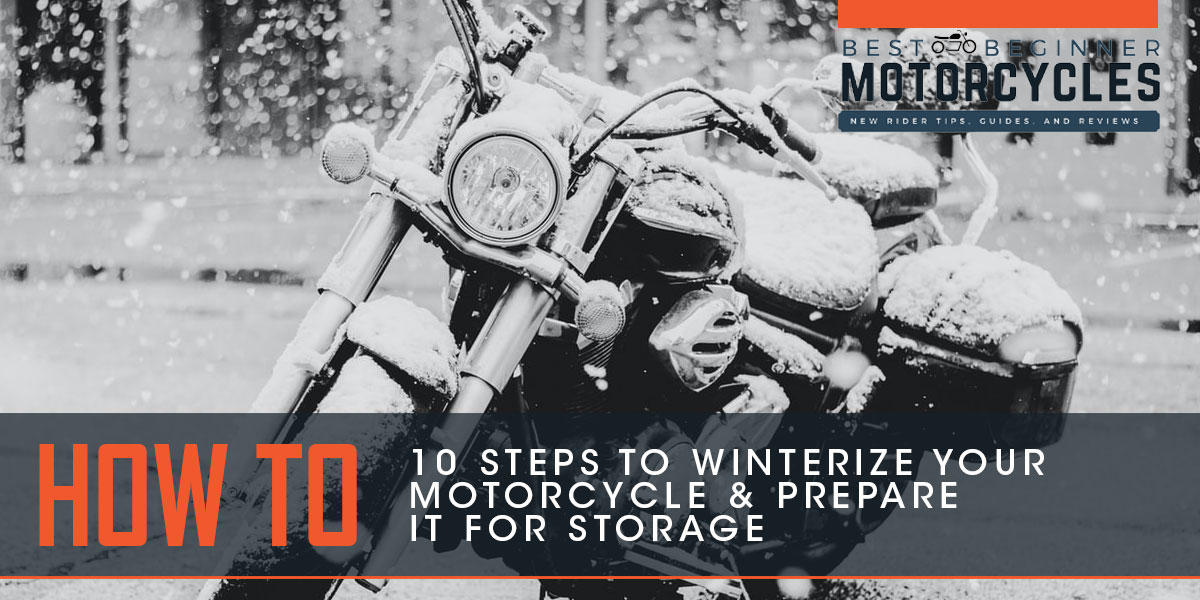
Updated October 18, 2019 by Cameron Martel
I live in Canada and I’m a motorcyclist. It’s late September, the leaves are changing colour, and there are more on the ground now than still clinging to branches. Some people still are walking around in shorts defiantly, but the anxious look in their eyes says… winter is coming!
Thankfully we don’t have George RR Martin’s zombie ice dragons or an army of the dead to prepare for, but for most bikers here the dread of snow and ice looms large just on the horizon.
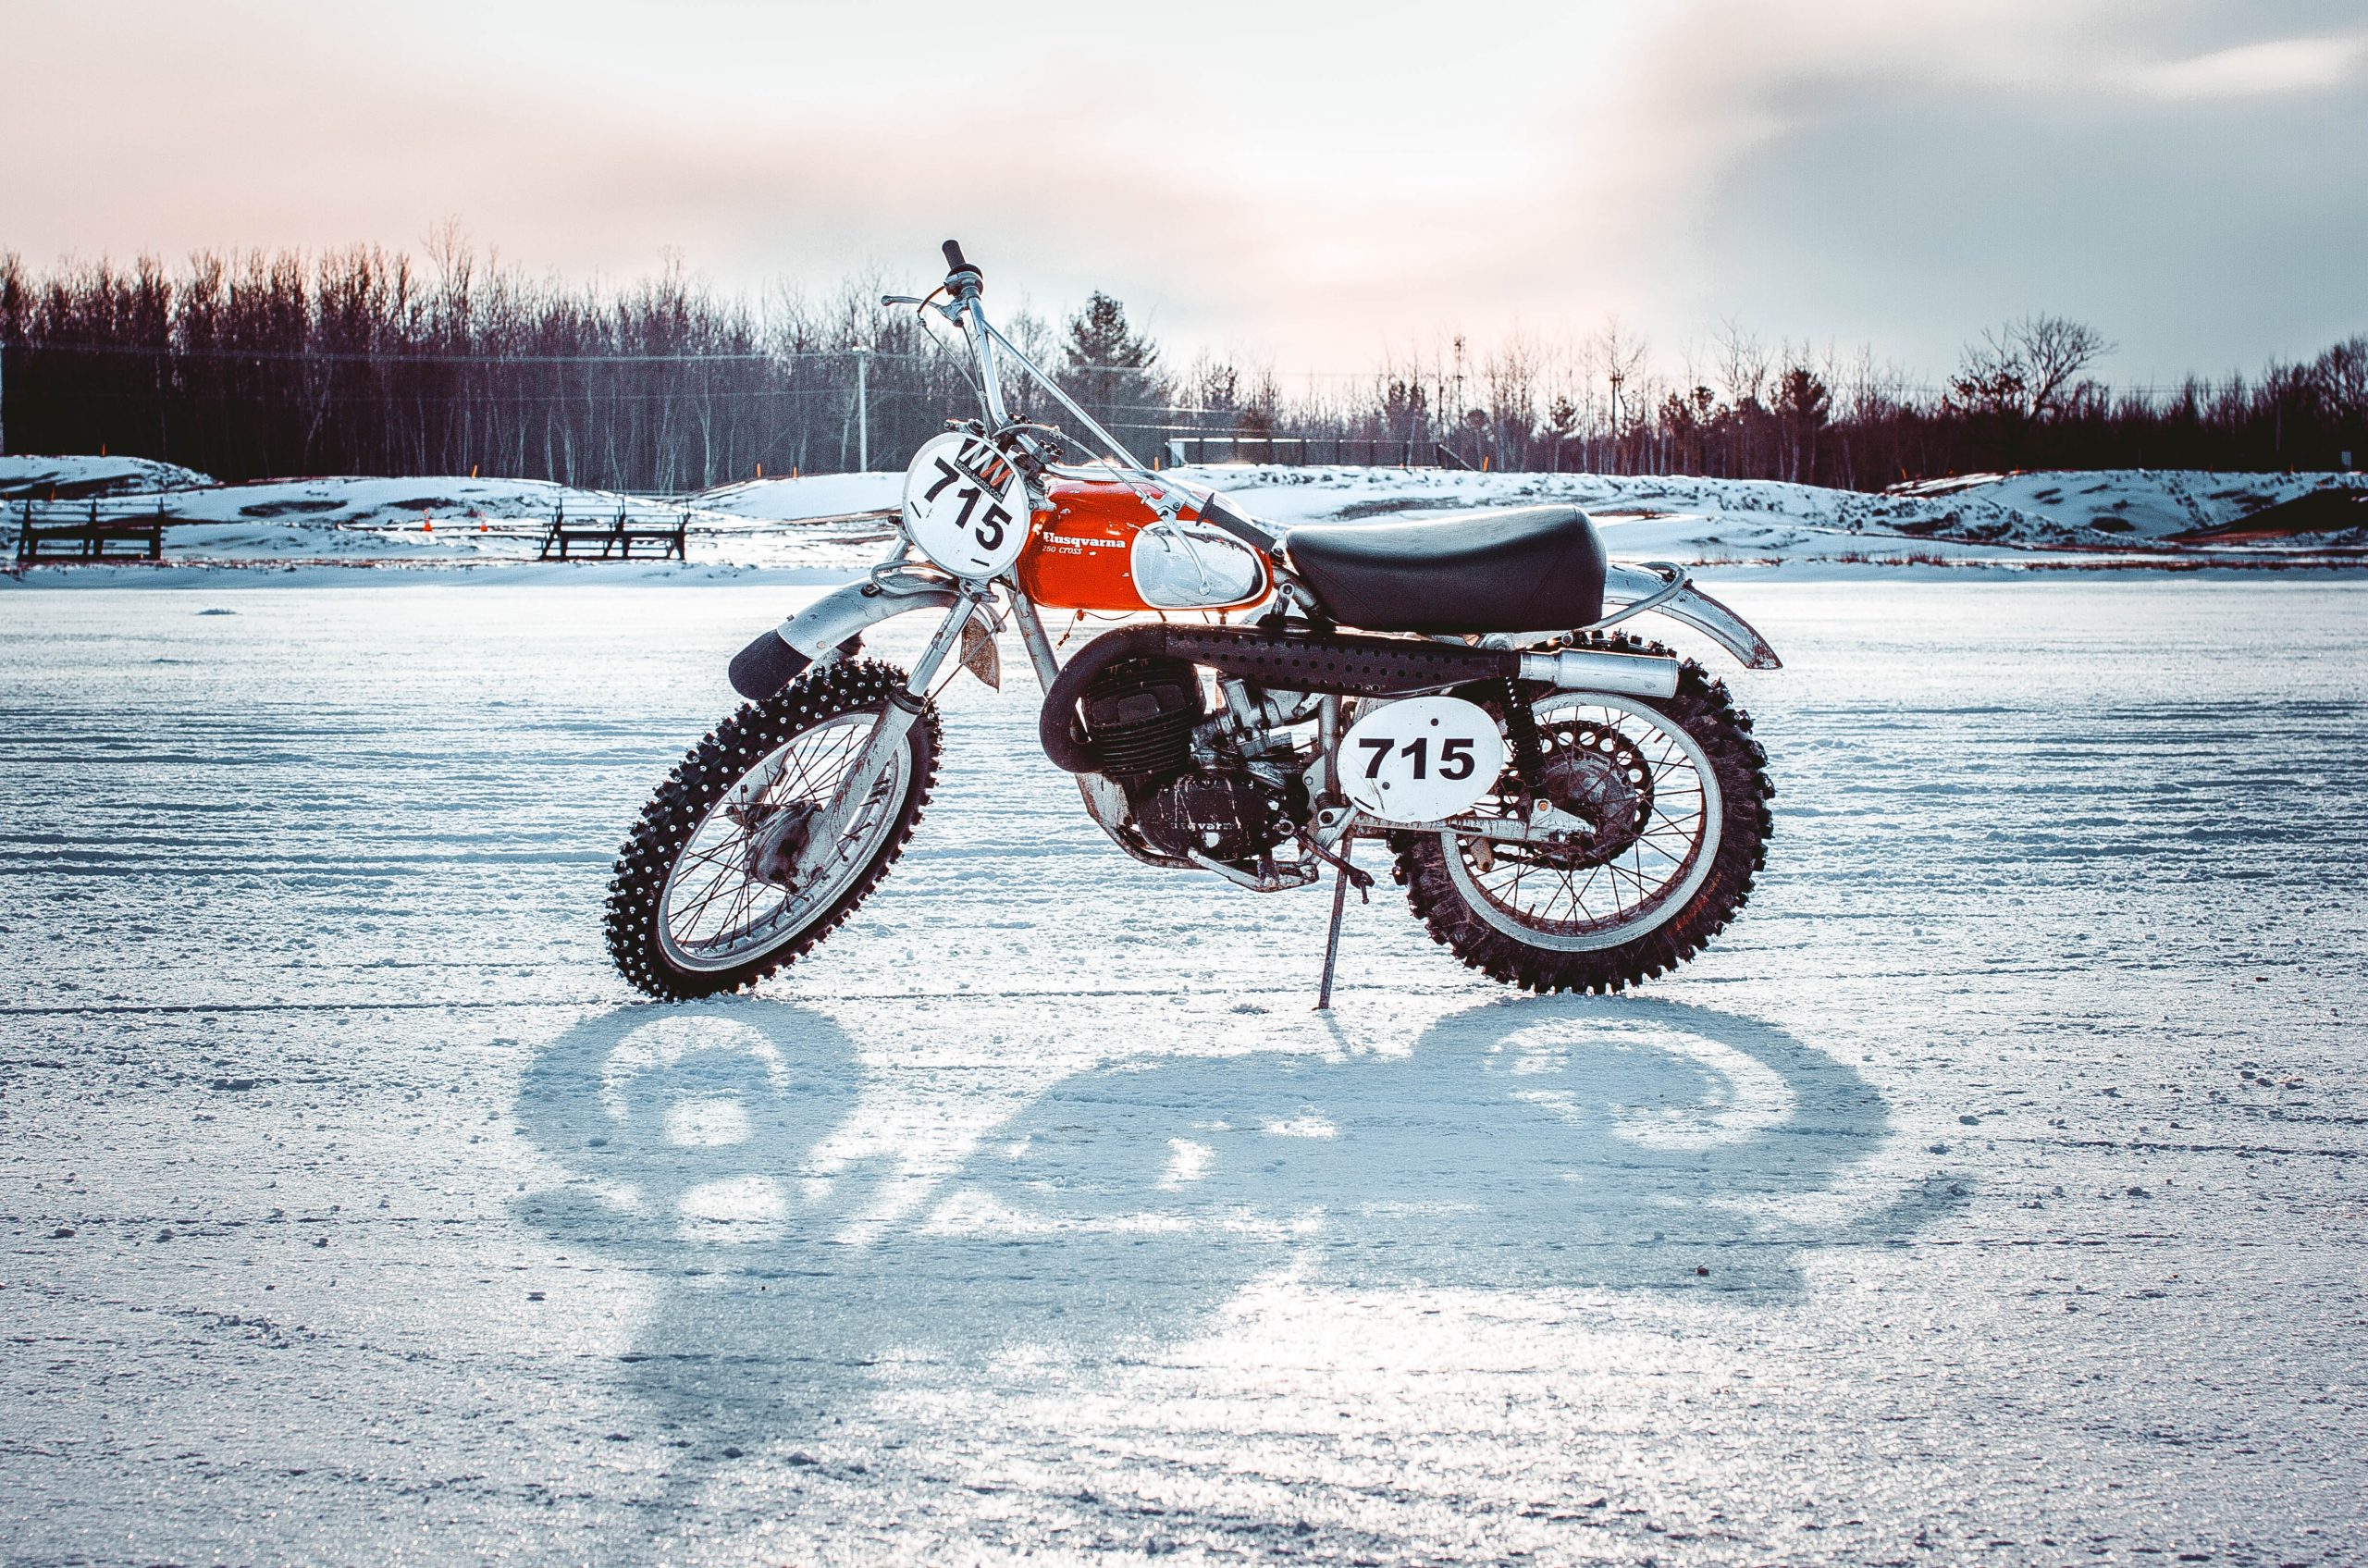
There aren’t too many places in “the great white north” bikers are free to ride every day of the year, unless you invest in studded tires and really warm gear. I can picture people snickering in places like SoCal and Arizona hearing that and all I have to say in response is: Touché. I envy you guys.
Still, even if you live somewhere it’s always warm, there may come a time when you need to put your ride into temporary hibernation for months or even years while you take a trip to Mars or something (isn’t Elon Musk looking for people with the right stuff?).
Prepping your bike for storage involves many things you should already be doing for maintenance and the additional steps aren’t hard. Let me walk you through the process I’ve used for many years successfully. You can benefit from the experience I gained through trial and error.
Step 1
Prepare a Good Location
Choosing where to store your machine is step one. Ideally, it’s a semi-heated, dry and secure location that isn’t in direct sunlight (since UV is destructive to everything from tires to paint).
Keeping your bike dry is the best way to inhibit rust growth on metal surfaces. Don’t fret too much about it since the last thing you will do before throwing a cover over the bike is to coat all metal surfaces other than your brake rotors with a protective film of rust inhibitor like ACF50 or WD40.
Here’s a link to a great comparison test someone did on these type of inhibitors. ACF50 and WD40 both did very well in the showdown. ACF lasts longer without re-applying but WD is less expensive.
If the temperature stays fairly constant and above freezing it will stop condensation from forming as easily on the bike. Keeping things on the cooler side will help stop your battery from discharging, but don’t leave a battery in below freezing temps for extended periods of time. More on that later.
I think it goes without saying the location needs to be theft-resistant… common sense.
Take a moment to consider the risk of vermin/pests in the location and install countermeasures to deal with them before they install nests in your airbox and chew up your wiring and leather.
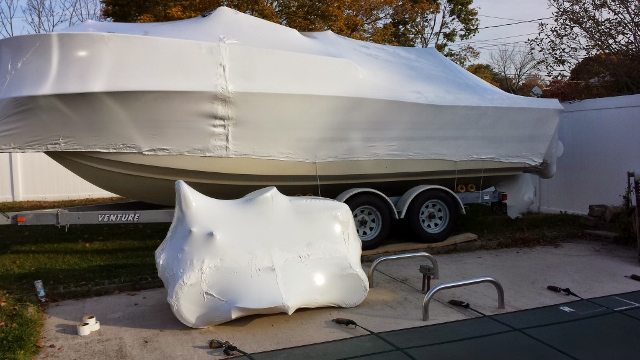
If you have no choice but to store your bike outside, follow all the steps I outline in this article. I recommend hiring a company that does boat storage using thick, shrinkable plastic and having them apply the works to your bike. Some of them are mobile and will come to your location to turn your bike into a tightly wrapped, weatherproof, fortress of solitude. I’ve never tried this myself, but if it works for boats it should work for bikes.
Step 2
Fuel & Engine Treatment
The most important part of winterizing your bike is stabilizing the gas in your fuel system. You can get away with neglecting many other steps, but leaving untreated gas in your tank, carburetors and fuel lines during storage can leave moisture, rust, varnish and gum deposits. That means your bike won’t start or will run poorly until you find an annoyingly labor-intensive way to remove that gunk. It’s not fun at all so take the time to do this step (at a bare minimum).
I have found not all fuel stabilizers are created equally. I won’t slag the ones who let me down; instead, I’ll strongly endorse a couple of products that have ensured my machines start right up every spring.
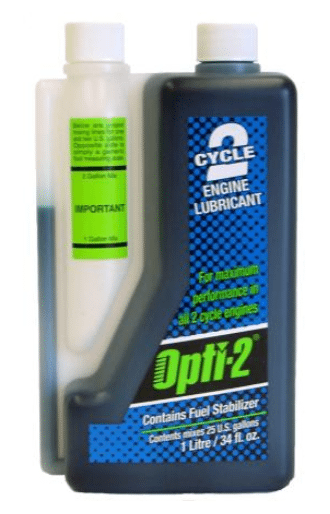
For 2 stroke engines, my prep is partly done throughout the year by choosing a high quality mixing oil with a fuel stabilizer additive built in. That way I can skip a step when I put those bikes to sleep.
Opti-2 is the mixing oil I swear by to do this. Not only does it contain a fuel stabilizer, but you also can safely mix fuel at a 100:1 ratio regardless of what the manufacturer recommends. Doing so won’t even void a warranty. Opti-2 stabilizes fuel for up to 2 years effectively.
That low ratio mix means you don’t use as much every fill up so your oil supply lasts longer and there’s less exhaust smoke and tailpipe goop. Unlike some who don’t opt for Opti 2, I’ve never had an engine failure in a dirt bike, chainsaw, lawnmower or trimmer.
Seafoam Time
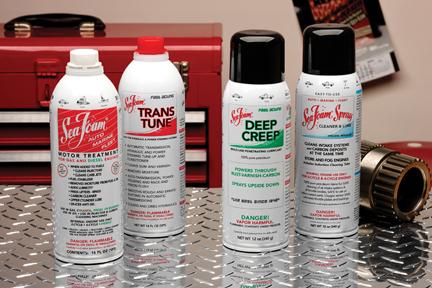
If you haven’t been using Opti 2 or something like it don’t worry you can get some Seafoam Products to treat your fuel and engine instead. This is what I use on my 4 stroke bikes, but it will also work in a 2 stroke engine. It’s actually the same additive for any type of engine, even diesels.
I buy one can of Motor Treatment and one of the Top End Cleaner and Lubricant spray before getting to work along with engine oil and a filter for my bike.
I add a little more than the required amount of motor treatment than is required for my size of gas tank because you can’t overdose with it. Extra product will only strengthen the bonus feature of cleaning and lubricating your whole fuel system without harming it with Seafoam. The minimum dosage is 1 ounce per gallon of fuel.
Pour it into your gas tank through the filler opening and slosh it around a bit to mix with the gas in the tank.
Stabilizing your fuel with Seafoam will last up to 2 years.
- I ride my bike for about 15 to 20 minutes to ensure the Seafoam is present everywhere in my fuel system, then stop for gas on the way home to fill the tank up to the top. A full gas tank will help prevent condensation and rust from forming on the inner tank walls during storage. I don’t want water in my gas tank and neither do you.
- If I’m working on a carbureted bike it’s now that I turn the fuel supply petcock valve to the OFF position and let the engine suck all the fuel out of the carbs until it runs dead. You don’t want even treated gas sitting in the carb bowls during storage. Fuel injected bikes don’t need this step.
- That’s when I change all my bike’s oils if they are separate or common compartment along with the filter. Having fresh oil in your engine, transmission and gear cases means there won’t be any metal, water, dirt or acidic deposits left in it while in storage.
- While I wait for the oil to drain I remove the air filter, clean it and oil it (as I use a reusable type) then pull out a spark plug from each cylinder to prepare to “fog” the engine with Seafoam Top End Cleaner and Lube spray. This involves spraying a three second burst of the lube directly into the combustion chamber using the spark plug hole.
- If you will be running your bike over the winter periodically you can skip fogging the engine as you’ll get no benefit from it.
- If your coolant is due for changing soon, drain and refill now. If not just check the level and top up if necessary.
- Put your new engine oil filter and oil in the bike after draining is done, but leave the spark plugs out and crank the engine over a few times to blow out any excess Seafoam lube from the spark plug holes while coating the inside of the combustion chamber walls. This is a great time to replace your spark plugs if you like or just reinstall the old ones if still good.
For Seafoam’s exact instructions on how to use their products on your bike, look here. You can use it in your engine oil and a variety of ways other than just for storage to improve performance during the riding season.
Step 1
Battery
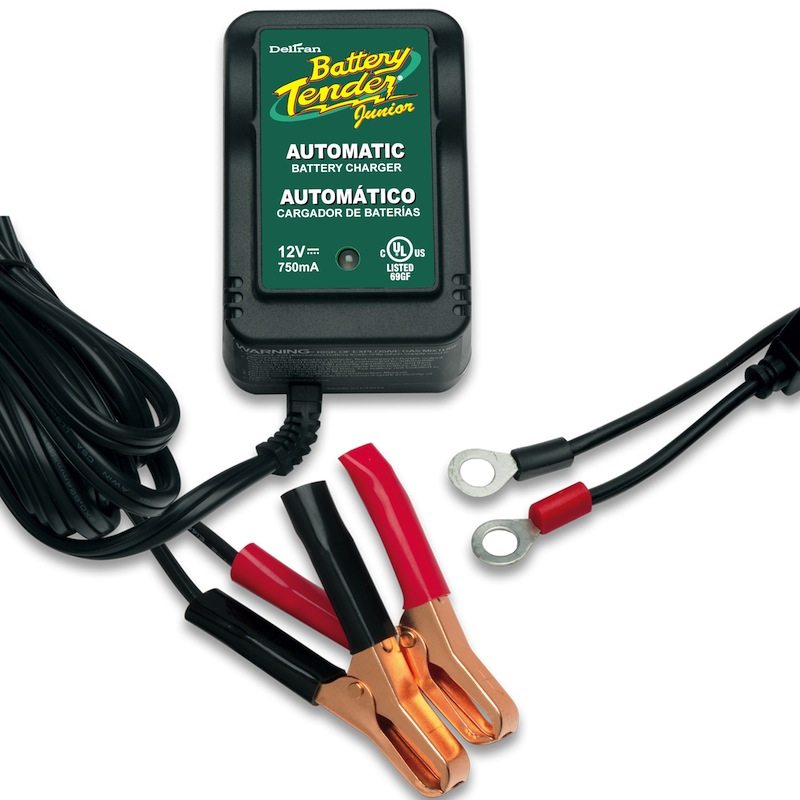
Many people choose to remove the battery from the bike during storage and generally that’s what I do too. The reason being is that there could be a small draw from the bike electronics that can pull down your battery over time and also grow corrosion on the posts.
Clean off the top of the battery, the posts, and connector ends at this point and thinly coat them in dielectric grease or vasoline.
A trickle type charger hooked up to the battery will keep it fully charged without any help from you. I don’t have one so I just use my intelligent battery charger instead which shuts off once full charge is achieved. Every month or so in storage I pull the leads off and put them back on which starts the charger again topping up the battery.
As I mentioned earlier, you’ll want to avoid storing the battery in temps below freezing because if something happens to your charger and the battery goes flat, you’ll find yourself shopping for a new battery come spring. When a battery gets completely drained the acid inside it (which can’t freeze) turns into water (which can freeze). That water swells as it freezes and damages the internal components.
Mythbusting Battery Storage
Contrary to what many people will tell you, storing a battery on a concrete floor won’t hurt it. In fact, cool storage temps slow down the rate batteries discharge so a cool concrete floor is actually good for a stored battery’s health.
Snopes.com debunks this myth very well:
“Car batteries used to be encased in hard rubber, a substance that was porous enough that battery acid could seep through it and create a conductive path through the damp concrete, draining the battery. The cases of today’s batteries, however, are made of sturdier stuff that far better contains their contents than those of yesteryear. As well, time has brought technological improvements to the seals around the posts and the vent systems.”
Step 4
Electrical Harness Connectors
If you’re planning on storing the bike a substantial amount of time it wouldn’t hurt to pull apart major electrical harness connectors to put some dielectric grease in them to prevent corrosion. For shorter storage it’s not necessary.
I always put a dab of it in the end of the spark plug wires to keep moisture out of there and to make pulling them off the plug easier too.
Don’t overdo it with this grease as it has a habit of getting everywhere and making a mess.
Step 5
Fork Seals
Leaking fork seals really are a pain. During long term storage the inner seals can dry out and start leaking.
This is a great time to gently pry back the outer wiper seal on your forks and spray in some of the Seafoam Lube. Next, bounce the forks up and down to get the lube to coat the seals a bit.
If you want to go one better you can buy a handy fork seal cleaning tool and use it with the lube to clean out any debris that may be lurking inside. If you still have some old 35mm camera film kicking around the house it works good as a seal cleaning tool too. Here’s a great how to video from YouTuber Robert Breeding on it.

This extends seal life in forks in my experience and is especially good with dirt bike ones. If you have a fork seal starting to weep quite often just doing this procedure will cure it and save you a lot of money having the seals replaced.
Step 6
Wash Your Bike
I generally wipe off bugs and dirt after each ride or weekly at the least, but if yours is dirty now is the time to get it clean for storage. Leaving it dirty will negatively affect your paint and plastics over time.
Avoid using strong tire cleaning products and protectant like Armor All on bike tires because it can negatively affect traction. Tire sidewalls also have a chemical coating on them from factory you don’t want to remove (as this coating helps protect from cracking caused by UV rays). It’s best just to use a brush and soapy water.
Washing your bike gives you a chance to look it over closely for fluid leaks, loose or missing fasteners, damage and other potential problems.
Step 7
Lube Your Chain
This is when I clean and lube my chain if my bike is thusly equipped. Not a bad time to adjust it, too, if you feel ambitious and like saving yourself some work in the Spring.
If you have shaft drive then why not change the final drive oil while you’re at it?
Step 8
Take Care of Your Tires
Many people swear by storing their bikes on a piece of plywood over winter so the tires won’t touch the cold concrete floor (causing flat spots and degradation of the rubber). Others will put the bike on a locking jack stand with both tires off the ground or on a centre stand and a front wheel stand to do the same.
While I can see the benefit of these measures for really extended storage, I’ve honestly never bothered and haven’t noticed any tire problems. I just check the pressure and top them up if necessary.
There are some really nifty center lift storage stands out there which make it easy to work on your bike and allow you to easily move it right in tight to a wall or corner to save room in your storage area. This one from Bursig is expensive to buy but a real treat to own.
Step 9
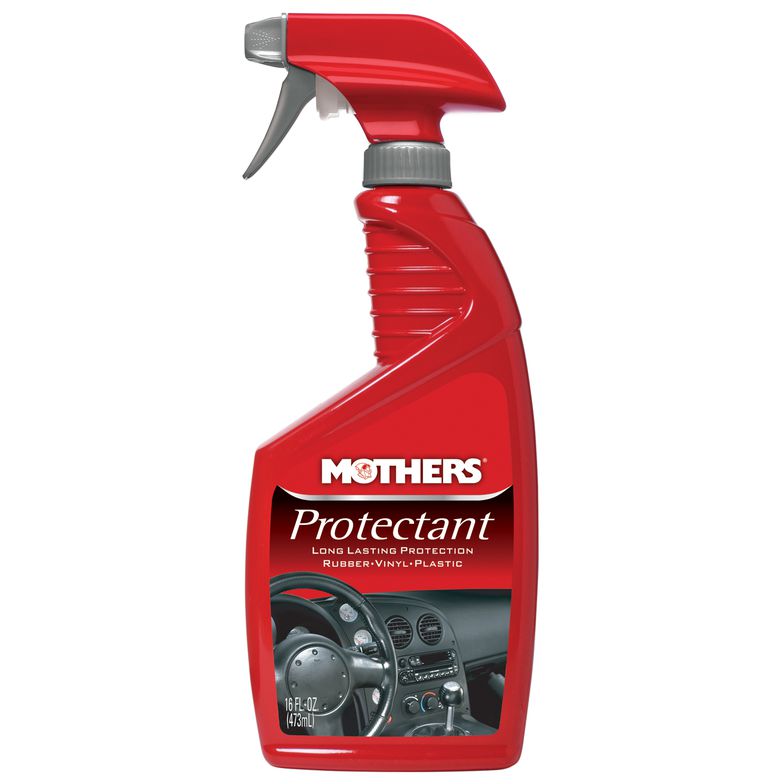
Apply Protectant
The ACF50 or WD40 I mentioned earlier can be applied now to all metal parts on the bike to keep corrosion at bay during storage. Avoid putting it on the brake rotors. Lubricating brake pads with penetrating oil is a bad idea.
I also am a fan of using a general protectant on the seat and plastics. Mothers is the brand I like to use as it works on everything that isn’t metal and does no harm. A side benefit of Mothers is that you’ll smell like candy after using it. More than once after detailing my bike I’ve been interrogated by my wife and kids about where I’m hiding candy out in the garage.
Some other protectant sprays I’ve tried have actually cleaned off the labels on my handlebar switches, so be cautious when using any fluids on your bike you aren’t familiar with.
Step 10
Exhaust Openings
If you think mice and other critters could be an issue it may behoove you to put some steel wool in the exhaust openings of your bike to restrict their access. I’ve never bothered with this step, but thought I would pass along this tip all the same.
Make sure to write yourself a reminder note to remove the steel wool and stick it to your gauges.
That’s a Wrap!
Finish by throwing a breathable cover over your baby and kiss her goodnight until Mother Nature chases away Old Man Winter and you can be alive and free again on the open road.
Taking these steps will almost certainly ensure you will have minimal to zero work ahead of you when you want to get out riding again.