
Using A Battery Tender
Anyone who has ever left their beloved car or bike unused for long periods will understand the pain. One day the weather is great and you’re excited to get it out on the road again. You remove the cover, you insert the key, turn on the ignition and – nothing, not even a light. The culprit? Usually a dead battery.
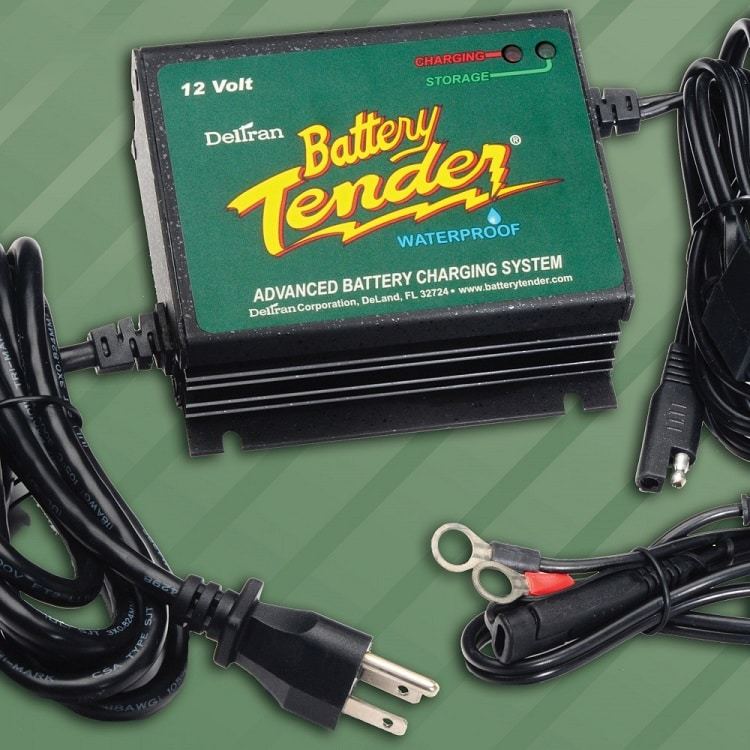
Enter Battery Tender. Battery Tender is a product of US Company Deltran which has been making them since 1965. Battery Tenders are essentially chargers with some tech worked in them making them better alternatives than ordinary chargers.
While chargers merely charge a battery, a Battery Tender uses microprocessor technology that goes beyond merely charging your vehicle, and is designed to keep the battery powered throughout long periods of hibernation, essentially prolonging its life.
Battery Tender Basics
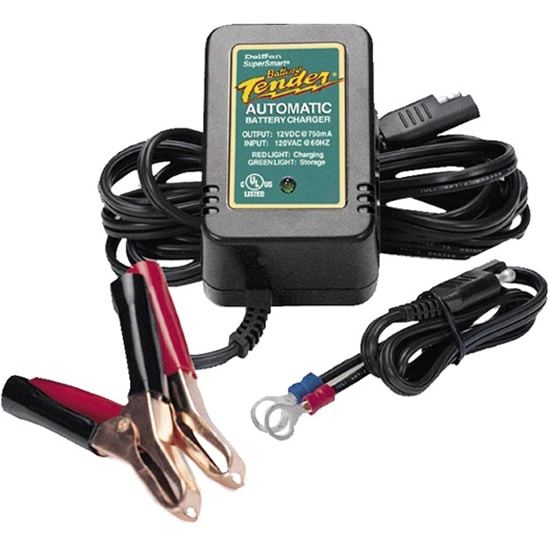
First of all Battery Tenders are ‘float chargers’ or ‘maintenance chargers’, or devices that not only provide a continuous supply of voltage to battery terminals but are also processor controlled, allowing them to perform such tasks as refraining from charging a defective battery, employ spark free technology for safety, and use easy to understand green and red indication lights to help you determine what’s going on at a glance.
As per their websites’ definition for the Battery Tender Junior: ‘The BTJR battery charger has microprocessor controlled power electronic circuitry which enables it to perform and safely control a number of sophisticated charging functions’.
This is as opposed to a ‘trickle charger’, which is a less sophisticated although less expensive device. While its purpose is the same, it does not have the microprocessor technology to prevent it from, say, accidentally damaging batteries if you leave it charging a battery too long. Battery Tender uses the phrase ‘Trickle Charger With A Brain’, to describe their products, and that explains a lot.
Also important to know is that while Battery Tender is best known for their chargers, the company also offers a variety of related products. These include batteries themselves, and of course chargers that are designed for specific implementations such as those for Industrial, Farm and Garden and Marine use.
They also market various accessories for these products ranging from cables, wires and harnesses to even USB chargers and solar panels. These all carry the name ‘Battery Tender’ however, so it can get confusing.
It’s best to visit their website at http://www.batterytender.com or their Facebook page and use their product finder feature to find the one suitable for your vehicle.
How to Use a Battery Tender
As there are many Battery Tender models to choose from and an even larger number of applications, we will assume for this explanation that we are using the model Battery Tender Plus 12V @ 1.25A (Product number 021-0128), a popular model available on Amazon for $49.99 on a typical car a 12v battery. We will also be assuming that we are installing this on a vehicle with a typical 6 cell 12 volt automotive battery.
Here are steps for charging a battery while it is in the vehicle
– Take all necessary precautions such as access to soap and water in case battery acid contacts skin, wearing eye and clothing protection, having someone nearby to call for help as necessary, and make sure you are working in a ventilated area.
– Locate the charger as far away from battery as cables allow.
– With the charger in ‘off’ position and its AC plug not connected to the wall outlet, position the charger’s AC and DC cords away from any of the vehicle’s moving parts ie. door, hood, fan blades, pulleys, etc.
– Locate the battery posts Positive (POS, P, +) and Negative (NEG, N, -). Determine which post of the battery is grounded or connected to the chassis.
– Connect the battery chargers clip appropriately depending on your vehicle’s battery connections:
- For negative grounded vehicle, connect the Positive (Red) clip from the charger to the Positive (POS, P, +) ungrounded battery post. Then connect the Negative (Black) clip to any area of the vehicle chassis or engine block away from the battery. Preferably, connect to a heavy gage metal part of the frame or engine block. Avoid fuel lines, sheet metal body parts or the carburetor.
- For positive grounded vehicle, connect Negative (Black) battery charger clip to the Negative (NEG, N, -) ungrounded post of the battery, then connect the Positive (Red) clip to the vehicle chassis or engine block away from the battery.
– If everything is in order you may now turn on your charger while it is plugged in an electric outlet, and your battery will charge. Take note of the following however:
- If a battery has a voltage less than 3 volts the Battery Tender charger will automatically not start. The battery should produce at least 3 volts for the charger to work.
- If a typical 12 volt lead acid battery that is not being charged nor supplying current load is producing less than a 9 volt output it is likely defective and needs to be replaced.
– Finally, here are the status indication lights and what they mean:
- RED LIGHT FLASHING – This indicates that the battery charger has AC power available and that the microprocessor is functioning ok. If the red light continues to flash, then either the battery voltage is too low (less than 3 volts) or the output alligator clips or ring terminals were not connected properly.
- RED LIGHT ON STEADY – When the red light is steady, a battery is connected properly and the charger is charging the battery. The red light will remain on until the battery is completely charged.
- GREEN LIGHT FLASHING – If the green light is flashing, and the red light is on the battery is greater than 80% charged and may is ready to be used. Preferably, leave the battery on charge until the green light is steady.
- GREEN LIGHT ON STEADY –When the green light is steady the charge is complete. You may keep it connected to maintain the battery for an indefinite period of time.
Please note it is essential to completely read and understand all included manuals and instructions related to the product. There are often particular details that are specific to certain conditions, vehicles and Battery Tender models you will have to familiarize with before you can fully utilize the products’ features.
Once you are able to use the product as it is designed however there is no reason you cannot make the most of your battery for many years, as indicated by the comments of many satisfied users of this product.
