

Start Here: Setup
Hardware/Tools Needed
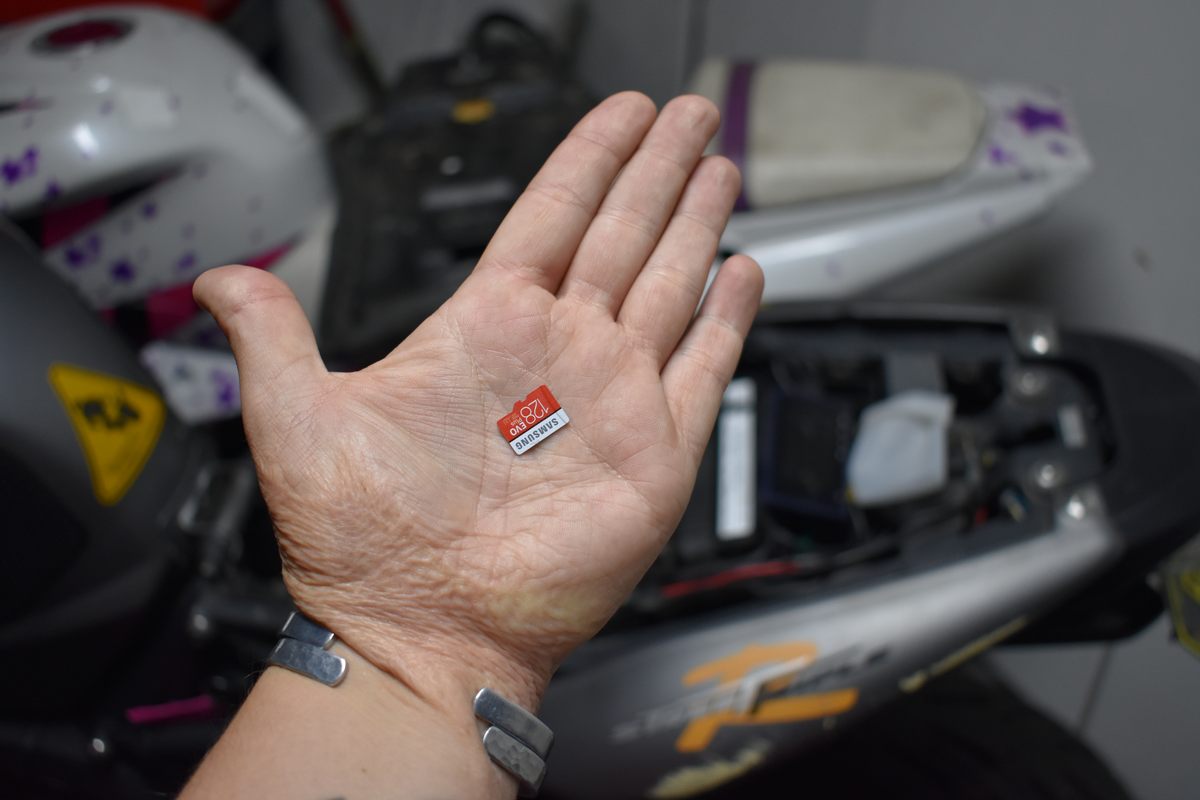
All you need before getting started are a few wiring clips and mounts (I’ll get to that later), pliers, tools to loosen your gas tank (if you want a super clean install) and a microSD card (they call it a TF card in the instructions) with up to 256GB capacity.
Optional supplies:
Physical Install
Installation is where the struggle bus started and stopped for me. I am not afraid to admit that set-up was a little bit of an issue, and I did require help from a professional mechanic, aka my boyfriend, in order to get everything wired up correctly. He helped me realize that I had to purchase some extra fasteners and wiring plugs from my local hardware store (Amazon is local, right?) to make it work and install cleanly.
That part definitely wasn’t included in the instructions.
Good news though, they cost me less than $60 and I have so many extra pieces I could share them with all my friends who are going to go out and buy a HaloCam right away after reading this review.
What was I so worried about? Electronics are scary. Loose cords and wires, things getting pinched during steering, and wiring things incorrectly makes me uncomfortable because I’m not extremely tech savvy when it comes to electronics. And, the MotoE paddock at MotoGP in Jerez just burned down because of an electrical fire so… there’s that.
I might have been able to figure it out on my own with a little bit of guidance from the website, reading the instructions a few times, and being really patient with myself. In the end, it was easier (and faster) for me to just pass the buck to a pro.
Total installation time took one hour in our home garage and boy was the final product squeaky clean. We were up and running just in time to head out for a bowl of pho and test the system. I was expecting glitches, but it worked perfectly the first time. Always a good feeling when something does what it says it will.
Instruction Manual
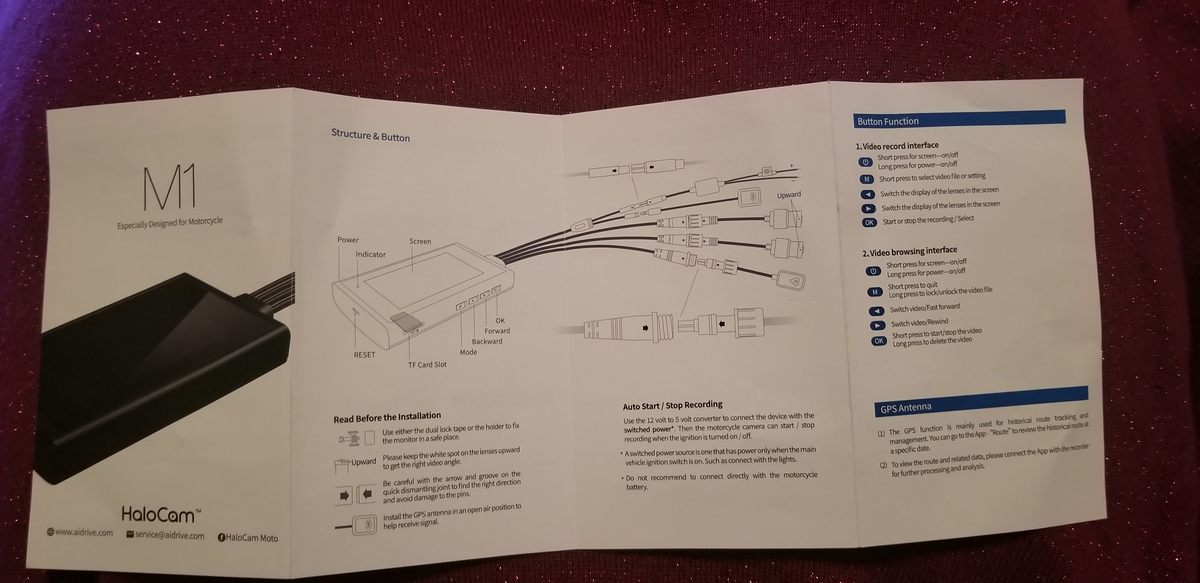
My mechanic boyfriend reported that the instructions were some of the easiest and clearest he has seen in a long time, with the right ratio of words to diagrams. However, he is a professional mechanic, and when I tried to read them, they were definitely not written with the mechanically-challenged in mind.
For example: they did explain a switched power source, but did not explain how to “tap into” a switched power source (like the lights, as they suggested) or even mention how to connect the exposed wires to the switched power source or ground. I would have been totally lost without his help.
Naked Matters
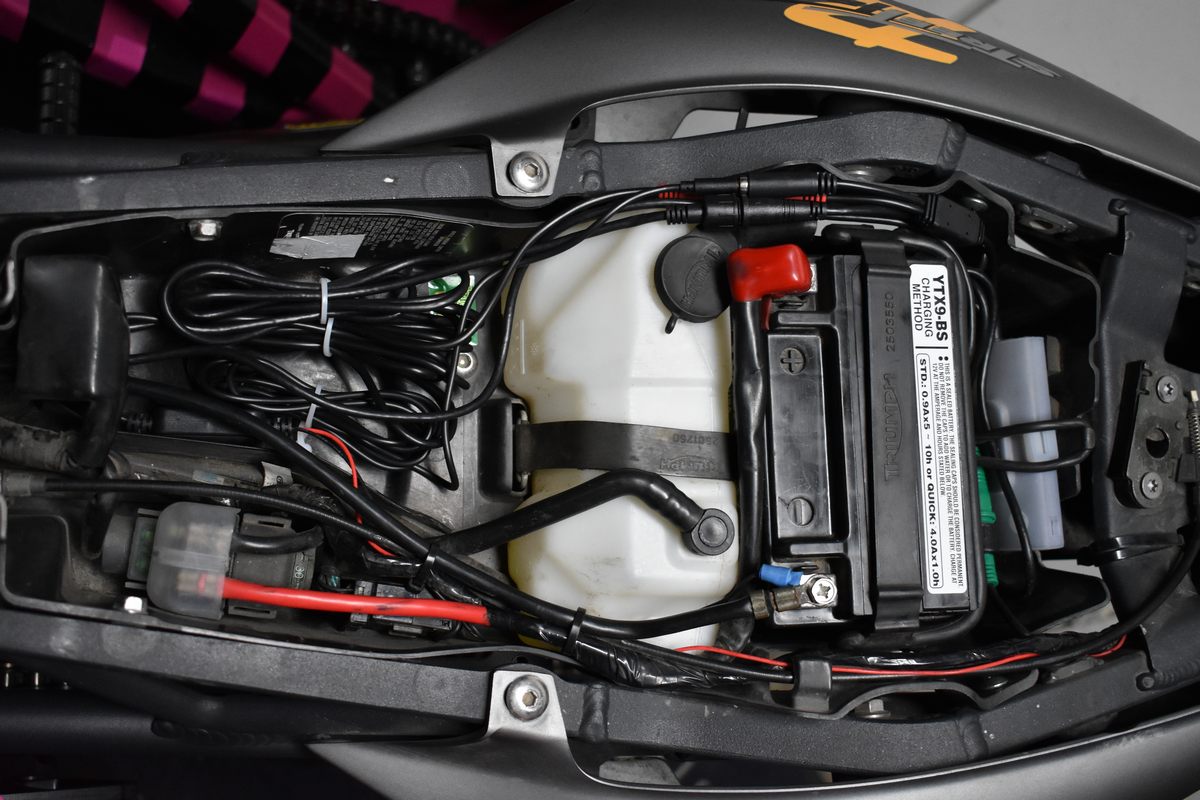
Things to keep in mind: the type of bike you have will greatly affect the ease or difficulty of installation. My Triumph Street Triple R is delightfully naked, and therefore the entire seat assembly (front and rear together) comes off with ease. The fuel tank is also hinged, which really helped. There were plenty of places to feed wires, tuck wires, hide wires and then get on with life. Pro mechanic guy says to add an extra hour for installing everything on a full-fairing bike.
Placement
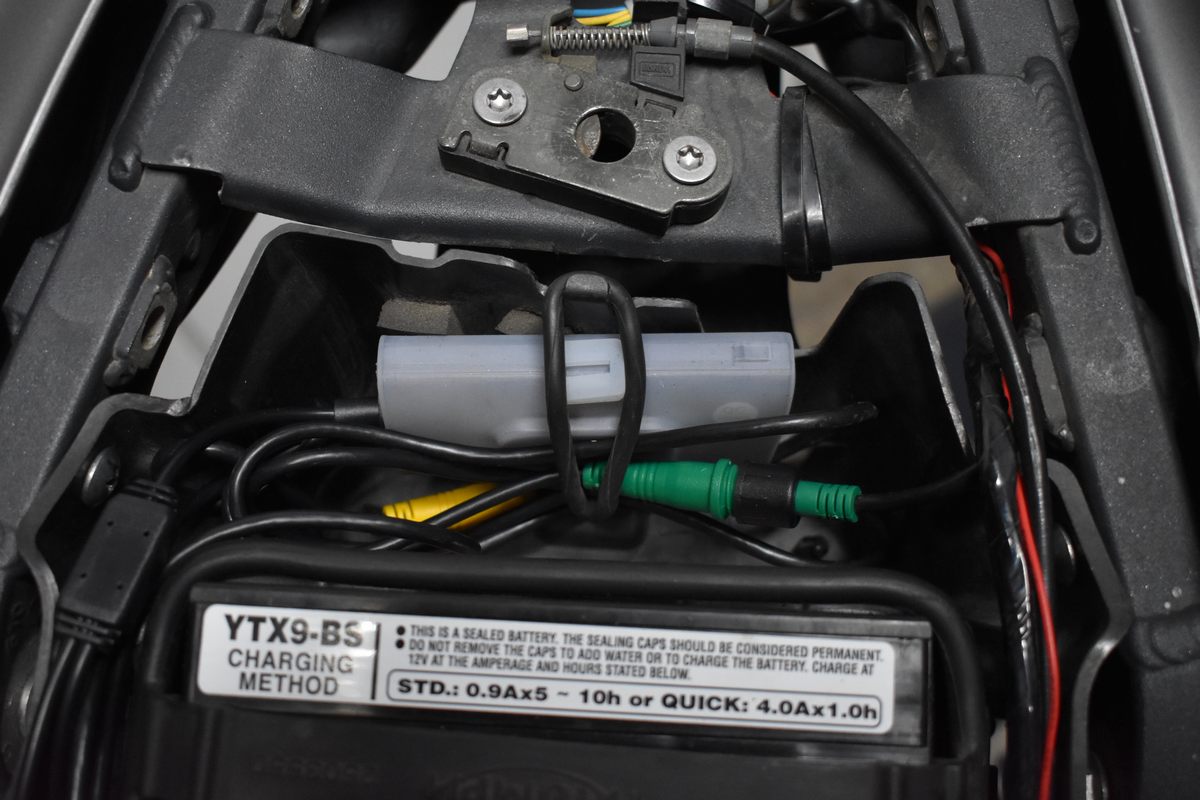
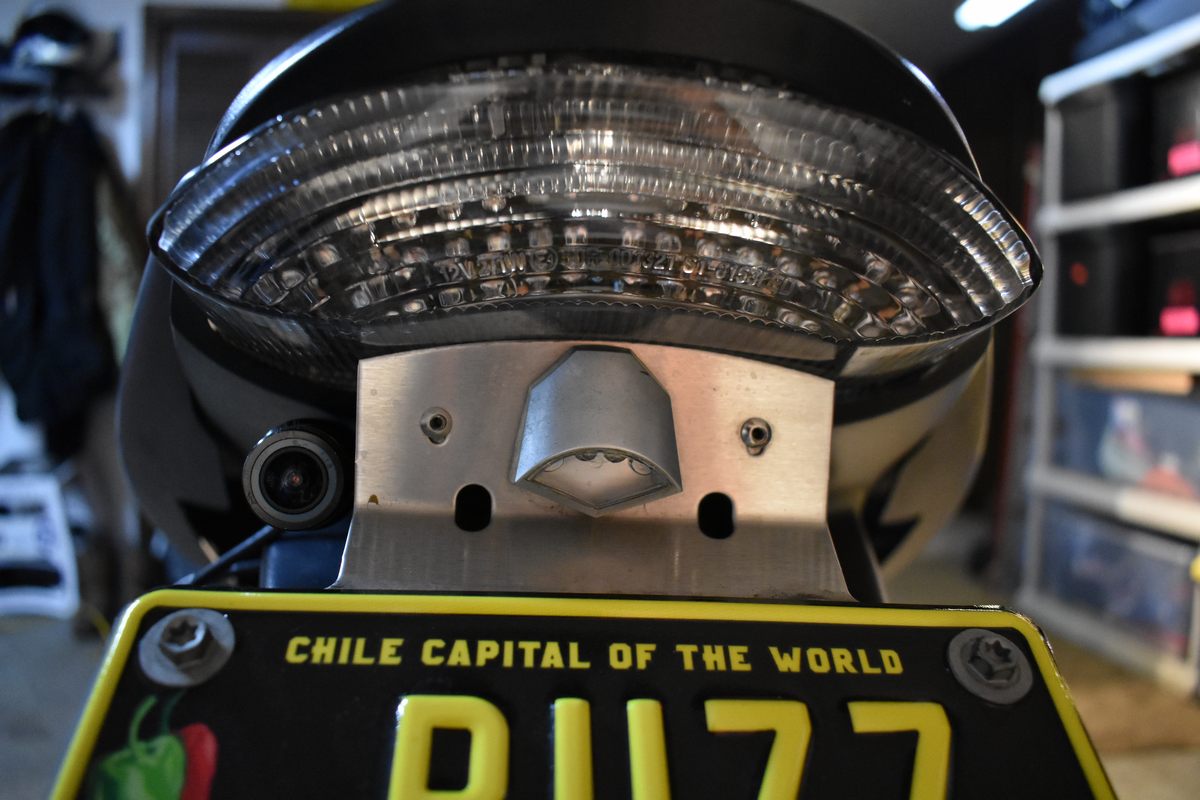
Determining where to connect the computer base for a switched power source was tricky. We ended up using my license plate light, which allowed me to hide the computer base underneath my seat, tucked in nice and snug with the included weatherproof cover over it. This also guaranteed the cameras turn on with the key and not just when the engine is running. The best part of this placement was that it allowed using the negative battery terminal as the ground source, which is the best ground source to use.
Figuring out where to mount the lock button and the microphone definitely was a little bit of a challenge, but thankfully my Triumph had a perfect spot for it on the left handlebar where my hand is usually free enough for a quick button push.
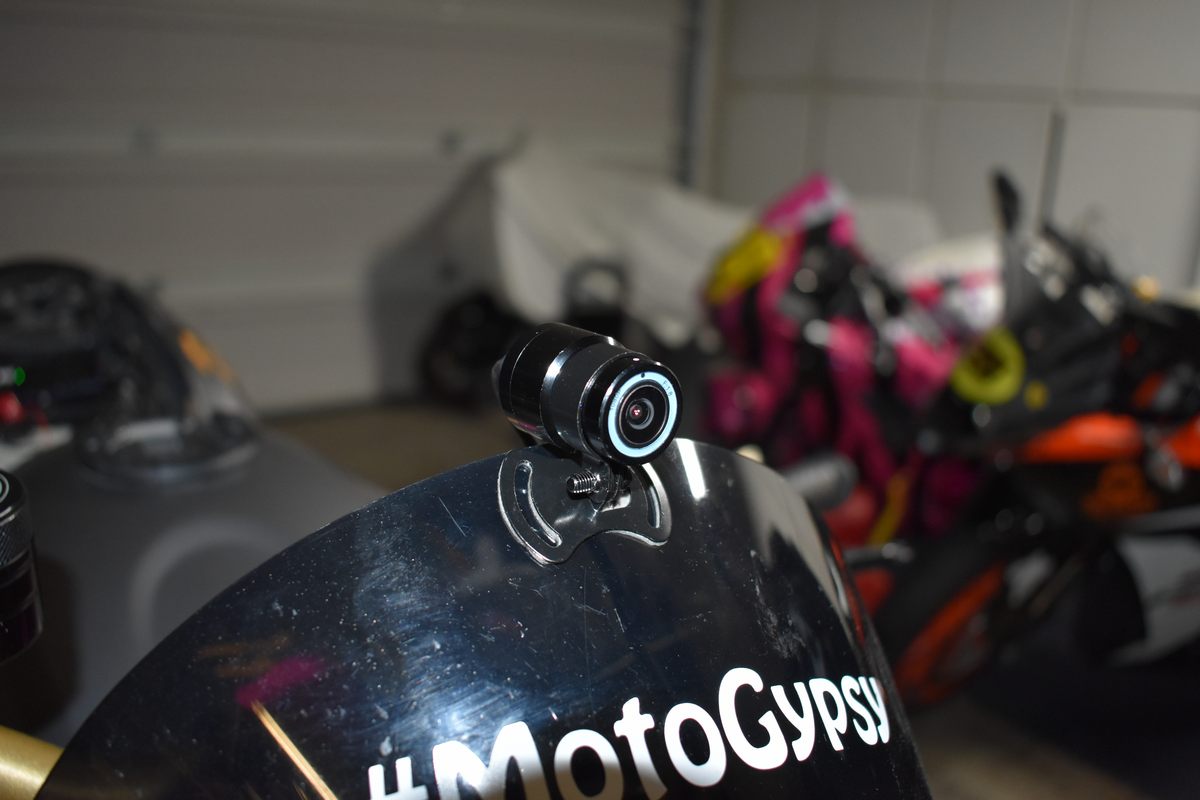
Camera placement was the easiest part. I was worried for about 10 seconds about having cameras mounted to my bike in plain view, but once I realized everything was connected to the computer base, which was safely locked underneath my seat, it made me feel much better. If someone really wanted to steal the camera, they’d have to cut the cord completely and then it would be useless. So I decided not to try and be sneaky with camera placement. The cameras are absolutely small enough to hide, if you choose to be more inconspicuous.
At first, I thought it would be cool to have the screen mounted at the front of the bike, sort of like a rear view camera anytime you wanted, but we decided that meant having way too much cord between the rear camera and the computer, which I didn’t trust (or want). I eventually decided that it would be too distracting and might cause an accident, which is counter-productive to having a dash cam. That is, of course, just my personal preference.
Ease of Use
My favorite thing about the HaloCam is that you don’t have to think at all in order for it to work correctly, every time. It automatically turns on when you go for a ride, records video, and shuts off when you are finished. No need to worry about whether the battery is charged, if the placement of the cameras are correct, or if you have enough space on your SD card. The computer is set to automatically loop through the SD memory.
I never have to worry about running out of memory, and that’s a game changer for me.
I tested the ease of locking a video and also taking video with the thumb button when it wasn’t already recording, according to the instructions, and both functions worked perfectly. As long as the bike is turned on, the camera is ready to do whatever you want!
The only issue I had was seeing the status light on the thumb button – it’s blue and in bright sunlight, it completely disappeared. I have to assume the camera is running like it should be (and it always is, so far!).
HaloCam M1 Moto App
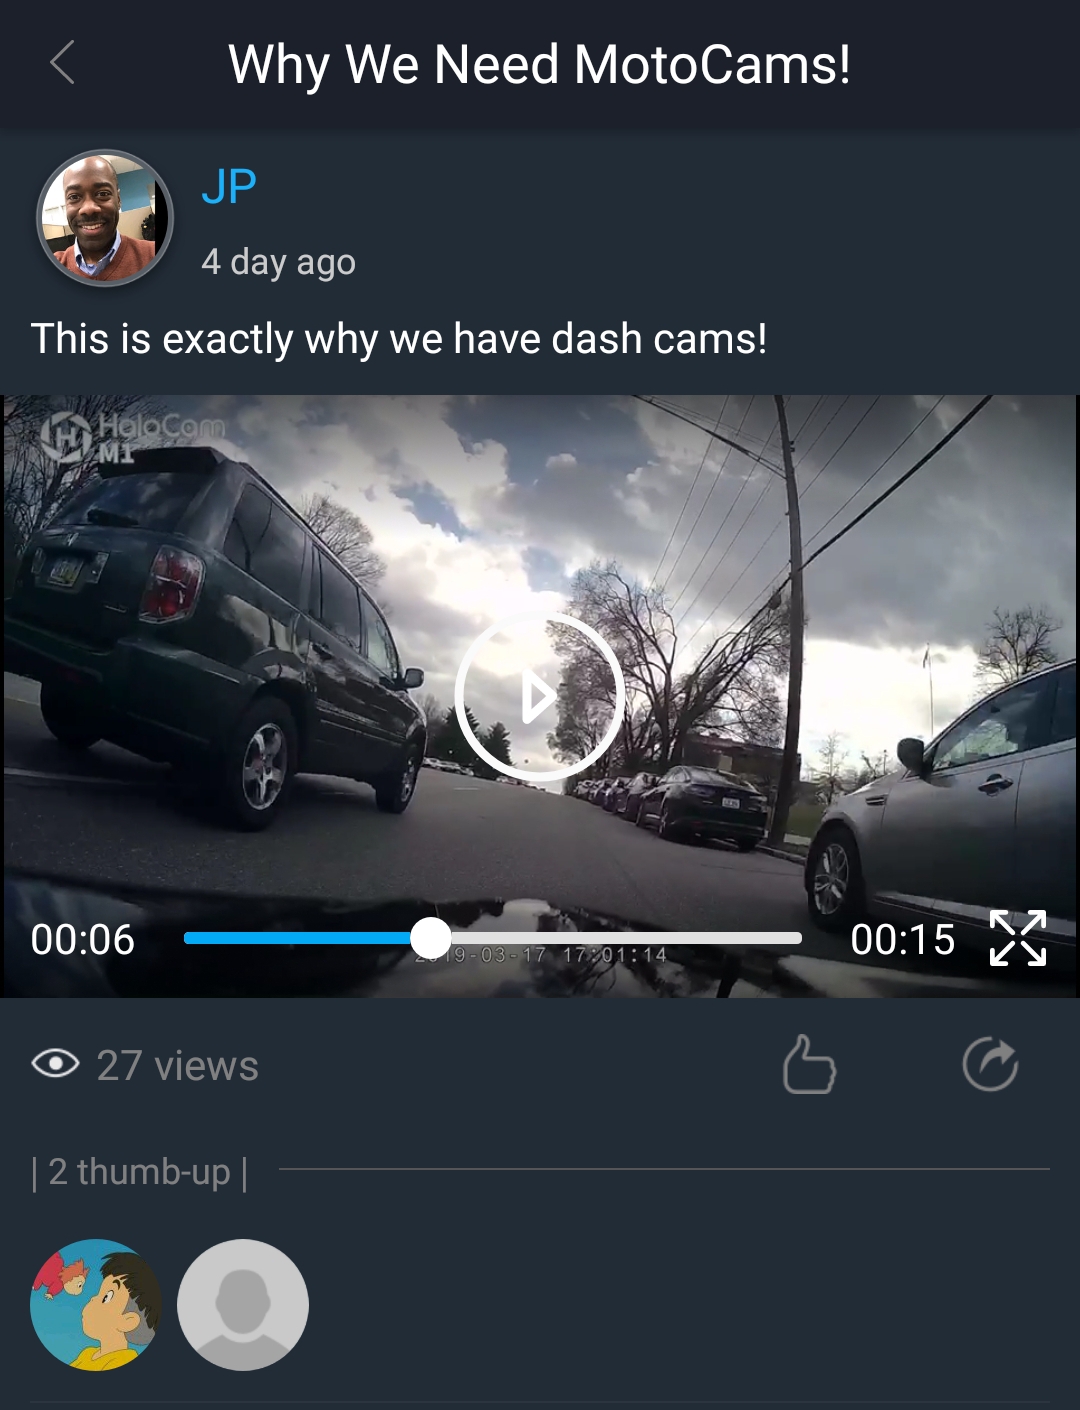
I’d like to point out that the HaloCam Moto app is really beautiful. In fact, the app was the most impressive part of my whole experience.
Controlling the camera settings from my phone was like butter. You can review, download and then share your videos without ever removing the computer from its hiding place under your seat (or wherever you stash it). You can even see your last or current route mapped out in GPS.
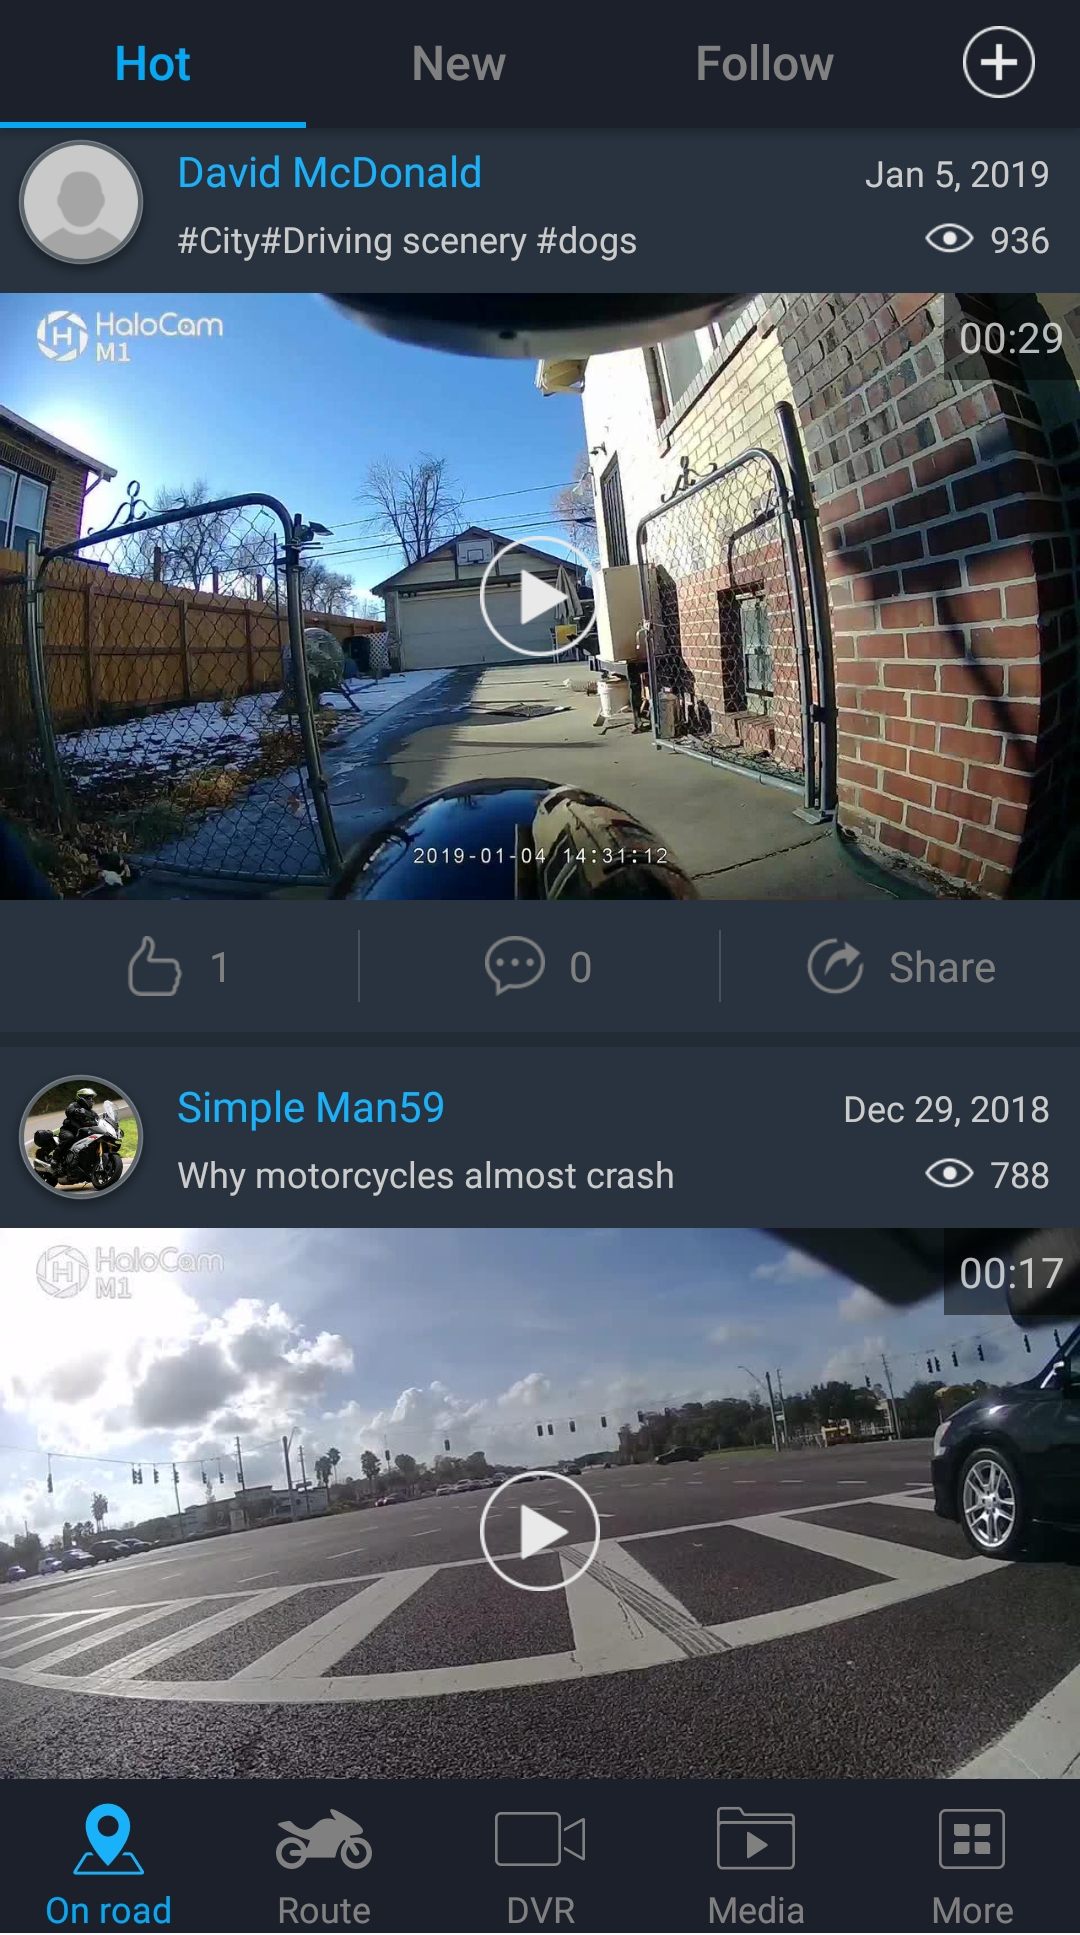
There’s a whole social network forming around this product and I am way stoked to be on the ground level. With the app, this dash cam is way more than a dash cam! HaloCam Moto is available for both iOS and Android.
Downloading Video
Getting photos and video to your phone is super simple. The computer produces a unique wifi signal at the push of a button, and you simply use the HaloCam Moto app to connect your phone automatically. Downloading videos and photos to your computer is also a snap. Just remove the SD card from the computer base, place into an adapter of your preference and plug it in to your personal computer. You can download video files and pics just like any other digital camera source.
Video Quality
I used the 1080p 30fps setting and it’s definitely not video I would upload to YouTube, but it got the job done as a dash cam just fine.
There are a ton of settings I haven’t played with yet, mostly because I am happy with what I have now. If I wanted to become more active on the HaloCam Moto app social network, I would change my settings to the highest resolution and fps. I have seen some really great video quality uploaded from others, so I know it’s possible. I’ve included some screenshots of the video quality here, so you can see just how clear the picture is in case you do need video or photographic proof of something happening in front of or behind you.
However, in extremely bright light, lighter cars and license plates wash out and become unreadable. Not exactly the best result if you’re hoping to have proof of identity. A quick camera setting change via the app fixed the problem.
That’s a “Wrap”
If you are interested in having video proof of your daily commute that you don’t have to work for, this is the dash cam you’ve been looking for.
If you are interested in a new social network focused on sharing videos of motorcycle rides, this is also the dash cam you’ve been looking for.
I really can’t think of any reason not to love the HaloCam M1 as a product. Just make sure to get help installing it if you have any doubts about your ability or knowledge with electrics. After getting over the installation hump, it has been one of the easiest pieces of equipment I have ever used. It serves a purpose beyond entertainment, while still connecting you to fellow riders. What’s not to like?
