

So, you’ve got your dream bike sitting pretty in the garage and you’ve been riding the wheels off it. Sure, the tyres are still good to go, the chain still looks OK and you’ve been washing it like a lunatic because you love it more than life itself. So all’s good in the world. But what happens in six month’s time? No matter if it’s a new bike straight off the showroom floor or if it’s an old classic, sooner or later you’ll have to do some motorcycle maintenance to keep it running as well as it does now.
Insurance, registration, fuel, gear, tyres, repairs, mods, replacing old parts—they tend to kind of creep up on you, and suddenly that dream bike is looking more like a financial albatross around your greasy biker neck. But there’s things you can do that mean it doesn’t have to be as bad as all that.
Take simple tasks like replacing motorcycle handlebars, for instance. There’s no reason why you have to pay a local dealer or mechanic hundreds of dollars when you can save a chunk of cash, learn something new, and be 100% confident that the job’s been done right, too. Here’s the what and how of the top 5 bike maintenance tips you can do yourself.
1. Replacing Motorcycle Brake Pads

With almost zero tools and very little research, most modern bikes will allow you to swap out a set of brake pads quicker than an outlaw biker can down a six-pack. Just note that it’s never a good idea to swap pads without bleeding the brakes as well, so that will be part of the process here. You’ll need the correct replacement pads, some new brake fluid and a length of tubing for the bleeding process.
Naturally, you’ll be double checking to make sure both the pads and the fluids are exactly what your bike needs and not even a tiny bit different. Then all you’ll need to do is to remove the calipers by loosening their bolts, remove the split pins and retaining plates, pull out the old pads and replace them with the new ones, and then just reverse the steps until you are finished.
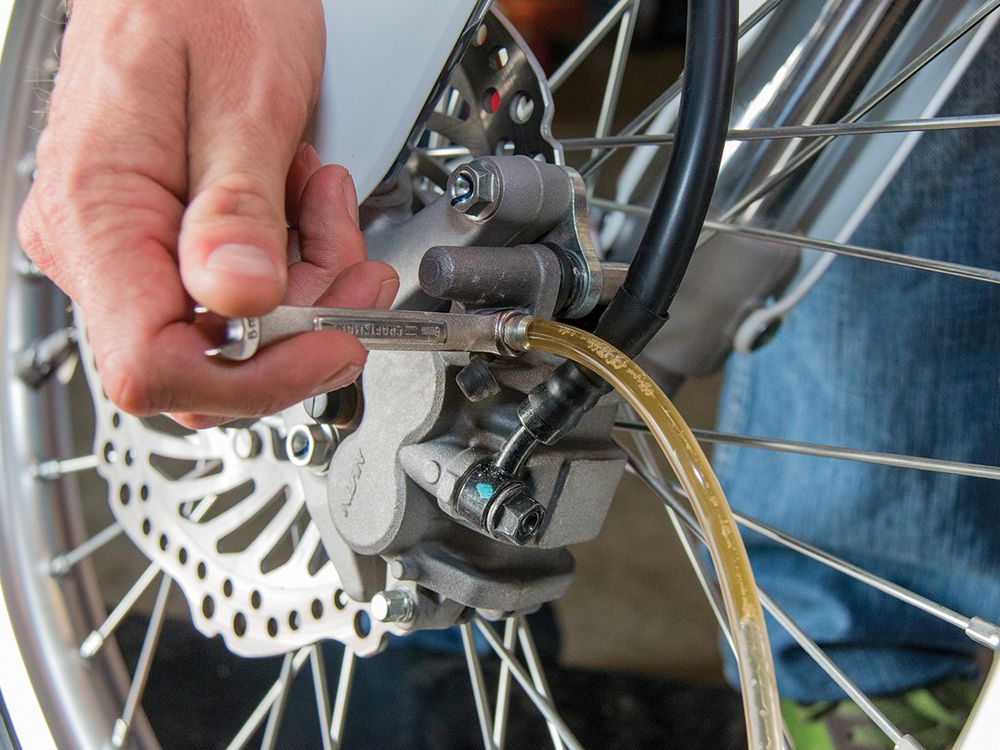
Now, messing around with brakes can introduce air bubbles into the brake’s hydraulic lines, seriously reducing their effectiveness. You can manage this simply by locating the brake bleed nipples. Stop laughing up the back. Pop your clear plastic tube on them and then open them up a little.
Next, pump the brake lever and ensure there’s enough new fluid in the reservoir on the bars to cope with losing a little from the nipple. Without going into too much detail, this process will drive any air from the line and into the tube, while also flushing the new fluid through the system.
Two important safety tips here: always wear gloves while doing this, check the minimum thickness of your brake disc to make sure it’s not too far gone (and if you’re working on an old bike, be aware that antique brake pads sometimes have asbestos in them).
2. Repairing & Maintaining Motorcycle Batteries
Modern motorcycle batteries are pretty much maintenance-free. But that’s not to say that they don’t need some care and that they don’t fail now and again. In my humble experience, the two biggest issues with batteries is lack of use and them failing internally; mostly this will involve one of the cells in multi-cell batteries dying.
The upshot here is that the battery just won’t have the CCA’s or “Cold Cranking Amps” to repeatedly turn the bike’s engine over. It may start your bike OK once or twice, but if you go for a ride that involves multiple short trips without sufficient time between starts for the battery to fully recharge, things will get pretty iffy by the end of the day.
The other big baddie for batteries is when bikes are left unridden for long periods of time. Modern bikes have electronics that will slowly drain a bike’s battery over many months.
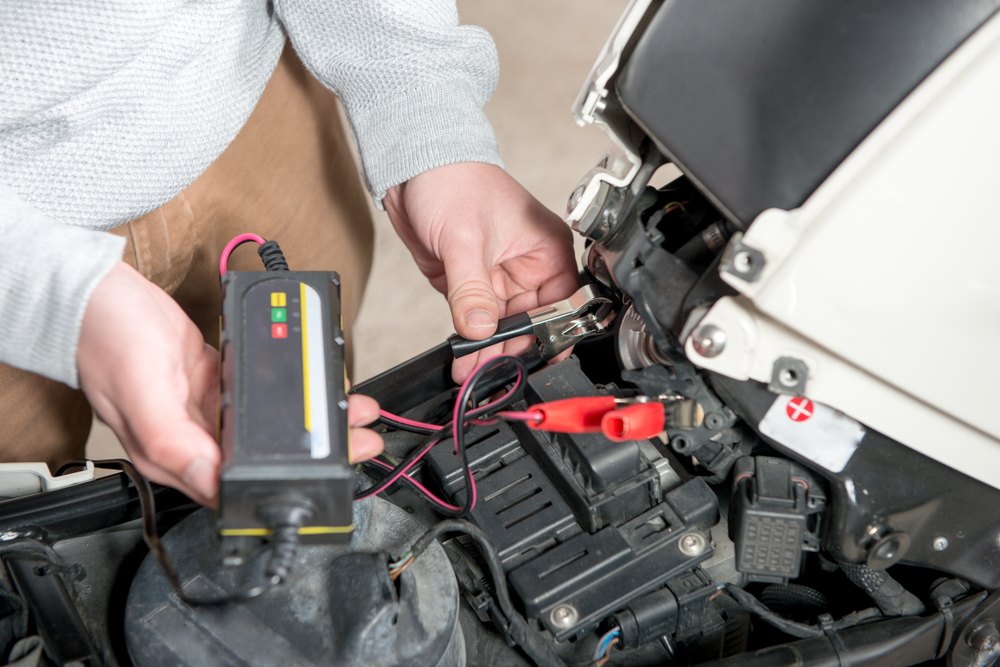
Your best friend in these situations is a trickle charger. These plug into your garage’s power supply and will just passively analyze your bike’s battery while also topping it up when need be. In my experience, some of these chargers claim to be able to diagnose batteries that are busted, but they aren’t always 100% accurate.
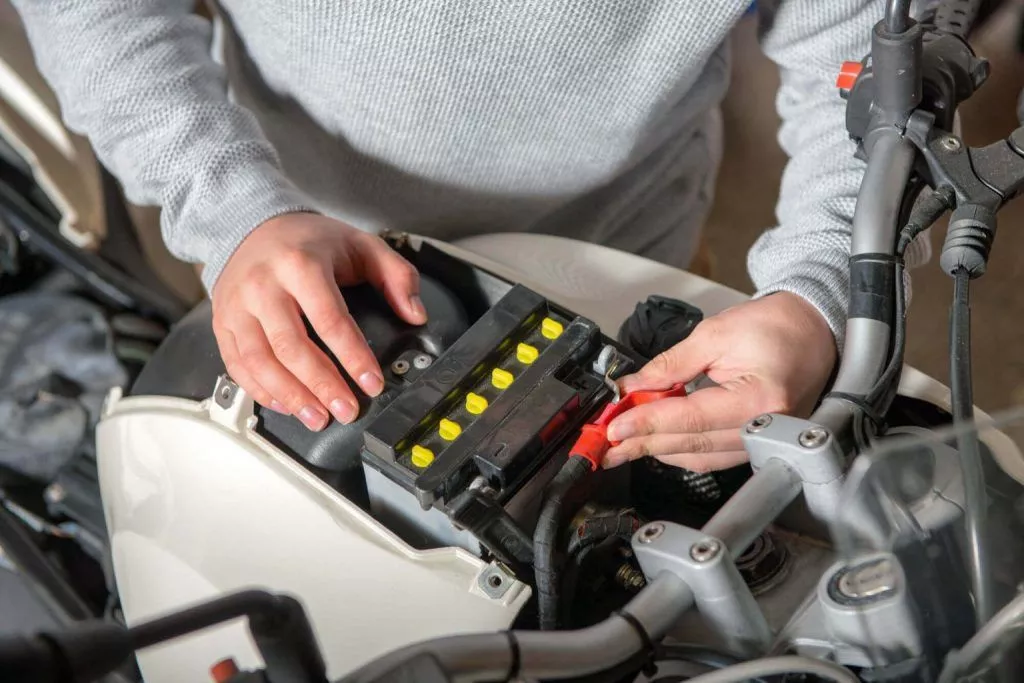
The end result is that you might be flogging a dead horse with your trickle charger when the root cause is a battery that’s physically failed. The hot tip here is to get a battery pro to look at it if your DIY trickle charging efforts don’t fix the issue. And if you are swapping batteries out on your bike yourself, do not under any circumstances reverse the polarity on the positive and negative leads. Remember: red is positive, black is negative, and blue sparks are bad.
3. Replacing Motorcycle Spark Plugs
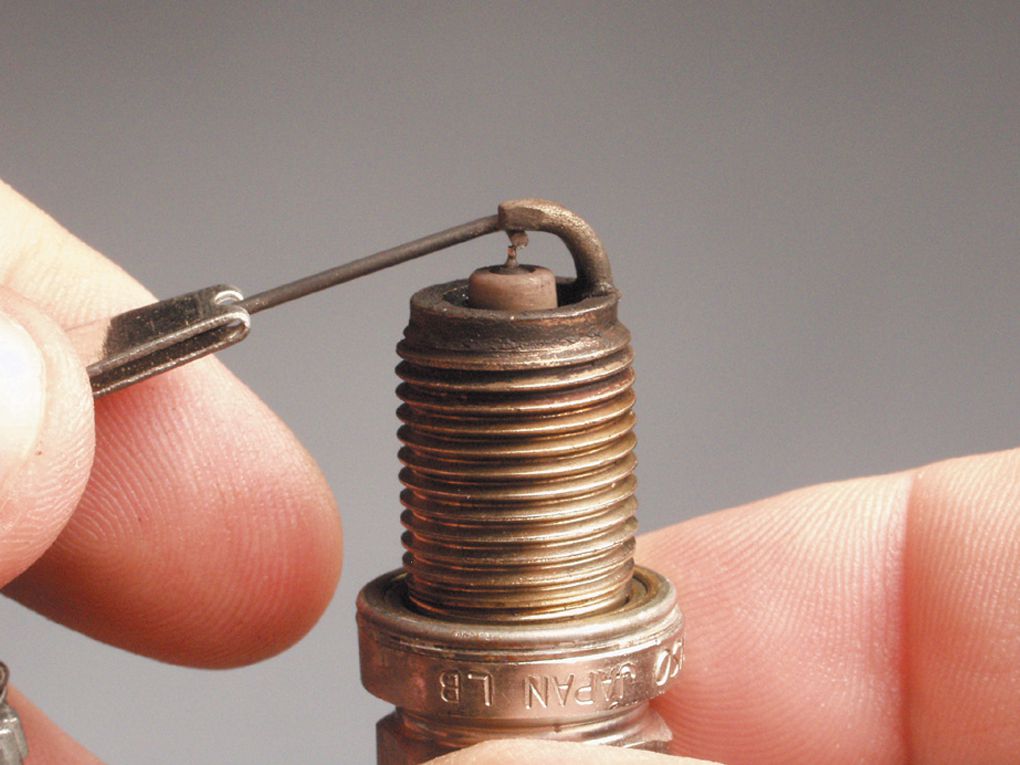
Possibly the easiest of all maintenance jobs, replacing spark plugs is usually no more complex than detaching the lead from the plug’s tip, unscrewing the plug, and then replacing it with a new item of the same spec as the old ones. Easy, yeah? Well yes, but that doesn’t mean that there’s nothing you have to watch out for.
Spark plugs also are a great indicator of how your bike is running. The colour and details of their electrodes can tell a pro a lot about how the bike is being ridden, how the bike’s fueling is, and how old the plugs are.
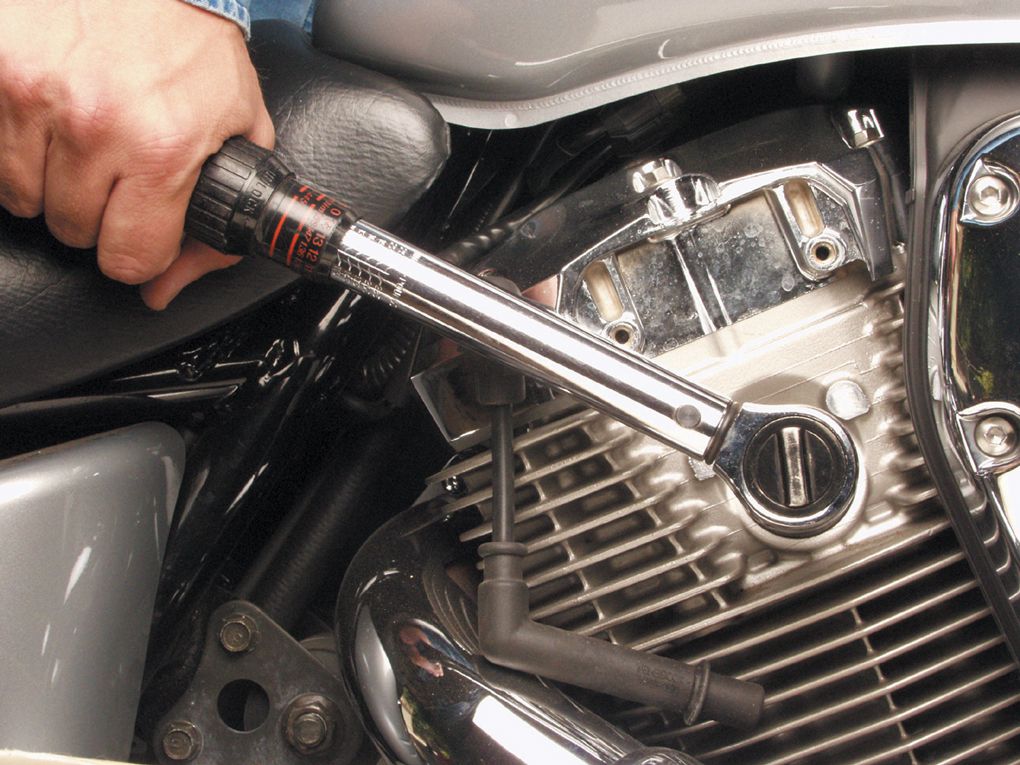
Put simply, if you are riding a bike that hasn’t been regularly serviced and you can’t be 100% certain of how old the spark plugs are, you need to replace them. If anything, you’ll definitely notice more pep, especially if the old plugs are indeed past it. The only real caution to give you here is to make sure that the plugs are screwed back into the cylinder head with about the same force as they took to remove.
And if that force was “not much at all,” it is probably worth borrowing a torque wrench from a mate or neighbour and looking up the bike’s service manual to ensure that the new plugs are screwed in with the correct amount of twists. Remember, spark plugs are right at the heart of your bike’s engine, and if they are screwed in with too little or too much force, engine compression can be messed with and other bad, expensive things can happen.
4. Maintaining & Adjusting Motorcycle Chains
The key parts of maintaining your bike’s chain are oiling and tension. Put simply, as you ride, the bike’s chain will both wear and fling off lubricants. I’ve lost count of the number of times I’ve heard a bike ride past me in traffic with a chain that sounds like rusty nails in an old tin can. Surprise surprise, that’s a chain that needs a lube.
There’s an endless supply of spray can options at your local bike store; just make sure that you use what your bike specs recommend and if you can, clean the chain before you apply the new stuff. Remember this: you can never over-lubricate a bike chain. The very act of riding your bike will fling off excess lube and leave you with the right amount. Also note that many a finger has been lost between a chain and a sprocket. Never be tempted to put your fingers anywhere near a front or rear sprocket while the chain is moving.
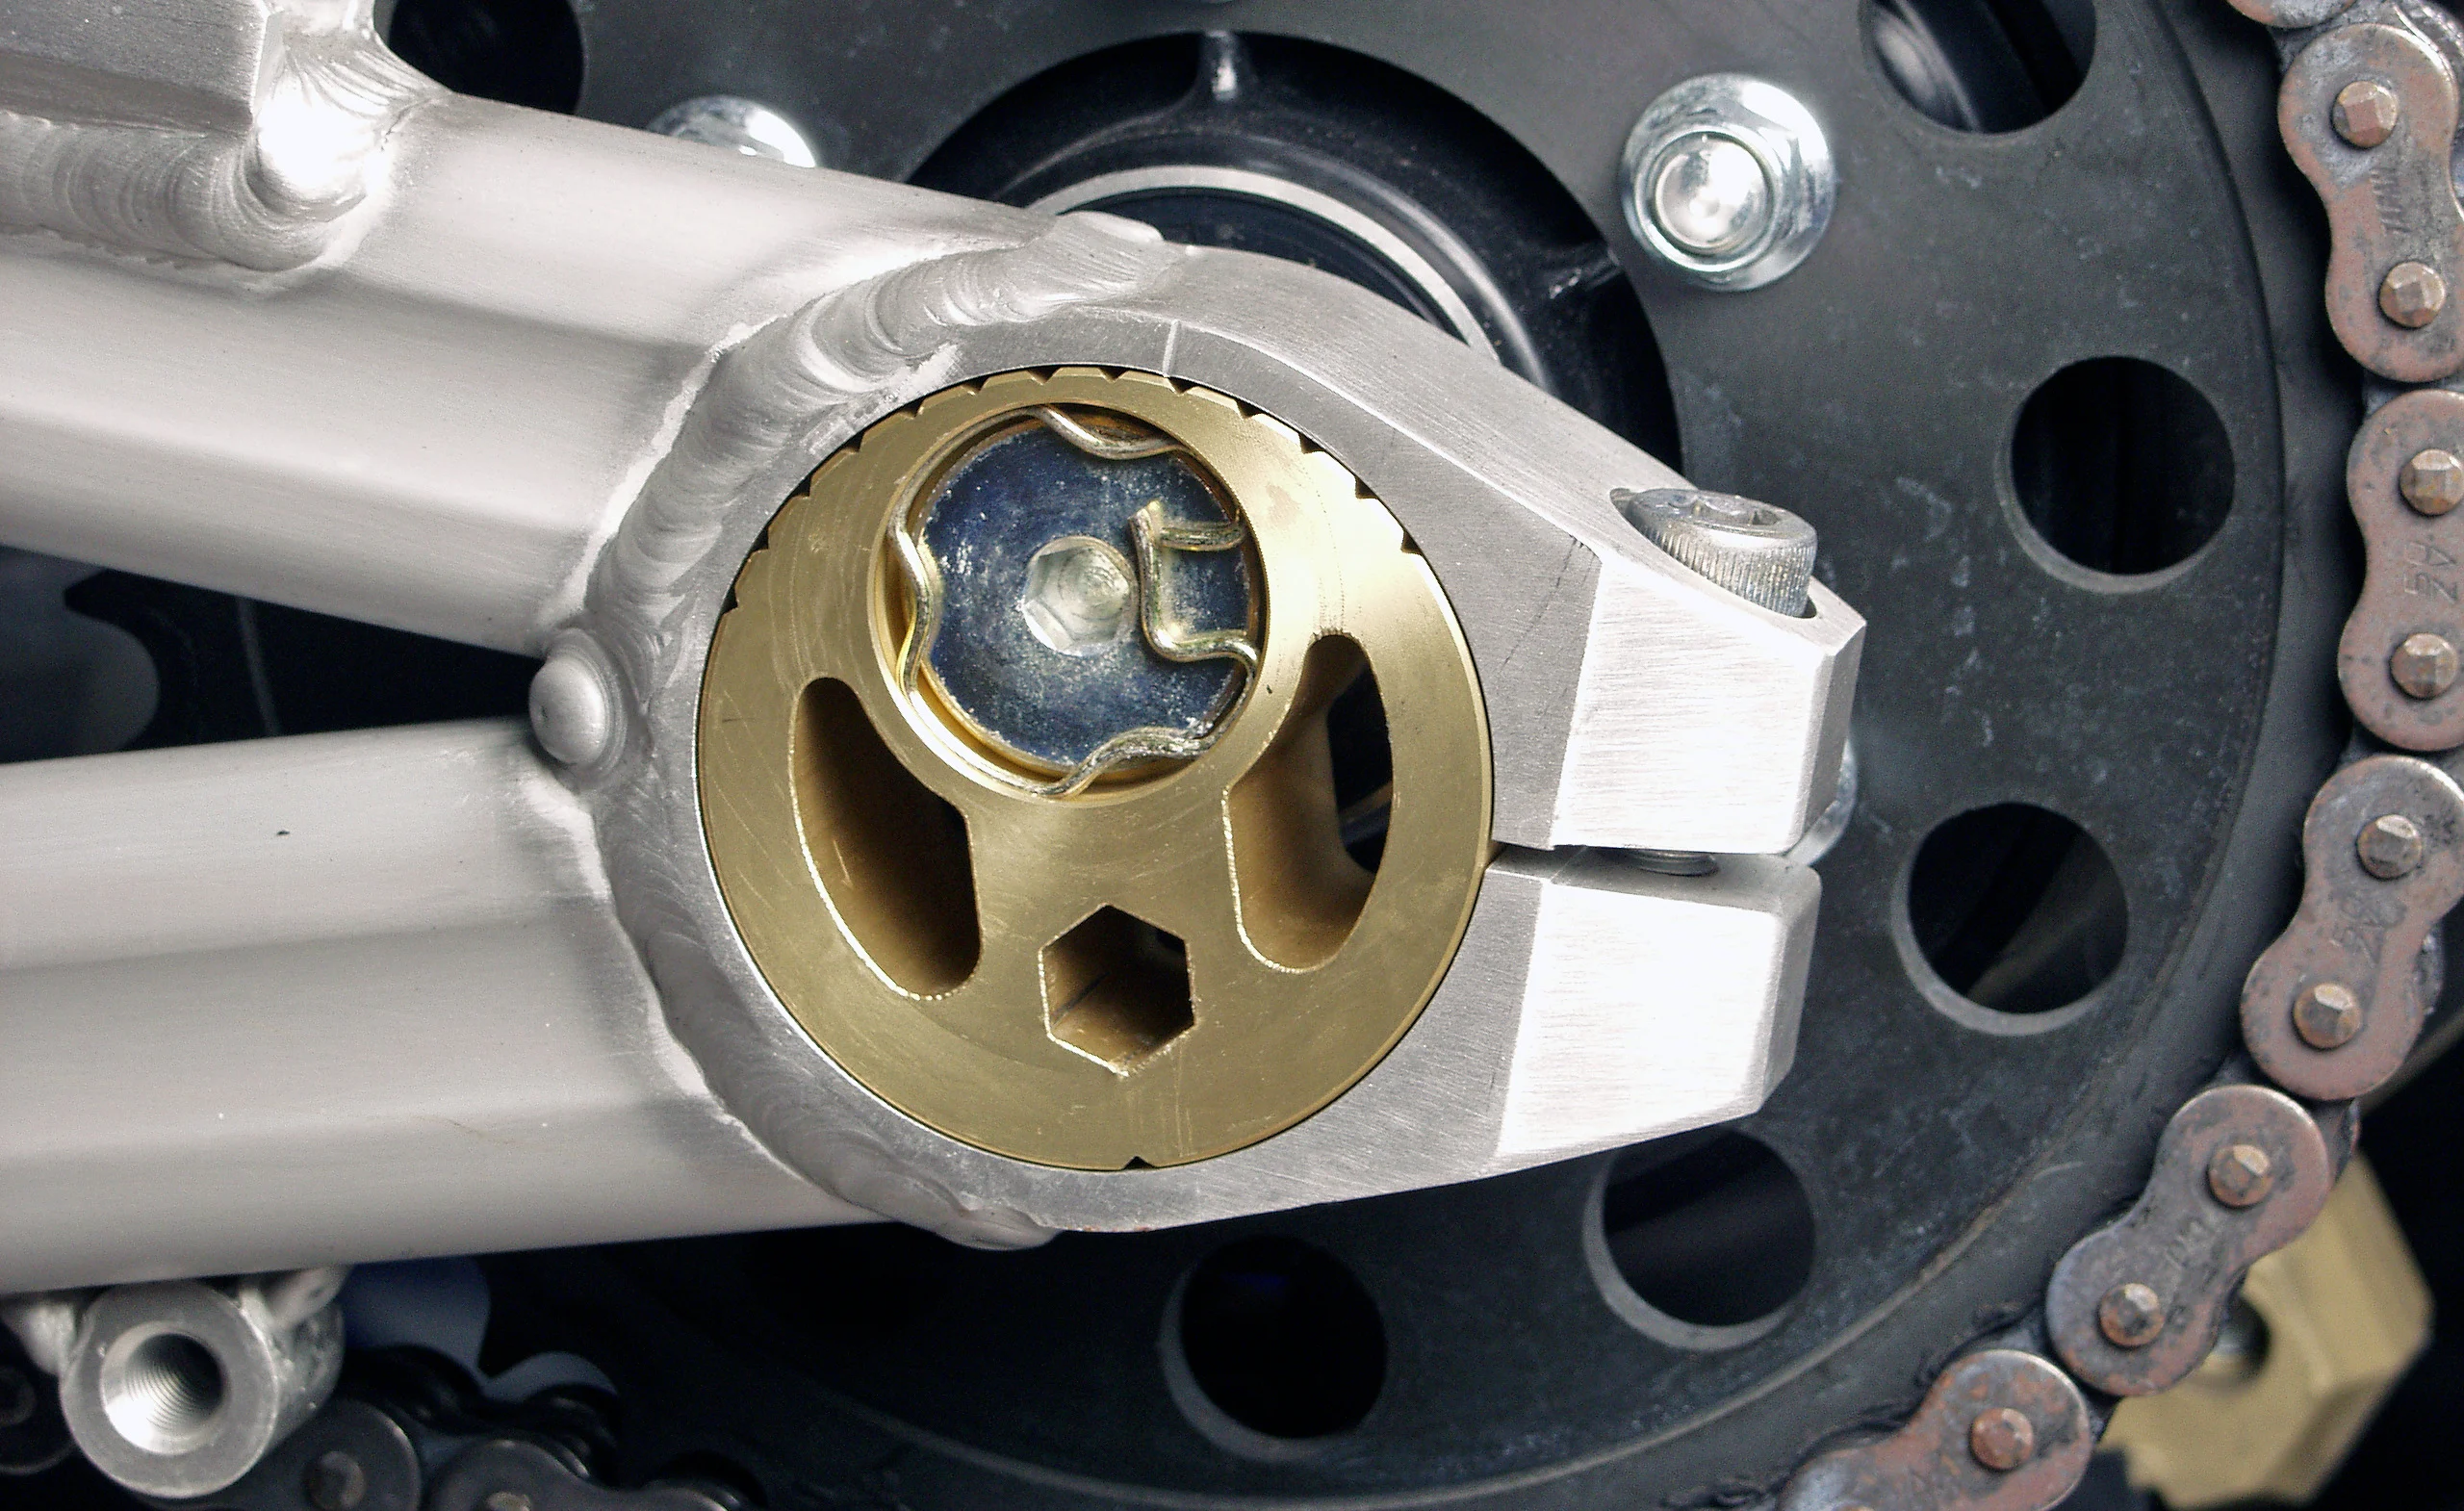
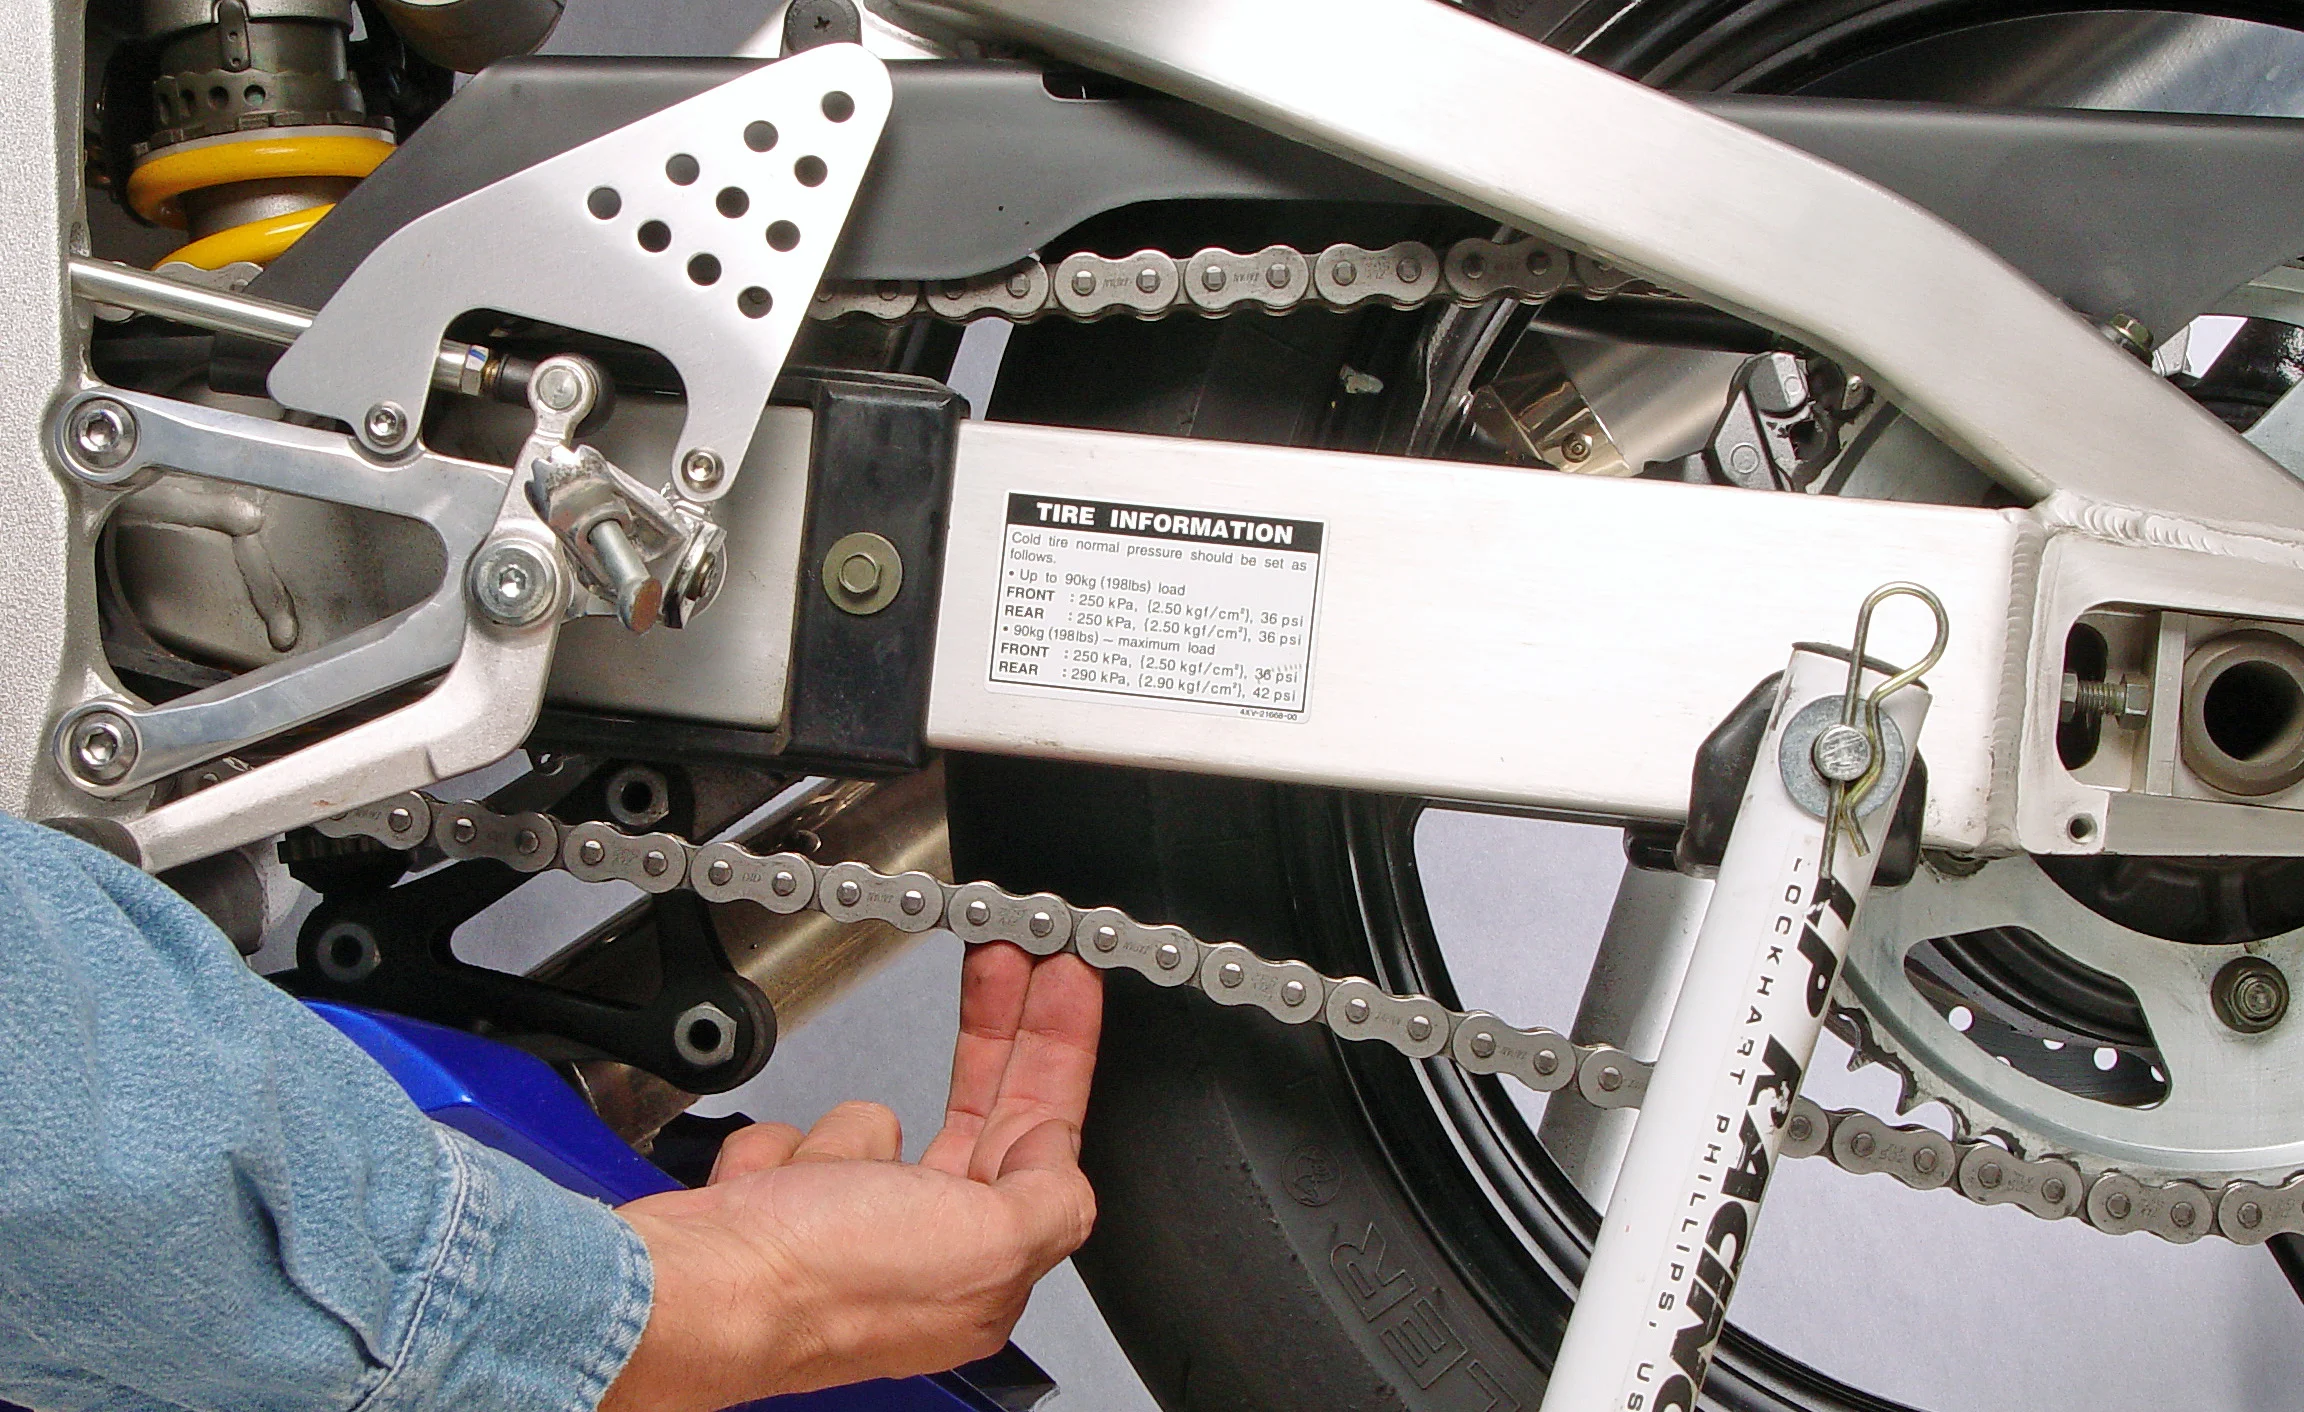
The other thing that chains do is wear. As you can probably imagine, all those little linkages slowly age and wear down to a small degree individually, but as one big lot the difference can mean a heap of slack and sagging. Sag is usually how you judge a chain’s set-up, and often it’s measured with the rider on the bike as the rear geometry changes as the bike squats.
Of course, you can adjust your bike’s rear so that that slack is taken up and the chain returns to its correct operating specs, but you can only do this so many times before you’ll run out of adjustment and you’ll need a new chain. If you have a bike chain that is thusly screwed, a new chain installation is probably something to be accomplished by a pro mechanic as the tools required are specialist-only stuff.
5. Changing Motorcycle Oil & Filters
While often messy, an oil and filter swap can be a really rewarding and effective way to save some bucks. Filters are easy to source and they usually come with all the gaskets and other consumables you’ll need to make the swap.
Engines love nothing more than fresh, clean oil, and if you want your powerplant to last longer than you will, regular oil changes for your motorcycle are key. Also, being on top of your bike’s oil consumption needs is a great habit to get into.
Many a bike engine has been killed by riders who just assume that “the dealer/garage will do it”. This is especially important now that modern bikes have ever-increasing service intervals. It’s all too easy to think that the bike’s next oil top-up will magically coincide with its next major service. Often they don’t—and you realise this much to your dismay when you finally figure out that you’ve been riding with almost no oil in the engine for the last three months.
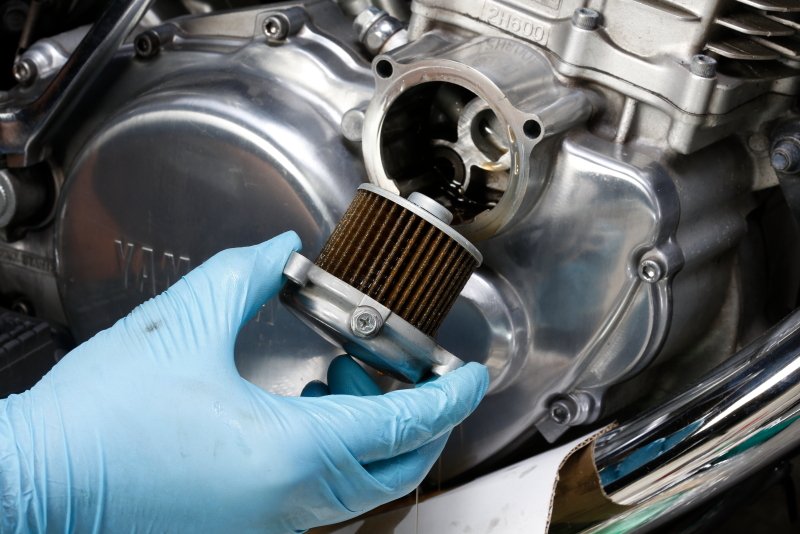
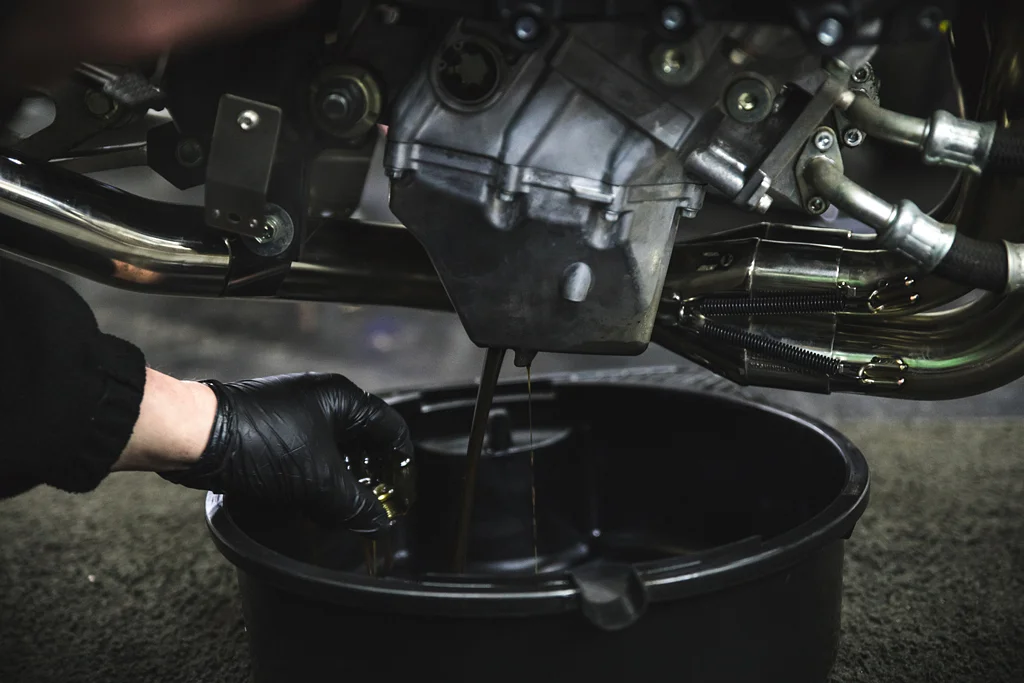
With gloves on, just drain your bike of oil, swap the filter over, and then refill the bike with some brand new, golden-hued slippery stuff. Be aware that engines have a magical ability to hide oil in them, meaning that it’s very easy to overfill an engine with oil if you don’t follow the manufacturer’s instructions on oil changes.
These instructions often involve making sure the bike is brought up to its proper operating temperature and that it is then left to sit for a certain amount of time before the oil is drained. If you drain a litre of oil from your bike but the dipstick was reading fine and the manual says it takes 1.6 litres, then you’ve still got 600 mls of old oil to get out.
And if your bike is leaking oil after a filter swap, you’ve probably messed up a gasket or other seal, which will need replacing. Note that some washers are “crushable,” meaning that they’ll need replacing every time you undo them to maintain a perfect fit.
And remember folks, only dickheads pour used oil down the drain. The rest of us take it to our local recycling center or auto parts store for proper disposal.
SAFETY FIRST: Please don’t mess with your bike if you really don’t know what you’re doing. You could hurt your bike or worse yet, yourself. And while getting hands-on is always a great thing in the world of motorcycles, finding out that your brakes aren’t working at freeway speeds while you are speeding towards an oncoming truck is most definitely not. Please, ride—and wrench—safe.
